

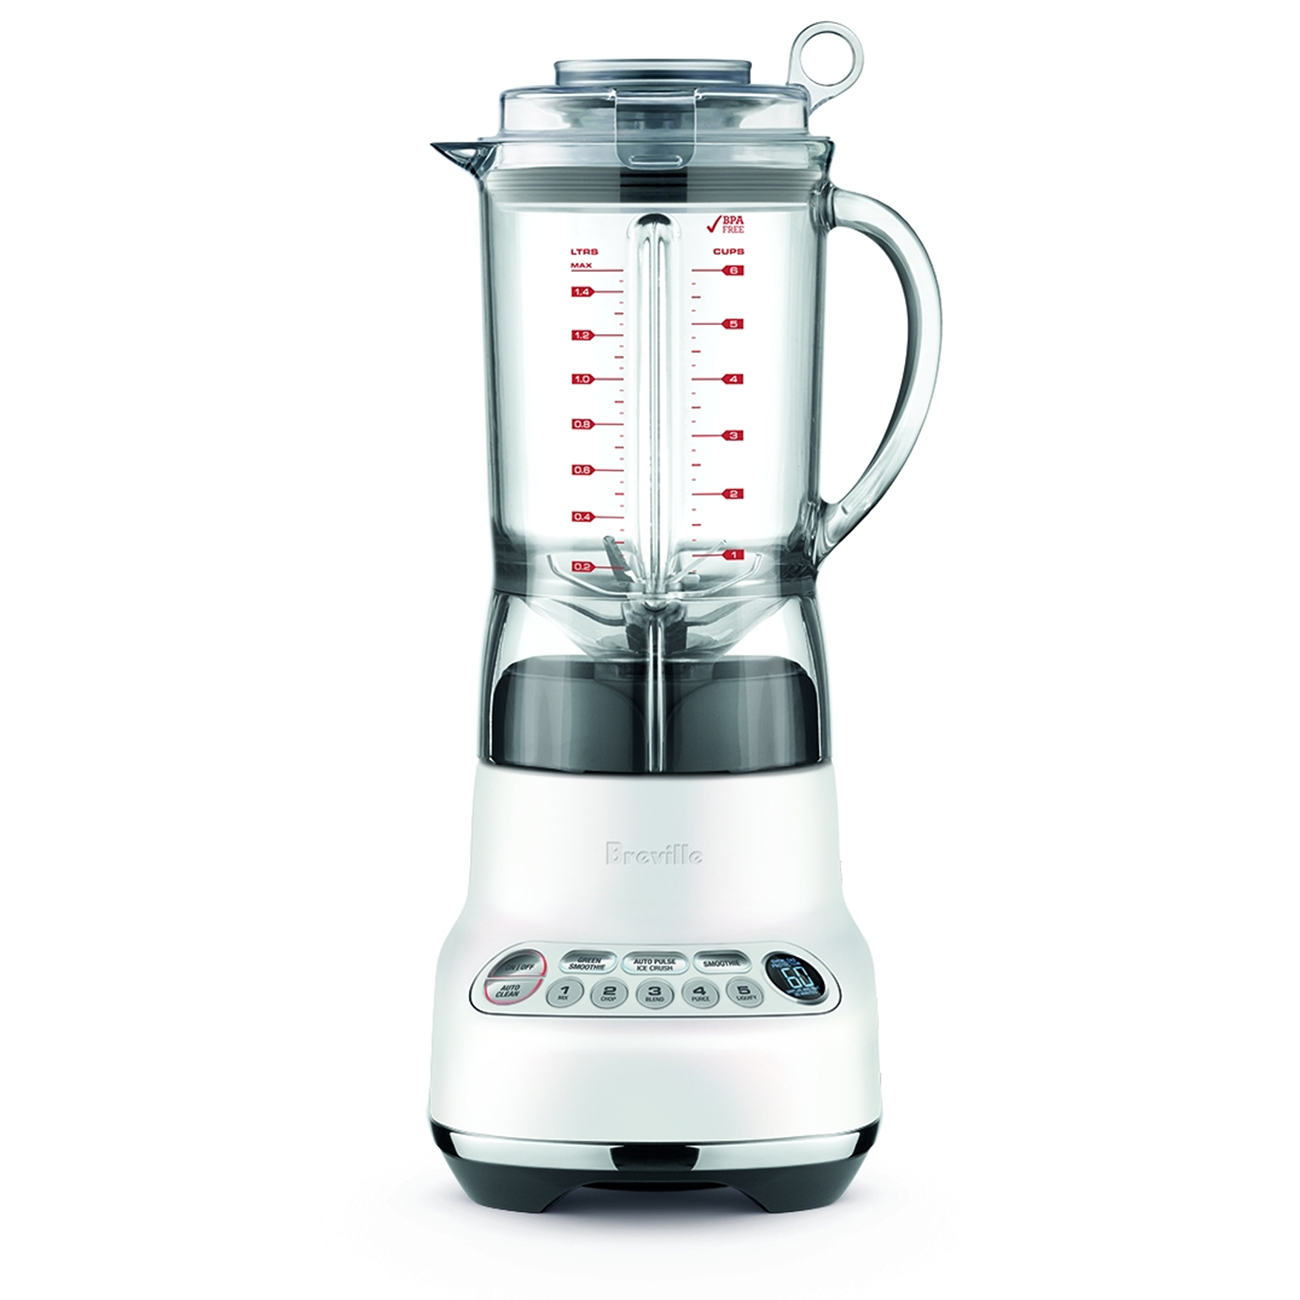
Removing the blender bottom on a Breville is easy to do. With just a few simple steps, you can detach, clean, and reattach the bottom without any special tools. Here is a step-by-step guide on how to safely and effectively remove the bottom of your Breville blender.
Before removing the blender bottom, make sure to unplug the blender first. This prevents the motor from accidentally turning on when handling the bottom and avoids any electrical hazards.
Clear the area around the blender so you have open workspace. Have a towel ready to lay the blender down on. Also, prepare a bowl of warm soapy water to soak the blender bottom in after removal. Mild dish soap works well for cleaning the blender base.
Inspect the bottom of the blender pitcher for any large debris or food buildup. Remove any chunks to prevent clogging drains later.

Most Breville blender pitchers have an integrated blender bottom that connects to the pitcher with a threading mechanism. Here are the steps to unscrew the bottom:
With the bottom removed, cleaning is much easier. Here are tips for cleaning it effectively:
Once the bottom and pitcher are cleaned, just reverse the steps to reattach:
Once reassembled, your Breville blender will be ready to use again! Just remember to rinse the pitcher and wipe the blades after each use to prevent extensive buildup over time. Taking the time to regularly detach and clean the bottom will help keep your blender functioning like new.

How often should I remove and clean the blender bottom?
For moderate blender use, aim to remove and deep clean the bottom every 2-3 weeks. If making nutrient-rich green smoothies daily, disassemble and clean the bottom weekly.
What should I use to clean the blender bottom?
Avoid abrasive scouring pads. For safe cleaning, use warm soapy water, soft sponges or brushes, and plastic scrapers. You can also place it in the dishwasher.
My blender bottom is stuck – how do I get it loose?
Apply WD-40 or cooking oil around the seal, let it sit briefly, then twist while gently pulling down. Check for any obvious obstructions in the threads. Repeat process if needed until bottom gradually loosens.
Regular cleaning of a Breville blender pitcher and bottom is essential maintenance to keep these appliances performing their best. Thankfully detaching and reattaching the bottom is a straightforward process once you know the proper steps. Be sure to remove any debris before disassembling, then soak and scrub the separated pieces until spotless. Reassemble once fully dry. Adding this quick cleaning to your routine helps remove hidden gunk from the hard-to-reach bottom area and prevents accumulation of damaging residue on the blades and seal over time. With just a little hands-on effort, your Breville blender can continue emulsifying, crushing, and processing for years to come.

