A Breville Rice Cooker can be your secret weapon for preparing perfectly cooked rice every time. This appliance does all the heavy lifting, leaving you with the simple task of adding the ingredients and setting the time. Let’s dive into a step-by-step guide on how to use your Breville Rice Cooker.
In this comprehensive blog post, we will provide step-by-step instructions to help you get the most out of your Breville rice cooker. You’ll learn tips and tricks for cooking fluffy rice, cleaning and care, troubleshooting common issues, and making the most of preset menu options. Read on to become a rice pro!

Getting Started with Your Breville Rice Cooker
Before cooking your first batch of rice, take the time to properly set up your rice cooker. Remove all packing materials and wash accessories in warm, soapy water before first use.
The key components of your Breville rice cooker include:
- Inner cooking pot – This removable nonstick pot is where the rice is cooked. Note the fill lines and markings inside the pot to guide measurements.
- Condensation collector – Located on the inner lid, this collects excess moisture during cooking. Empty after each use.
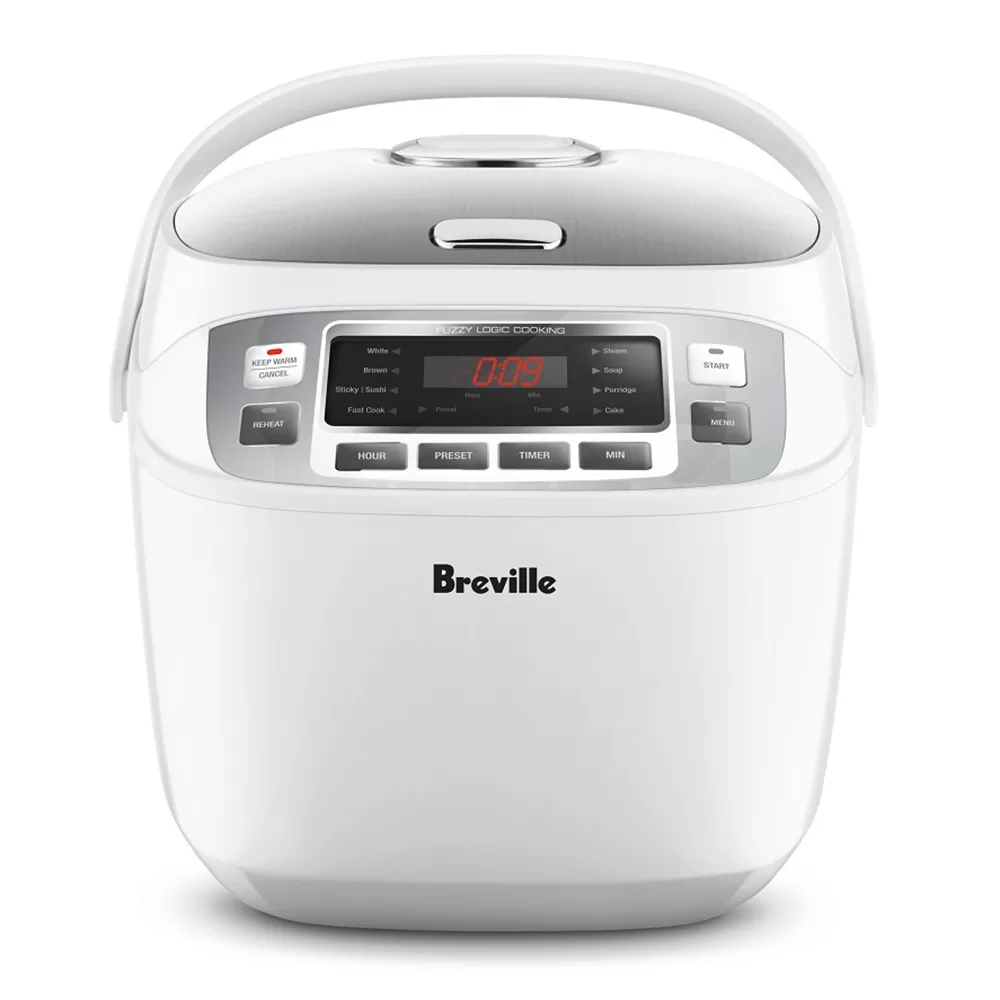
- Control panel – Found on the front of the cooker, this features preset menus, cook settings like “keep warm,” and a start/cancel button.
- Steam vent – Releases excess steam during cooking.
- Rice paddle or spatula – Use the provided utensil to stir and scoop cooked rice.
Once washed, add the inner pot to the heating base, connect to power, and you’re ready to start cooking!
Step-by-Step Rice Cooking Instructions
Cooking rice in your Breville rice cooker involves just a few easy steps:
- Rinse rice – Place the desired amount of rice in the inner pot. Rinse rice by pouring cool water over the grains and swishing gently with your hand until the water becomes cloudy. Drain water.
- Add water – Fill with the appropriate amount of water according to the markings for the type of rice being cooked. A 1:1 rice to water ratio is common for white rice.
- Select setting – Press the menu button to choose the preset program for the variety of rice being cooked. Settings may include white rice, brown rice, porridge, sushi rice, and more.
- Press start – Initiate the cooking process by pressing the start or cook button. The button will illuminate and cooking will begin.
- Allow to finish – Let the rice cooker cycle completely through cooking and keep warm modes. Cooking averages 20-30 minutes. Resist opening the lid during cooking.
- Fluff and serve – When rice is ready, fluff with a rice paddle. Scoop into bowls and enjoy your fresh, home cooked rice!

Getting to Know Your Breville Rice Cooker Settings
One of the advantages of a Breville rice cooker is the pre-programmed menu settings designed for different rice varieties. Here is an overview of the common presets:
- White rice – Optimized for cooking short grain white rice, like jasmine rice. Produces fluffy, tender grains.
- Brown rice – Cooks nutty, chewy brown rice. Requires more water and longer cook times than white rice due to the bran coating.
- Sushi rice – Uses a Japanese method of repeated soaking and steaming to achieve sticky sushi rice texture.
- Porridge – Cooks rice down to a creamy, soft consistency optimal for rice porridges.
- Steel cut oats – Ideal for preparing steel cut oats and other whole grain cereals.
- Slow cook – Applies low heat over an extended time for dishes like rice pudding.
- Soup/stew – Cooks down broth-based dishes until thickened and tender.
- Steam – Steam vegetables, seafood or dumplings using a steam tray.
Refer to your model’s manual to learn the specific presets and recommended cook times.
Step-by-Step Cleaning Instructions
To keep your Breville rice cooker working optimally, proper cleaning after each use is a must. Here are the steps to follow:
- Unplug – Always unplug the rice cooker from the power source before cleaning.
- Remove inner pot – Wash the nonstick inner pot separately from the base.
- Rinse surface – Rinse away surface starch and residues from the heating base using a damp cloth.
- Wash accessories – Wash and dry the inner pot, lid parts, rice paddle, steam tray, etc using warm soapy water.
- Clean steam vent – Use a damp cloth to wipe away any accumulated debris around the steam vent.
- Dry thoroughly – Completely dry all parts with a towel to prevent any water residue from affecting cooking performance.
- Reassemble – Once fully dry, reinsert the clean inner pot and replace all parts before next use.

Maintenance Tips
With regular cleaning and minor upkeep, your Breville rice cooker will deliver many years of reliable service:
- Wipe the heating base down with a dry cloth after every use to prevent residue buildup.
- If rice gets burned on, soak the inner pot to loosen debris. Avoid abrasive scouring pads.
- Descale every 3-6 months using distilled white vinegar and water to remove mineral deposits.
- Lubricate the lid hinges every few months with cooking oil to prevent sticking.
- Store the cooker unplugged with the lid open or off to allow moisture to evaporate.
- Don’t immerse the heating base in water or place in the dishwasher. Simply wipe clean with a damp cloth.
Troubleshooting Common Rice Cooker Problems
Even reliable rice cookers can occasionally run into problems. Here are some troubleshooting tips:
Rice is undercooked:
- Use the correct rice-to-water ratios for the type of rice being cooked. White rice is typically a 1:1 ratio.
- Allow the cooker to run through the full cooking cycle. Don’t interrupt the process.
- Older rice or rice stored in improper conditions may require longer cook times.
Rice is mushy and overcooked:
- Avoid opening the lid during cooking, which releases steam and moisture.
- Use less water for the amount of rice being cooked.
- Select the correct preset program for the rice variety.
Rice is scorched or burned on the bottom:
- Don’t use the keep warm function for more than 12 hours, as this can lead to burning.
- Stir the rice periodically if keeping warm for extended periods.
- Add a bit of cooking oil or butter to help limit scorching on the nonstick surface.
Condensation collector overflows:
- Don’t fill pot past maximum capacity lines. Overfilling can lead to boil overs.
- Allow the cooker to cool down before emptying and cleaning condensation collector.
Conclusion
From proper setup and cooking steps to menu customization and cleaning, this guide covers everything you need to know to skillfully operate your Breville rice cooker. No more mushy rice or scorched pots! Proper measuring, well-timed cooking cycles, and regular cleaning will have you serving restaurant-quality rice at home daily.
Here’s a quick recap of the key points:
- Rinse rice before cooking and use the correct water ratios
- Select the preset program suited for the rice variety
- Allow rice cooker to complete the entire process without removing lid
- Clean thoroughly after each use, including condensation collector
- Follow proper care and maintenance steps for longevity
- Troubleshoot issues using the tips above
With the instructions in this guide, you can master your Breville rice cooker and enjoy fluffy, perfectly cooked rice anytime. Now go on and whip up some rice for your next meal!