However, over time, the condenser coils can get dirty or clogged with dust, dirt, pet hair, and other debris. This can reduce their efficiency and cause your freezer to work harder, consume more energy, and wear out faster. It can also affect the quality and safety of your frozen food.
That’s why it’s important to locate and clean the condenser coils on your Kenmore upright freezer regularly. In this post, we will show you how to do it and why it matters.
To locate and clean the condenser coils on your Kenmore upright freezer, you need to unplug your freezer, move it away from the wall, remove the panel that covers the coils, use a vacuum cleaner or a brush to remove any dirt or dust from them, and replace the panel and plug your freezer back in. You should do this at least once or twice a year to keep your freezer running smoothly and efficiently.
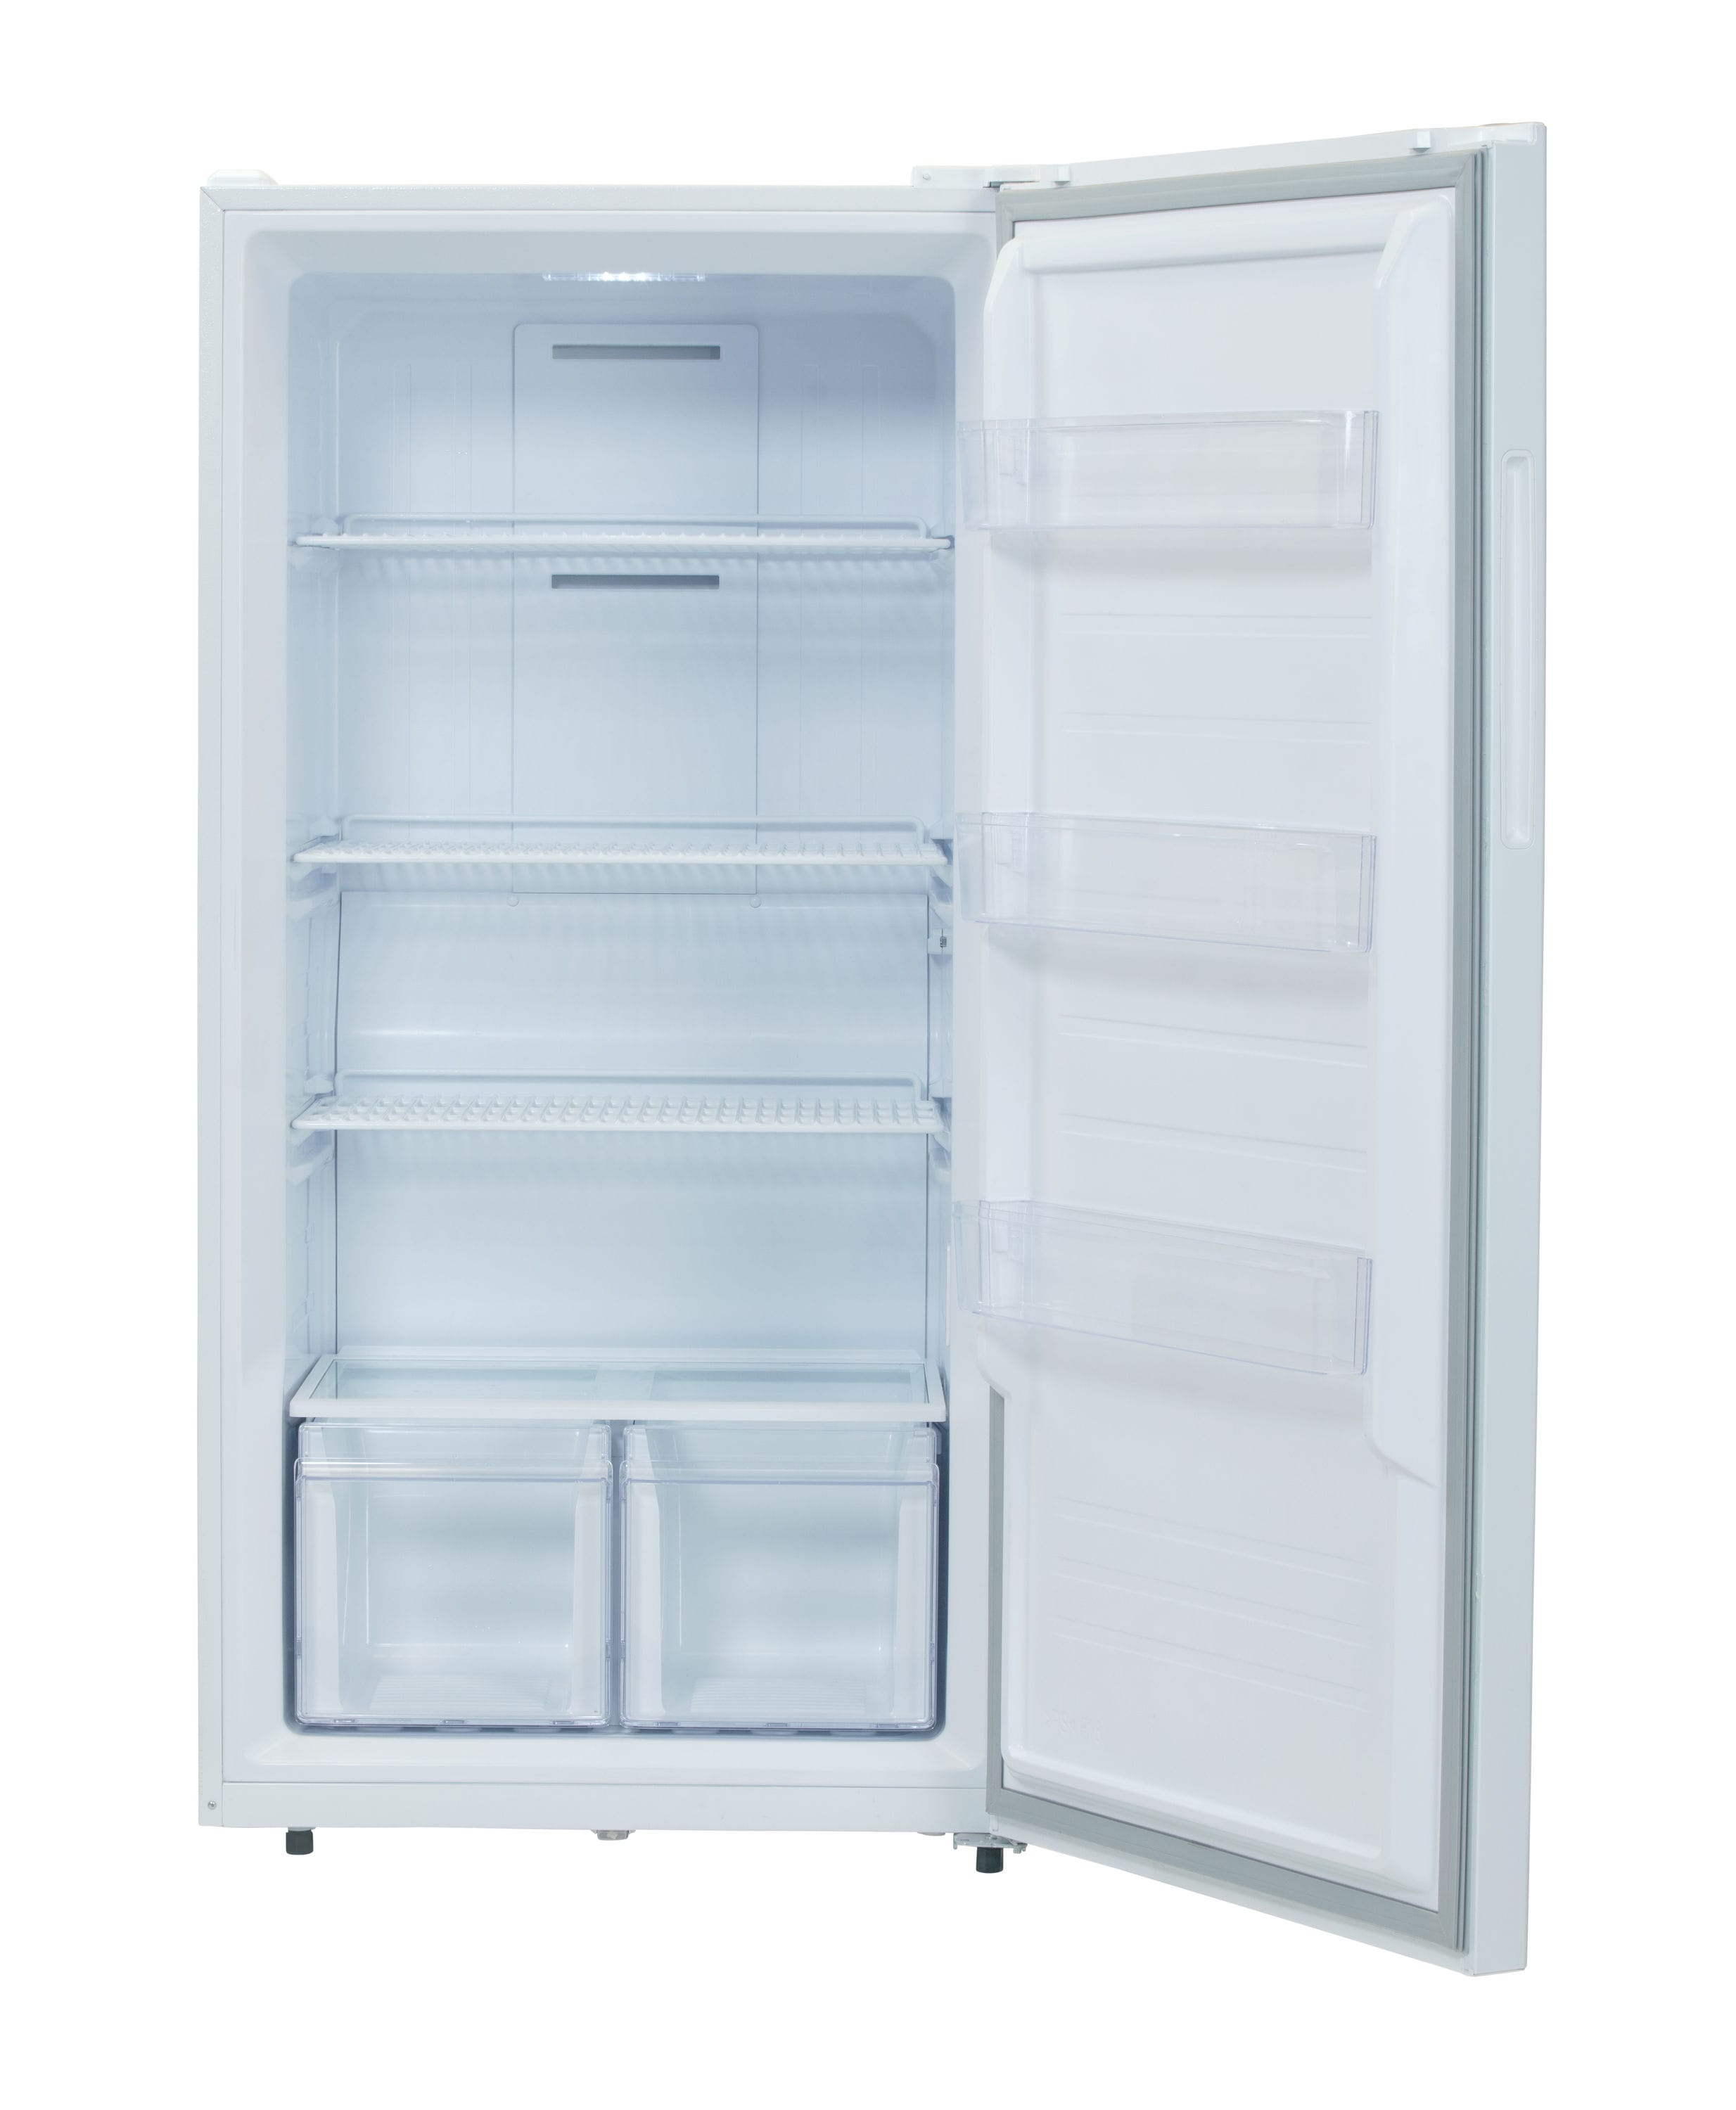
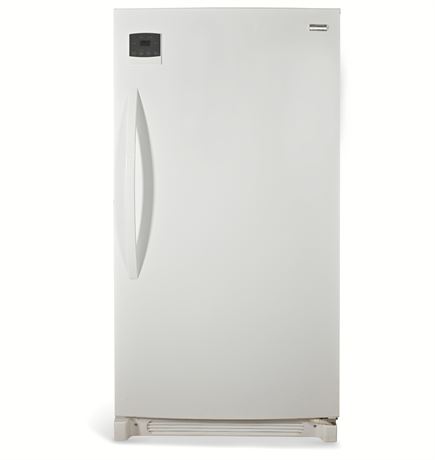
The first step to clean the condenser coils on your Kenmore upright freezer is to locate them. Depending on the model of your freezer, the condenser coils may be located on the back or under your freezer. You can check your owner’s manual or look for a metal panel that covers them.
To access the condenser coils, you need to unplug your freezer from the power outlet and move it away from the wall. Be careful not to damage the floor or the power cord when moving your freezer. You may need someone to help you with this task.
Once you have moved your freezer, you need to remove the panel that covers the condenser coils. You may need a screwdriver or a clipper to do this. Be careful not to damage or bend the panel or the coils when removing them.

The second step to clean the condenser coils on your Kenmore upright freezer is to use a vacuum cleaner or a brush to remove any dirt or dust from them. You can use a long-handled bristle brush or a coil brush that is specially designed for this purpose. You can also use a soft cloth or a damp sponge to wipe off any stubborn debris.
Make sure to clean both sides of the coils and reach all the areas between them. Be gentle and avoid scratching or damaging the coils when cleaning them. You can also use compressed air to blow off any loose dust from them.
After you have cleaned the condenser coils, you need to replace the panel that covers them and secure it with screws or clips. Make sure that there are no gaps or cracks in the panel that could allow dust or dirt to enter again.
Finally, you need to plug your freezer back in and move it back to its original position. Be careful not to damage the floor or the power cord when moving your freezer. You may need someone to help you with this task.
Cleaning the condenser coils on your Kenmore upright freezer is not only a simple and easy task but also a very beneficial one. Here are some of the reasons why it matters:

Q: How often should I clean the condenser coils on my Kenmore upright freezer?
A: The frequency of cleaning the condenser coils on your Kenmore upright freezer depends on several factors, such as how often you use your freezer, how dusty or humid your environment is, and how much food you store in your freezer. Generally, it is recommended to clean them at least once or twice a year, but you may need to do it more often if you notice any signs of dirt buildup or poor performance.
Q: How can I tell if my condenser coils need cleaning?
A: Some of the signs that indicate that your condenser coils need cleaning are:
If you notice any of these signs, you should check and clean your condenser coils as soon as possible.
Q: What are some tips to keep my condenser coils clean?
A: Some of the tips to keep your condenser coils clean are:
Cleaning the condenser coils on your Kenmore upright freezer is a simple and easy way to keep your freezer running smoothly and efficiently. By locating and cleaning the coils regularly, you can improve the cooling efficiency, reduce the energy consumption, extend the lifespan, preserve the food quality, and save money on repair costs of your freezer.
