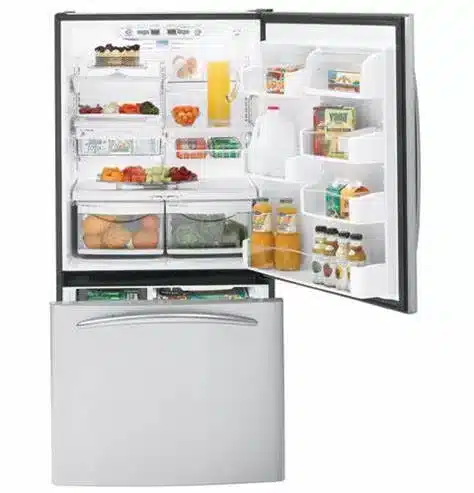
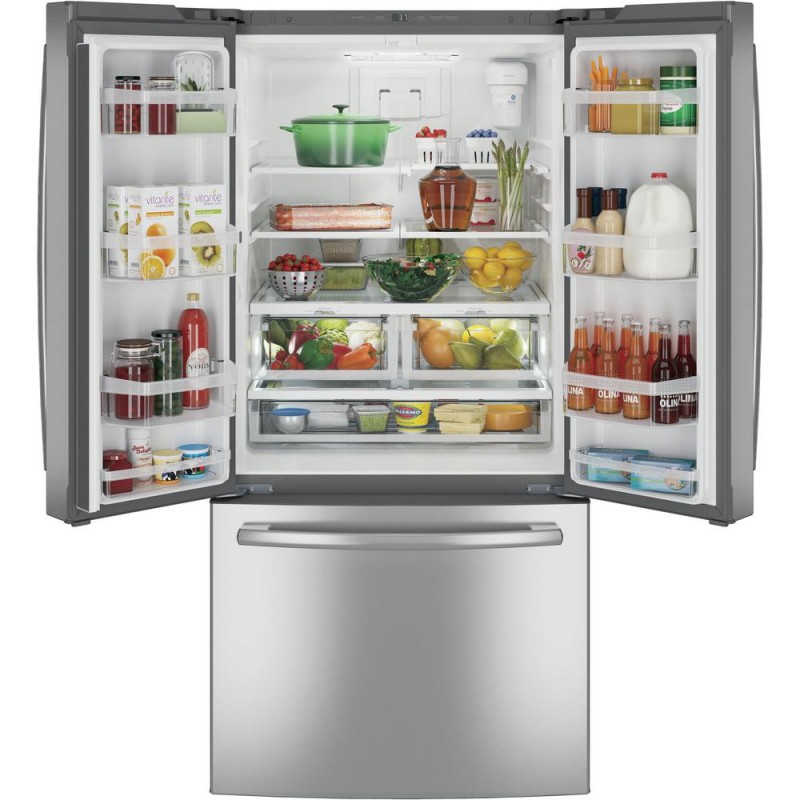
If you’re looking for a way to unclutter your kitchen and make more space for your frozen goods, you might want to consider removing the freezer drawer from your GE bottom freezer refrigerator. This can help you organize your food better, clean your appliance more easily, and even save some energy. But how do you remove the GE freezer drawer without damaging it or the refrigerator?
In this post, we’ll show you how to remove the GE freezer drawer in a few simple steps, using only a Phillips screwdriver and some care.
How to Remove the GE Freezer Drawer: Step by Step Guide
The following guide applies to many GE bottom freezer refrigerators with 20, 22, and 23 cubic feet capacity models. However, some models may have different features or configurations, so it’s always a good idea to check your owner’s manual before attempting any repairs or modifications. If you’re not sure how to remove the GE freezer drawer from your specific model, you may want to contact a professional service person for assistance.
Here are the steps to remove the GE freezer drawer:
- Open the freezer drawer until it stops. The freezer basket rests on a frame inside the freezer drawer.
- Lift the basket up at the back, then lift the front up and lift the entire basket up and out of the drawer. Set it aside on a non-scratching surface.
- Remove the screw from the inside of each railing on both sides of the drawer. You’ll need a Phillips screwdriver for this step.
- Lift up on both sides of the freezer drawer handle to separate the drawer railings from the rail assemblies. Be careful not to bend or damage the railings or assemblies.
- Set the drawer front on a non-scratching surface and push the rail assemblies back into locking position.
That’s it! You’ve successfully removed the GE freezer drawer from your bottom freezer refrigerator. Now you can clean, replace, or access whatever you need in your freezer compartment.
How to Replace the GE Freezer Drawer
To replace the GE freezer drawer, you’ll need to reverse the steps above. Here’s how:
- Pull out the rail assemblies to their full length on each side of the cabinet.
- Locate the slots on the inside of the rail assemblies near the back.
- Insert the hooks at the back of the drawer railings into the slots on the rail assemblies.
- Lower the front of the drawer, making sure the tabs on the sides of the railings fit into the front slots in the rail assemblies.
- Replace the screw on each rail assembly and replace the freezer basket by lowering it into the frame.
Congratulations! You’ve just reinstalled the GE freezer drawer in your bottom freezer refrigerator.

FAQs About Removing GE Freezer Drawer
Here are some common questions and answers about removing the GE freezer drawer:
- Do I need to unplug my refrigerator before removing the freezer drawer? No, you don’t need to unplug your refrigerator before removing the freezer drawer, unless you’re planning to access or work on any electrical components in the back of the freezer compartment. However, it’s always a good idea to be careful around any wires or connectors when removing the drawer.
- How long does it take to remove the GE freezer drawer? It shouldn’t take more than 10 minutes to remove the GE freezer drawer from your bottom freezer refrigerator, as long as you have the right tools and follow the instructions carefully.
- Can I remove the GE freezer drawer by myself? Yes, you can remove the GE freezer drawer by yourself, but it might be easier and safer to have someone help you lift and hold the drawer while you unscrew and detach it from the rail assemblies.
Conclusion
Removing the GE freezer drawer from your bottom freezer refrigerator can be a simple and rewarding project that can help you unclutter your kitchen and make more space for your frozen goods. All you need is a Phillips screwdriver and some care, and you can remove the drawer in a few easy steps. Just remember to check your owner’s manual for any specific instructions or precautions for your model, and contact a professional service person if you’re not sure how to proceed.