If you have a Kenmore freezer, you may need to remove the door from your freezer for various reasons, such as moving, cleaning, repairing or replacing parts. Removing the door from your freezer is not a difficult task, but it requires some care and caution to avoid any damage or injury. You also need to reattach the door correctly to ensure its proper function and performance.
To remove the door from your Kenmore freezer, you need to lay the freezer on its back, remove the base panel and screws, unplug the connector, remove the top hinge and lift the door off. To reattach the door, you need to reverse these steps and make sure everything is aligned and secured.
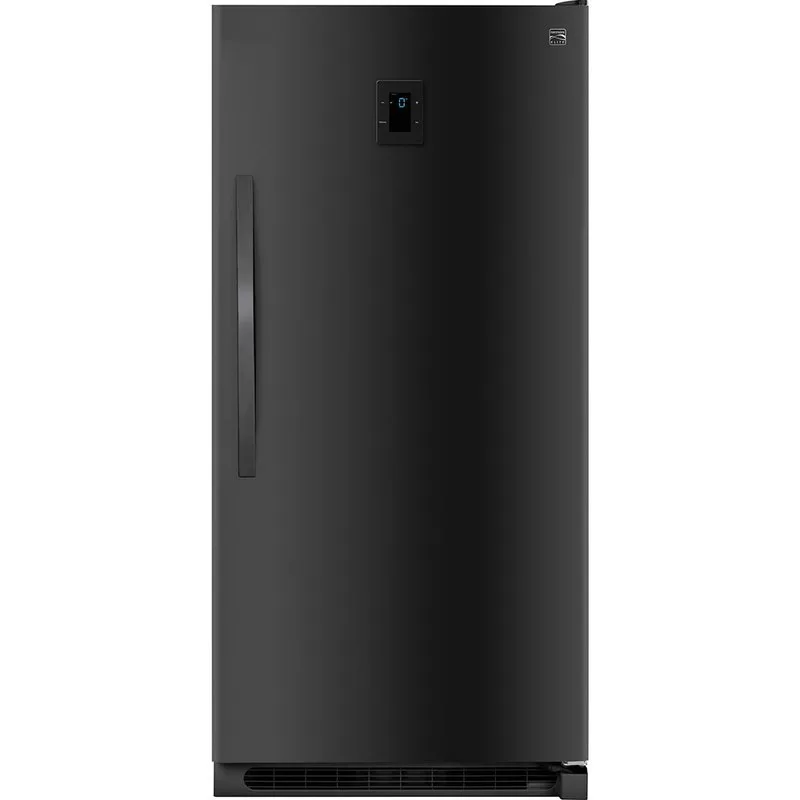
How to Remove The Door From Your Kenmore Freezer
Before you start removing the door from your Kenmore freezer, you need to prepare some tools and equipment, such as a screwdriver, a wrench, a rug or a blanket, and some towels or rags. You also need to empty your freezer of any food items and store them in another freezer or a cooler with ice packs.
Here are some steps that you need to follow:
- Lay the freezer on its back. The first step is to lay your freezer on its back on a rug or a blanket to protect it from scratches or dents. Make sure you have enough space and clearance around your freezer to work comfortably and safely.
- Remove the base panel and screws. The next step is to remove the base panel and screws that hold it in place. The base panel is the metal plate at the bottom of your freezer that covers the compressor and other parts. You can use a screwdriver or a wrench to loosen and remove the screws and then lift the panel off.
- Unplug the connector. The third step is to unplug the connector that connects the door wiring to the cabinet wiring. The connector is usually located near the bottom hinge of the door. You can unplug it by holding the cabinet connector in place and pulling the door connector out.
- Remove the top hinge. The fourth step is to remove the top hinge that attaches the door to the cabinet. The top hinge is usually located at the top corner of the door. You can use a screwdriver or a wrench to loosen and remove the screws that hold it in place and then lift it off.
- Lift the door off. The final step is to lift the door off from the bottom hinge pin and remove it. Be careful not to drop or damage the door as it may be heavy and bulky.

How to Reattach The Door To Your Kenmore Freezer
After removing the door from your Kenmore freezer, you may need to reattach it if you are done with your task or if you are moving it to another location. Reattaching the door to your Kenmore freezer is basically reversing the steps that you followed to remove it.
Here are some steps that you need to follow:
- Place the door on. The first step is to place the door on the bottom hinge pin and align it with the cabinet. Make sure that there are no gaps or misalignments between the door and the cabinet.
- Attach the top hinge. The next step is to attach the top hinge that connects the door to the cabinet. The top hinge is usually located at the top corner of the door. You can use a screwdriver or a wrench to tighten and secure the screws that hold it in place.
- Plug in the connector. The third step is to plug in the connector that connects the door wiring to the cabinet wiring. The connector is usually located near the bottom hinge of the door. You can plug it in by holding the cabinet connector in place and pushing in the door connector until it clicks.
- Replace the base panel and screws. The fourth step is to replace the base panel and screws that cover the compressor and other parts at the bottom of your freezer. The base panel is the metal plate at the bottom of your freezer that you removed earlier. You can use a screwdriver or a wrench to tighten and secure the screws that hold it in place.
- Stand the freezer upright. The final step is to stand your freezer upright on its feet and plug it into the wall outlet. Make sure you have enough space and clearance around your freezer to allow proper ventilation and airflow.

FAQs About Removing And Reattaching The Door To Your Kenmore Freezer
Here are some common questions and answers about removing and reattaching the door to your Kenmore freezer:
- Why do I need to remove the door from my Kenmore freezer? You may need to remove the door from your Kenmore freezer for various reasons, such as:
- Moving your freezer to another location in your home or to a new home
- Cleaning your freezer thoroughly and removing any dirt, dust or spills
- Repairing or replacing any parts that are damaged or faulty, such as the door seal, the handle, the hinge or the wiring
- Adjusting or leveling your freezer to ensure optimal performance and prevent any door alignment or sealing issues
- What are the benefits of removing and reattaching the door to my Kenmore freezer? Removing and reattaching the door to your Kenmore freezer has many benefits, such as:
- Reducing the weight and size of your freezer and making it easier to move or transport
- Improving the appearance and hygiene of your freezer and preventing any mold, mildew or odors
- Extending the life and performance of your freezer and preventing any damage or problems
- Saving money and time by doing it yourself instead of hiring a professional technician
- What are some precautions that I need to take when removing and reattaching the door to my Kenmore freezer? Some precautions that you need to take when removing and reattaching the door to your Kenmore freezer are:
- Unplugging your freezer before doing any work on it to avoid any electric shocks or injuries
- Recruiting someone to help you with lifting and handling the door as it may be heavy and bulky
- Wearing gloves, goggles and protective footwear to prevent any cuts, burns or slips
- Using the right tools and equipment for the job and following the instructions carefully
- Checking and testing your freezer after reattaching the door to make sure everything is working properly