If you own a Maytag refrigerator with a bottom freezer, you might be wondering how to remove the drawer from your freezer for cleaning or maintenance purposes. You might think that it’s a complicated process that requires special tools or skills, but it’s actually quite simple and easy to do. In this blog post, we’ll show you how to remove the drawer from your Maytag freezer in just a few steps, and give you some tips on how to keep it clean and fresh.
To remove the drawer from your Maytag freezer, you need to pull it out until it stops, lift it up slightly, and slide it out of the rails. To reinstall it, you need to align it with the rails, push it in until it clicks, and close it gently.
Why You Might Want to Remove the Drawer from Your Maytag Freezer
There are several reasons why you might want to remove the drawer from your Maytag freezer. Some of them are:
- To clean the drawer and the inside of the freezer more thoroughly. Over time, dirt, crumbs, spills, and ice can accumulate in the drawer and the freezer, creating a mess and a potential health hazard. By removing the drawer, you can access and wipe down all the surfaces more easily and effectively.
- To defrost the freezer or fix a frost problem. If your freezer is not cooling properly or has excessive frost buildup, you might need to defrost it or check for any issues with the door seal, thermostat, or fan. By removing the drawer, you can access and inspect these components more easily and safely.
- To replace or repair the drawer or its parts. If your drawer is damaged, broken, or missing some parts, you might need to remove it to replace or fix it. You can order replacement parts from Maytag or contact a professional service technician for assistance.

How to Remove the Drawer from Your Maytag Freezer: A Step-by-Step Guide
Removing the drawer from your Maytag freezer is not a difficult task, but you need to follow some precautions and instructions to avoid damaging your appliance or injuring yourself. Here are the steps you need to take:
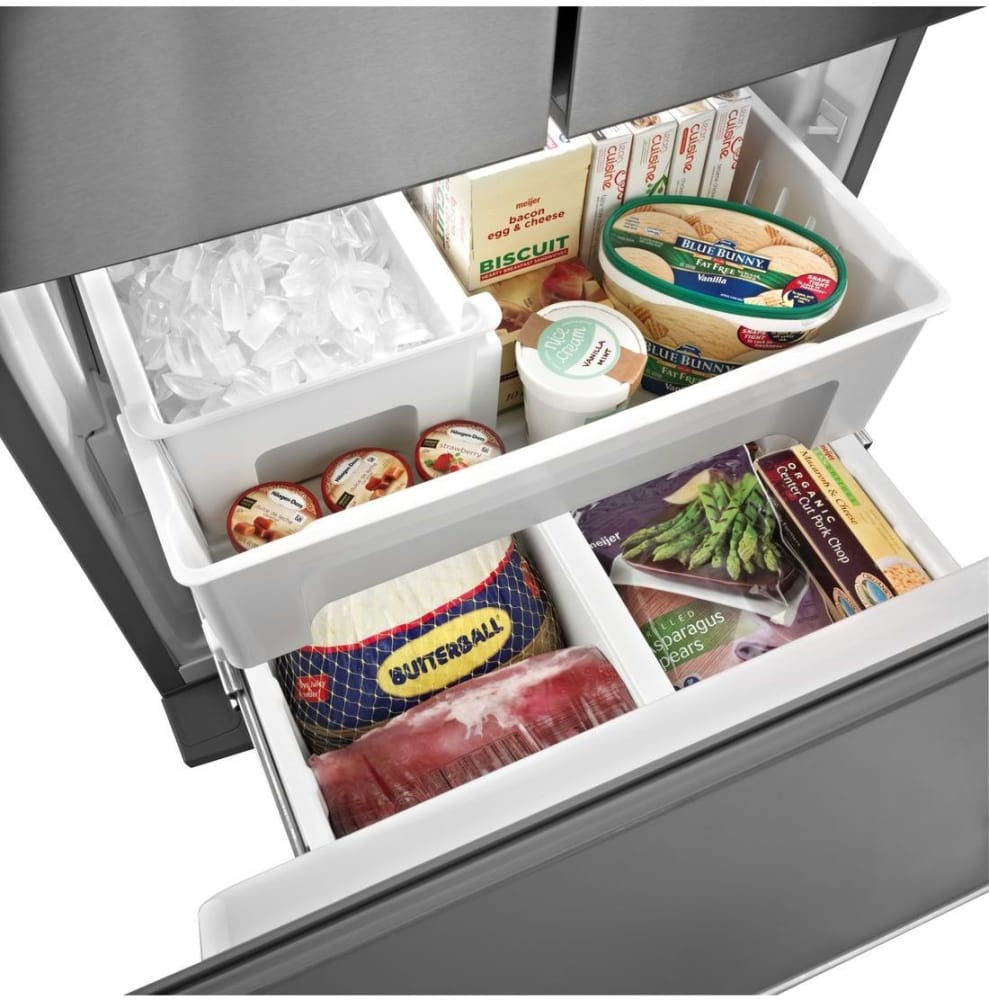
- Empty the drawer. Before you attempt to remove the drawer, make sure you take out all the food items and store them in a cooler or another freezer. This will prevent them from spoiling and make the drawer lighter and easier to handle.
- Open the freezer door. Pull the freezer door open until it stops. You might need to use some force if there is ice buildup around the door seal.
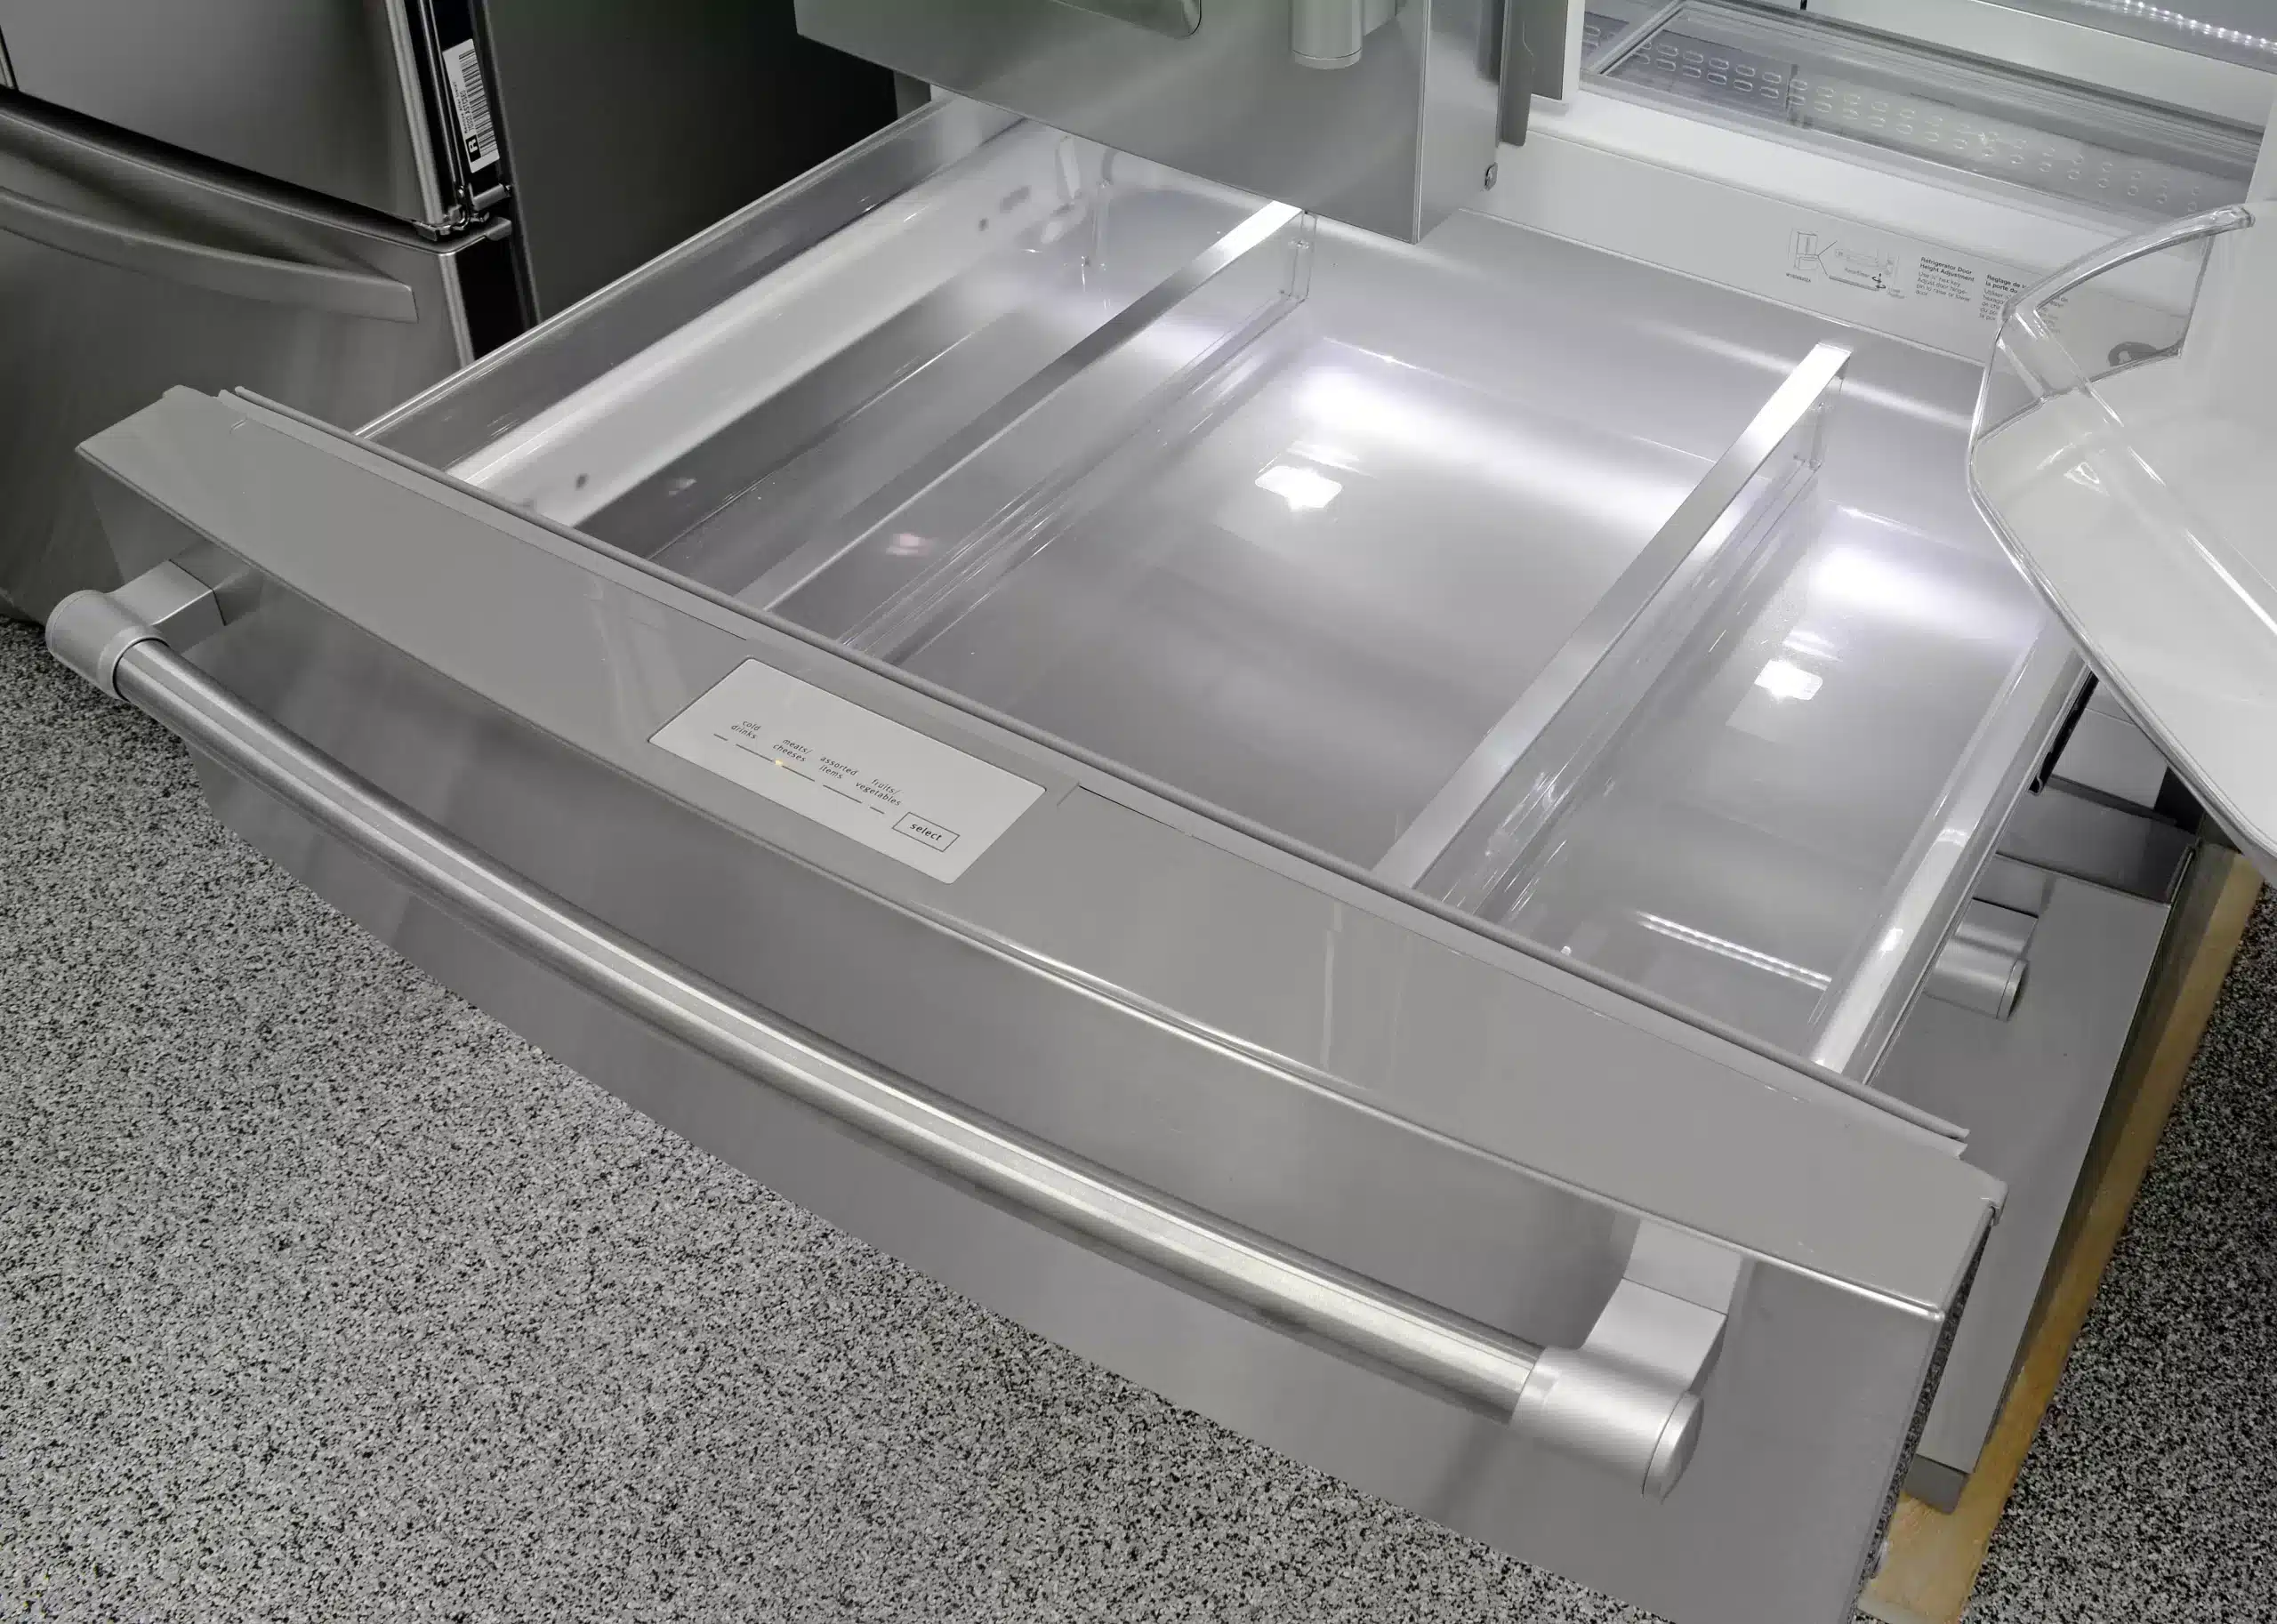
- Pull out the drawer. Grab the handle of the drawer and pull it out until it stops. You should feel some resistance when it reaches the end of the rails.
- Lift up the drawer. Carefully lift up the front of the drawer slightly until you hear a click. This means that the drawer has been released from the rails.
- Slide out the drawer. Gently slide out the drawer from the rails and place it on a flat surface. Be careful not to drop or tilt the drawer as it might damage its parts or cause injury.

How to Reinstall the Drawer in Your Maytag Freezer: A Step-by-Step Guide
Reinstalling the drawer in your Maytag freezer is basically the reverse of removing it. Here are the steps you need to take:
- Align the drawer with the rails. Hold the drawer by its handle and align its back end with the rails inside the freezer. Make sure that both sides of the drawer are aligned evenly and that there are no obstructions in the way.
- Push in the drawer. Gently push in the drawer until you hear a click on both sides. This means that the drawer has been locked into place on the rails.
- Close the drawer. Slowly close the drawer until it touches the back wall of the freezer. Make sure that there are no gaps or misalignments between the drawer and the door seal.
- Close the door. Close the freezer door gently until it latches securely.
FAQs About Removing and Reinstalling Your Maytag Freezer Drawer
Here are some common questions and answers about removing and reinstalling your Maytag freezer drawer:
- Do I need any tools to remove or reinstall my Maytag freezer drawer? No, you don’t need any tools to remove or reinstall your Maytag freezer drawer. You just need your hands and some caution.
- How often should I remove and clean my Maytag freezer drawer? There is no definitive answer to this question, as it depends on how often you use your freezer and how dirty it gets. However, a general rule of thumb is to remove and clean your Maytag freezer drawer at least once every six months, or more frequently if you notice any signs of dirt, spills, odors, or frost buildup.
- What should I use to clean my Maytag freezer drawer and the inside of the freezer? You should use a mild soap and warm water solution to clean your Maytag freezer drawer and the inside of the freezer. You can use a soft cloth or sponge to wipe down all the surfaces and rinse them with clean water. You should avoid using any abrasive cleaners, scouring pads, or chemicals that might damage or discolor your appliance.
Conclusion
Removing and reinstalling your Maytag freezer drawer is a simple and easy process that you can do yourself in just a few minutes. By doing so, you can keep your freezer clean, fresh, and functioning properly. You can also prevent any potential problems or issues that might affect your appliance’s performance or lifespan. We hope this blog post has been helpful and informative for you. If you have any questions or comments, feel free to leave them below. And don’t forget to check out our other blog posts on kitchen appliances and food safety at PressToCook.com!