
If you’re a rice lover or someone who enjoys cooking rice regularly, having a reliable rice cooker can make your life much easier. The Oster rice cooker is a popular choice among home cooks for its simplicity, convenience, and consistent results. In this article, we will provide you with step-by-step instructions on how to use an Oster rice cooker to prepare perfect rice every time.
")
Before you start cooking, you need to measure the amount of rice you want to cook. The Oster rice cooker comes with a measuring cup specifically designed for rice. One cup of uncooked rice generally yields about three cups of cooked rice. Adjust the amount based on your preferences and the number of servings you need.
Rinsing the rice is an optional step, but it can help remove excess starch and improve the texture of the cooked rice. To rinse the rice, place it in a fine-mesh sieve or colander and rinse it under cold water until the water runs clear. This step can be skipped if you prefer the starchier texture of unrinsed rice.
The ratio of rice to water is crucial for achieving perfectly cooked rice. As a general rule, use a ratio of 1:2, which means one cup of rice requires two cups of water. However, this ratio can vary slightly depending on the type of rice you are using. Consult the rice packaging or refer to the Oster rice cooker instruction manual for specific water-to-rice ratios.

If you prefer to add salt or other seasonings to your rice, this is the time to do it. Add the desired amount of salt or seasonings to the water before adding the rice. Stir well to ensure that the salt or seasonings are evenly distributed.
Insert the inner pot into the Oster rice cooker. Make sure it is securely in place and properly aligned with the heating element.
Carefully pour the rinsed or unrinsed rice into the inner pot. Then, pour the water (with or without seasonings) into the pot, ensuring that the water covers the rice evenly.
Place the lid securely on the rice cooker. This will create a seal and prevent steam from escaping during the cooking process.
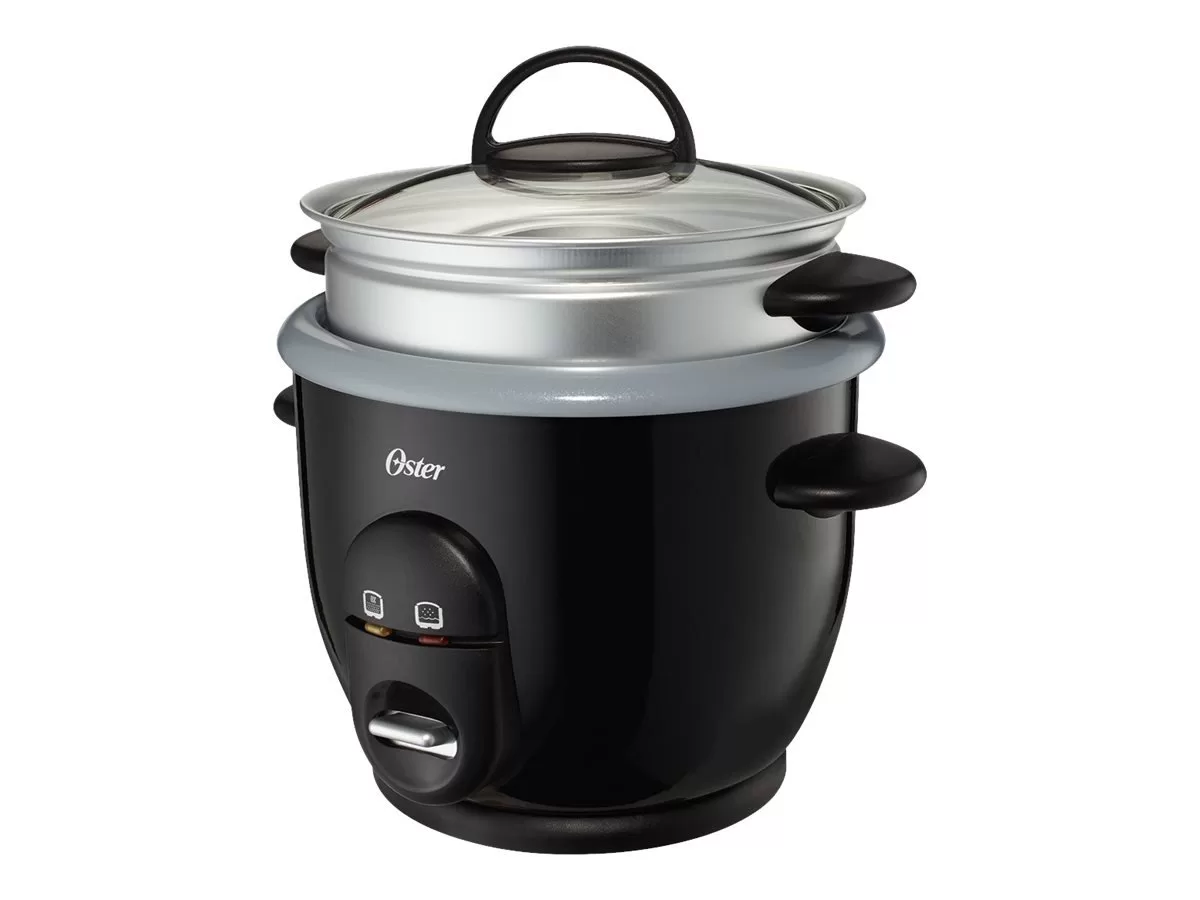
The Oster rice cooker typically has different cooking settings, such as “White Rice” and “Brown Rice.” Select the appropriate setting based on the type of rice you are cooking. If you are unsure, consult the instruction manual for guidance.

Once you have selected the cooking setting, press the “Cook” or “Start” button to begin the cooking process. The rice cooker will automatically adjust the cooking time and temperature based on the selected setting.
The Oster rice cooker will take some time to cook the rice thoroughly. It is essential to avoid opening the lid during the cooking process, as this can disrupt the cooking cycle and affect the quality of the rice. Trust the rice cooker to do its job and patiently wait for the cooking cycle to complete.
After the cooking cycle is complete, the rice cooker will automatically switch to the “Keep Warm” mode. Allow the rice to rest in the cooker for about 5-10 minutes. This resting period helps the rice settle and ensures even moisture distribution.
Once the resting period is over, open the lid and use a rice paddle or fork to fluff the rice gently. This will separate the grains and give the rice a light and fluffy texture. Serve the rice as desired, either as a side dish or as part of a main course.
After using the Oster rice cooker, it is important to clean it properly to maintain its performance and longevity. Make sure to unplug the rice cooker and allow it to cool before cleaning. Remove the inner pot and wash it with warm, soapy water. Rinse thoroughly and dry before reassembling the rice cooker. Wipe the exterior of the rice cooker with a damp cloth.
Using an Oster rice cooker is a convenient and foolproof way to cook delicious rice. By following these step-by-step instructions, you can achieve perfectly cooked rice every time. Experiment with different types of rice and seasonings to create a variety of flavorful rice dishes. Enjoy the convenience and reliability of the Oster rice cooker in your kitchen!

