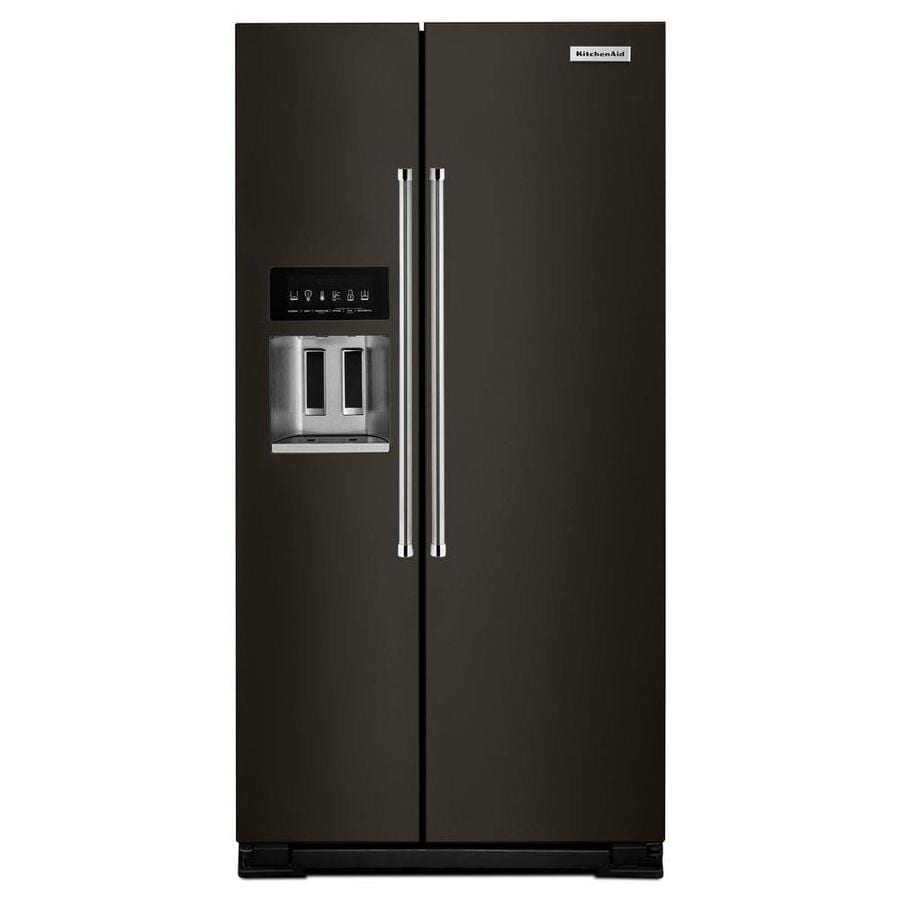
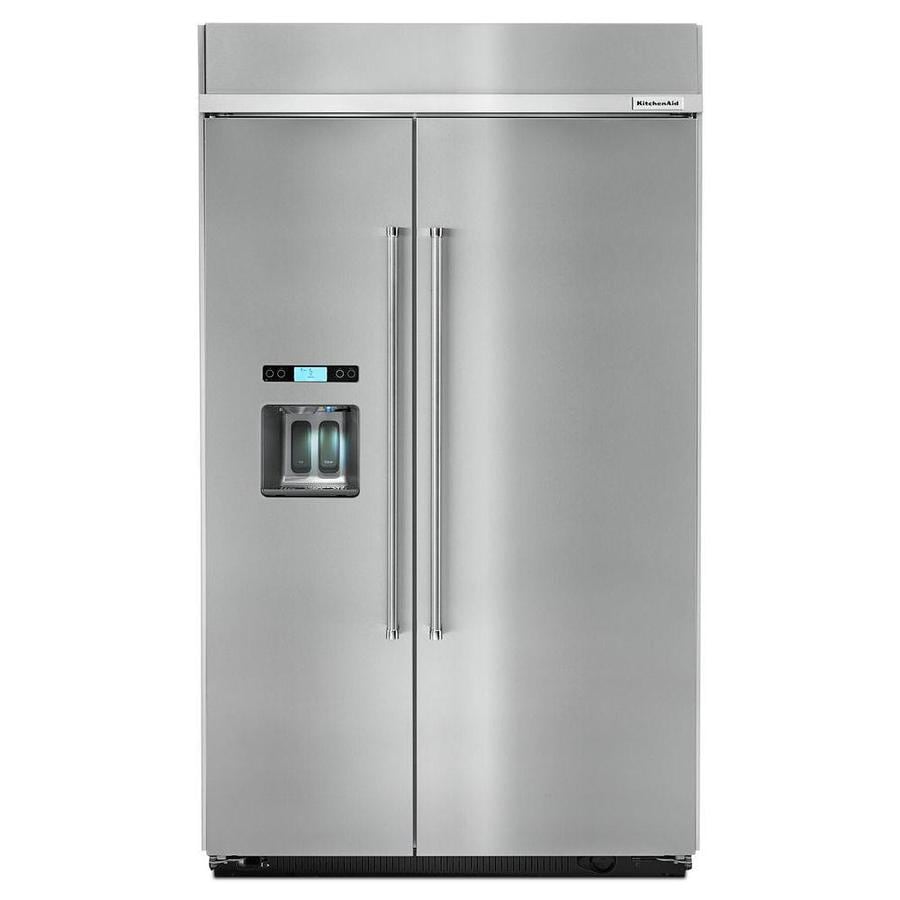
If you have a Kitchenaid freezer with an ice maker, you might need to remove the ice maker for various reasons, such as cleaning, repairing, or replacing it. Removing the ice maker from your Kitchenaid freezer is not a difficult task, but it requires some care and caution. You also need to have some basic tools and skills to do it safely and correctly. In this post, we’ll show you how to remove the ice maker from your Kitchenaid freezer in a few simple steps.
You can remove the ice maker from your Kitchenaid freezer by unplugging the refrigerator, opening the ice maker compartment, removing the ice bucket, unscrewing the ice maker, disconnecting the wire harness, and pulling out the ice maker assembly. You should also check and clean the ice maker and its parts before reinstalling it or replacing it with a new one.
How to Remove the Ice Maker from Your Kitchenaid Freezer with a Screwdriver
The most common way to remove the ice maker from your Kitchenaid freezer is to use a screwdriver to unscrew the ice maker from the freezer wall. The exact procedure may vary depending on the model and type of your freezer and ice maker, but here are some general steps to follow:
- Unplug the refrigerator or switch off the circuit breaker for the fridge. This will prevent any electric shock or damage to the appliance.
- Open the compartment door to reach the ice maker assembly. Depending on your model, you may need to open the emitter door on the left wall of the freezer next to the ice maker, or open the ice maker door by pulling it outward and to the left.
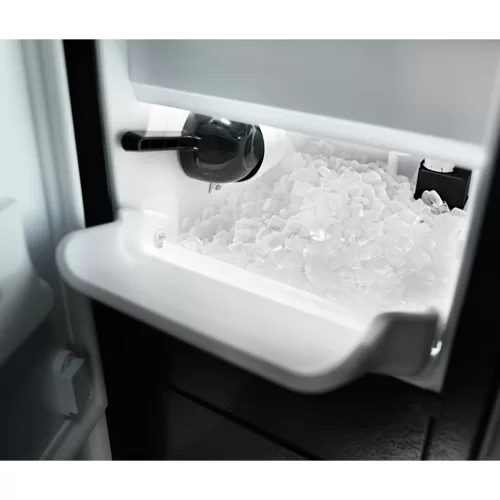
- Remove the ice bucket and set it aside. You may need to lift it up slightly and pull it forward to release it from its hooks.
- Locate and remove the two screws that secure the ice maker to the freezer wall. They are usually located at the bottom-right corner of the ice maker or on its sides. You may need a Phillips or a flathead screwdriver, depending on your model.
- Disconnect the wire harness from the ice maker. It is usually located behind or under the ice maker. You may need to press a tab or squeeze a clip to release it.
- Carefully pull out the ice maker assembly. You may need to push up on some retaining clips or slide it off some rails to free it from its position.
How to Check and Clean Your Kitchenaid Ice Maker
Once you have removed the ice maker from your Kitchenaid freezer, you should check and clean it before reinstalling it or replacing it with a new one. Here are some tips:
- Check for any signs of damage, wear, or corrosion on the ice maker and its parts. If you notice any cracks, bends, rust, or leaks, you should replace them with new ones or contact a professional for repair.
- Check for any frost buildup, mold growth, or dirt accumulation on the ice maker and its parts. If you notice any of these issues, you should defrost and clean them with a soft cloth soaked in warm water and vinegar or bleach. You should also sanitize them with a food-grade sanitizer spray or wipe.
- Check for any clogs or blockages in the water inlet valve, water line, fill tube, or drain tube of the ice maker. If you notice any of these problems, you should clear them with a thin wire or a pipe cleaner. You should also flush them with hot water and vinegar or bleach.
- Check for any malfunctions or errors in the ice maker’s operation. If you notice any irregularities in the ice production, size, shape, or quality, you should troubleshoot them with your owner’s manual or contact a professional for assistance.
Conclusion
Removing the ice maker from your Kitchenaid freezer is not a hard task if you follow these simple steps. You can use a screwdriver to unscrew the ice maker from the freezer wall, disconnect the wire harness from the ice maker, and pull out the ice maker assembly. You should also check and clean your ice maker and its parts before reinstalling it or replacing it with a new one.