
Kitchenaid mixers are versatile appliances that can vastly improve your efficiency in the kitchen. They come with a variety of attachments, each designed to make certain tasks easier, from kneading dough to making pasta. However, a common concern among Kitchenaid users is how to remove these attachments safely and conveniently. This blog post aims to address this issue by providing a detailed guide on removing Kitchenaid attachments, with practical tips and insights to ensure a smooth and hassle-free process.
Before delving into the removal process, it’s essential to understand the basic design of a Kitchenaid mixer. These appliances come with a power hub, where the attachments are inserted. The hub has a shaft, secured with a thumb screw, which locks the attachment in place.
It’s crucial to note that, while Kitchenaid mixers are robust and durable, improper handling can damage both the mixer and the attachments. Therefore, it’s essential to follow the manufacturer’s instructions when removing attachments.

Here are the steps to safely remove Kitchenaid attachments:
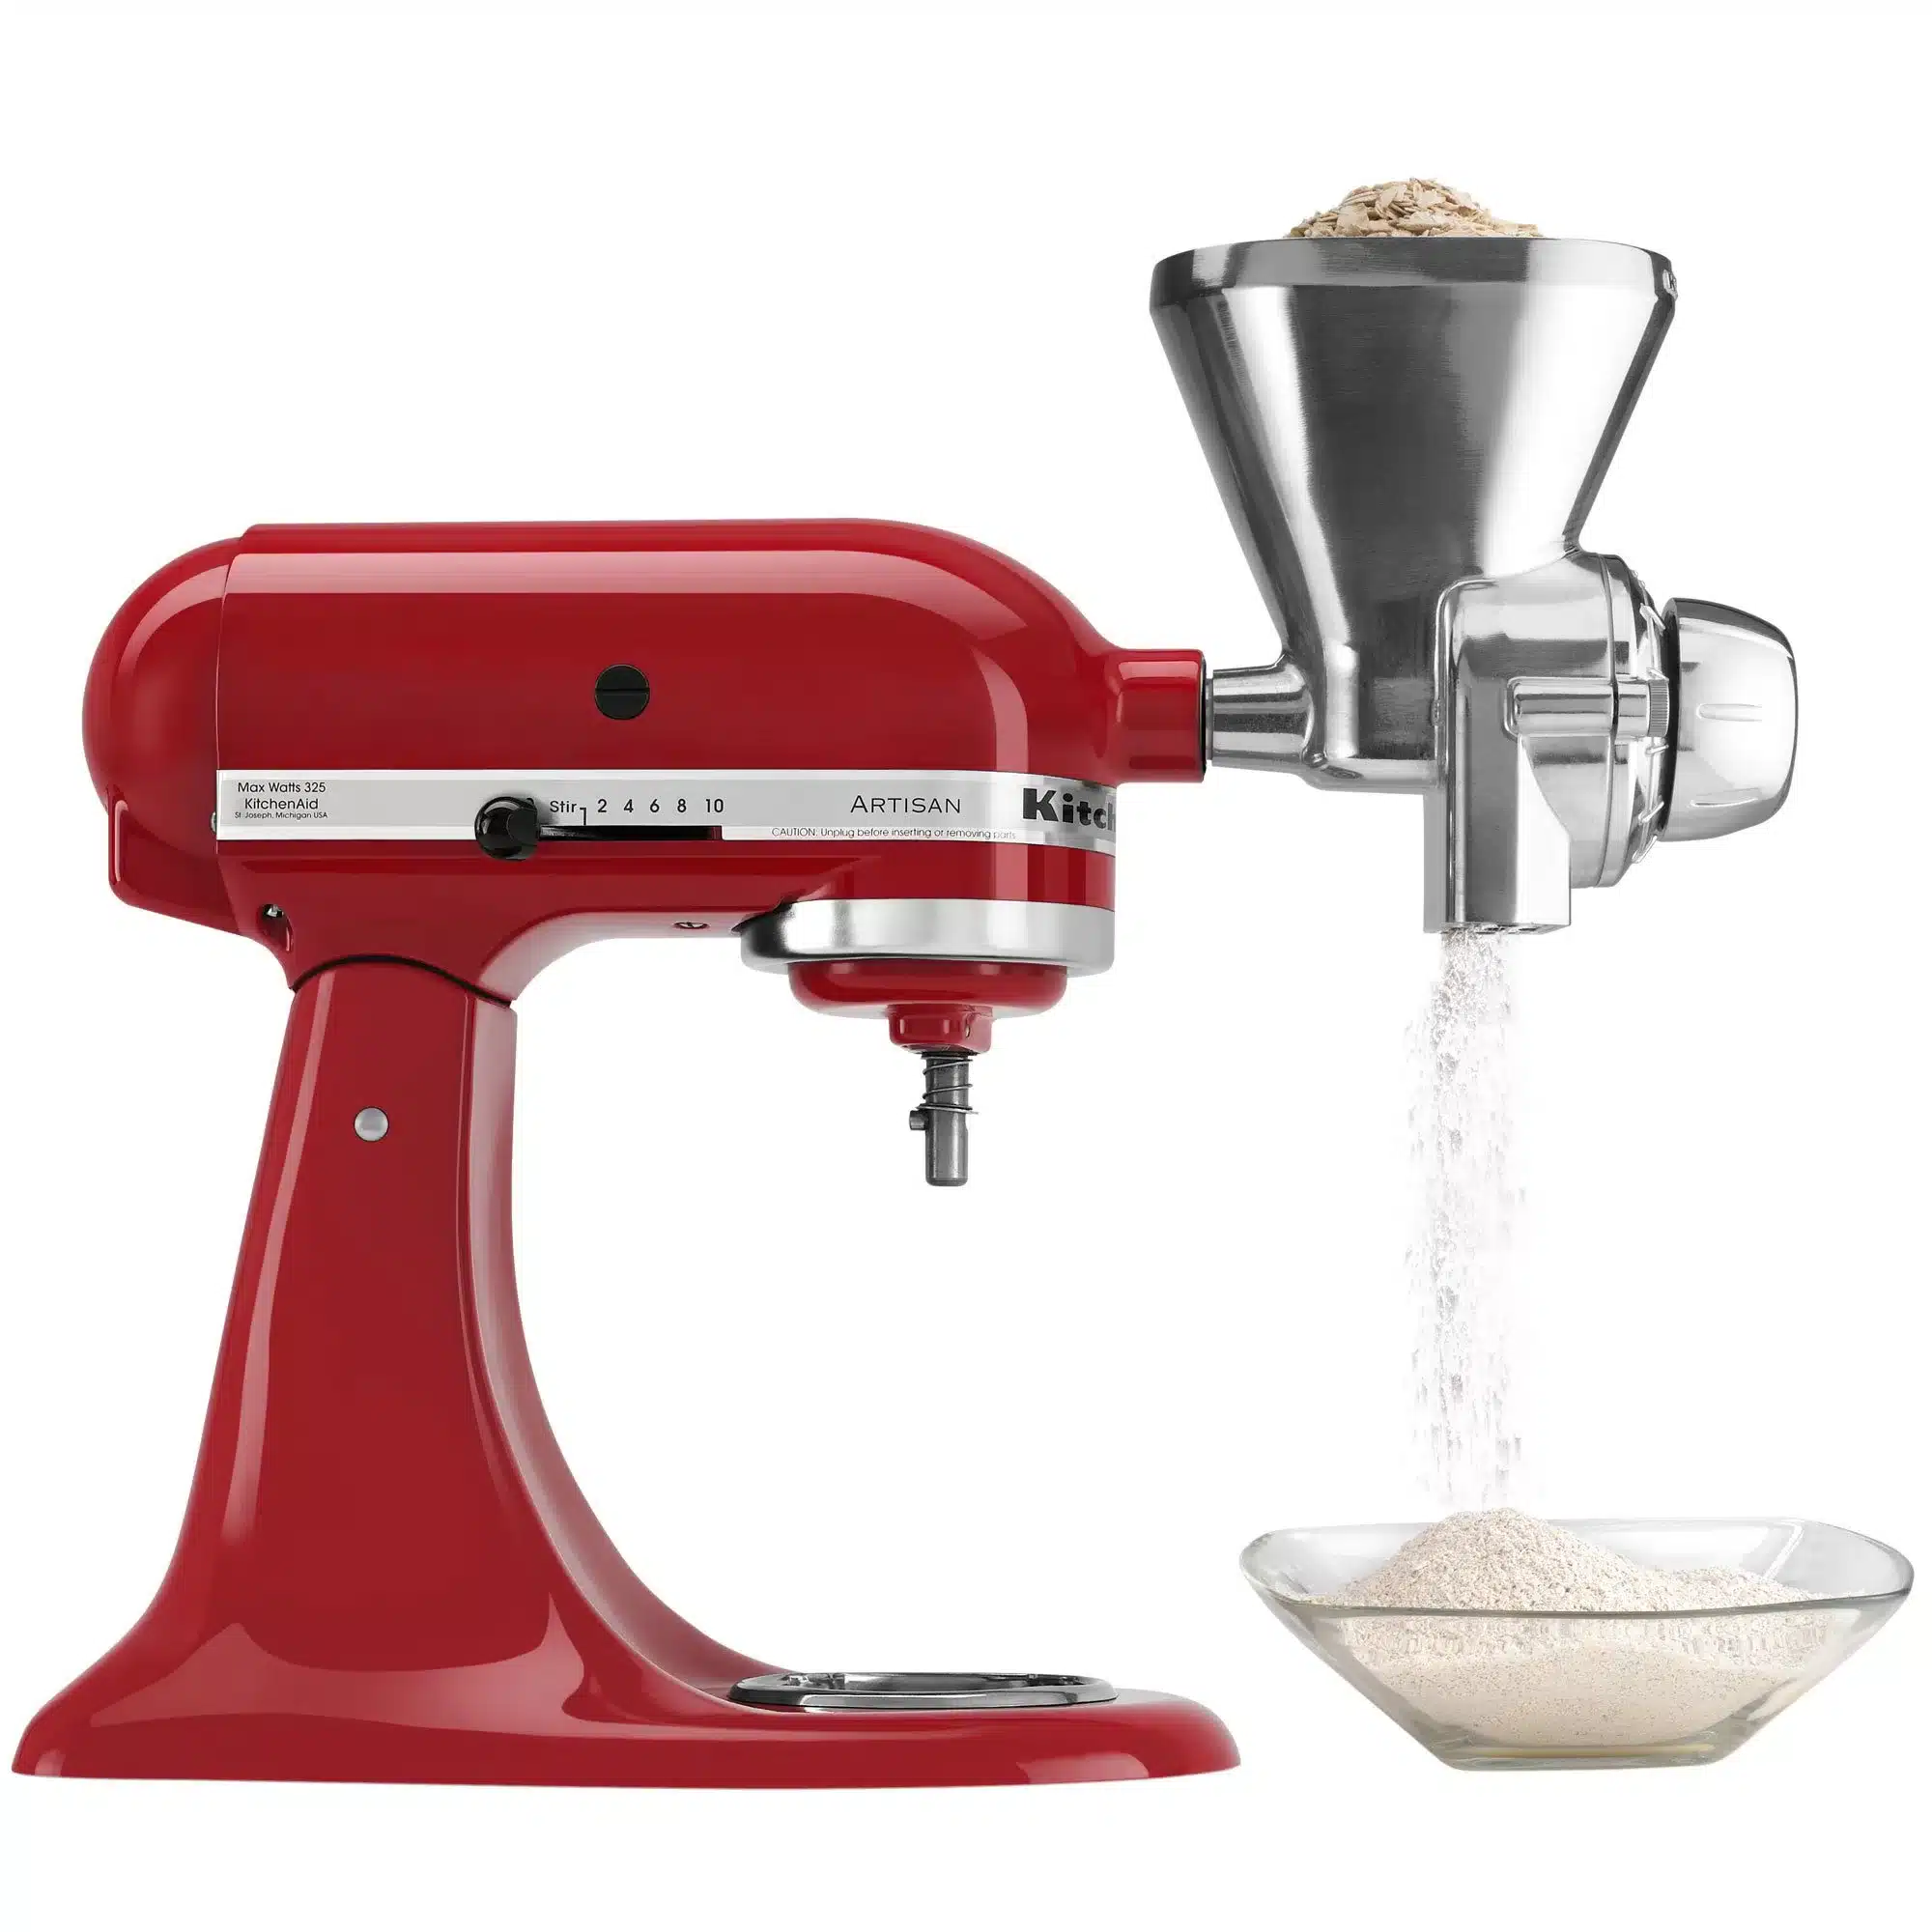
![The Best KitchenAid Attachments You Can Buy for Your Stand Mixer [2022]](https://www.tasteofhome.com/wp-content/uploads/2020/08/kitchenaid-noodle-maker.jpg?w=1200)
Despite following these steps, you may find that an attachment is stuck. This is typically due to food residue that has dried on the shaft or the attachment. Here’s how to handle a stuck attachment:
1. Can I use a tool to remove a stuck Kitchenaid attachment?
Using tools is generally not recommended, as they can damage the mixer or the attachment. Instead, try the methods outlined above. If the attachment still won’t come off, consider contacting Kitchenaid customer service for further assistance.
2. Can I leave my Kitchenaid attachments on the mixer when not in use?
While it’s not harmful to leave attachments on the mixer when not in use, it’s best to remove them after each use. This allows for proper cleaning and prevents food residue from drying on the attachment or the mixer shaft, which can make future removal more difficult.
3. How often should I clean my Kitchenaid mixer and attachments?
It’s recommended to clean your mixer and attachments after each use. Regular cleaning not only ensures your mixer is ready for the next use but also contributes to its longevity.
Removing Kitchenaid attachments is a simple process, but it requires careful handling to prevent damage to your mixer or attachments. Remember to always unplug your mixer before removing any attachment, loosen the thumb screw, and clean your attachments immediately after removal. If an attachment is stuck, warm water and food-grade penetrating oil can be effective solutions. With these tips, you can ensure a smooth and hassle-free Kitchenaid experience.

