
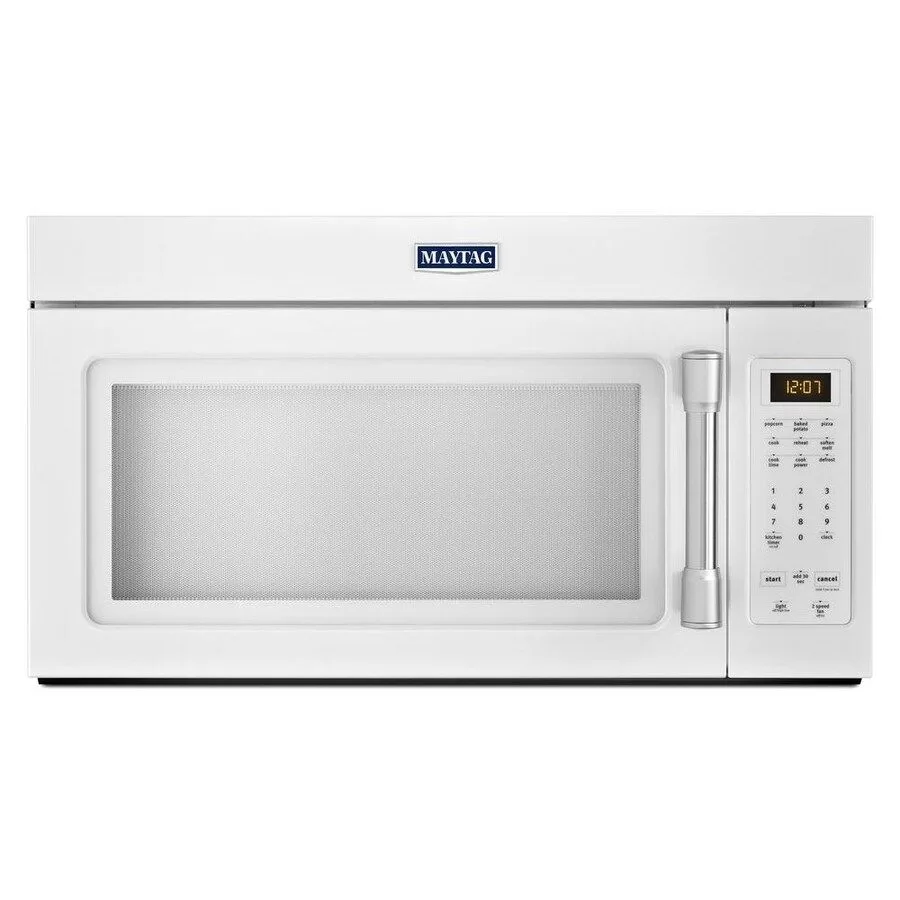
That burnt out light bulb in your Maytag microwave isn’t just an inconvenience—it makes it tricky to see your food while it’s cooking. Don’t worry about fumbling in the dark though – replacing that crucial interior bulb is an easy fix. With a few tools and some quick unscrewing, you can have your Maytag brightly illuminated again.
In this post, we’ll provide a step-by-step guide to replacing your Maytag microwave light bulb yourself. We’ll cover what type of bulb you need, how to remove the old one, and how to install the new one securely. You’ll learn safety tips like allowing the appliance to fully cool and discharging remaining electricity.
With these DIY light bulb replacement steps, you can have your Maytag as good as new again. Shed some light on the issue and improve visibility once more while cooking in your microwave. Let’s get that essential light switched on!
To replace your Maytag microwave’s light bulb, you need to unplug your microwave, remove the vent grille or the base plate, unscrew the old bulb, screw in the new bulb, and reattach the vent grille or the base plate. You also need to use a compatible light bulb that matches your microwave model and wattage.
How to Unplug Your Microwave
The first and most important step of replacing your Maytag microwave’s light bulb is to unplug your microwave from the power source. This will prevent any electric shocks or injuries that could occur if you touch any live wires or components inside your microwave. To unplug your microwave, you need to follow these steps:
- Locate the power cord of your microwave behind or under your appliance.
- Pull the plug out of the wall outlet or power strip. Do not yank the cord or twist it as this could damage it.
- Place the plug in a safe place where it will not get wet or damaged.
How to Remove the Vent Grille or the Base Plate
The next step of replacing your Maytag microwave’s light bulb is to remove the vent grille or the base plate that covers the light bulb compartment. The location and type of these parts depend on your microwave model and whether it is mounted over the range or on the countertop. To remove the vent grille or the base plate, you need to follow these steps:
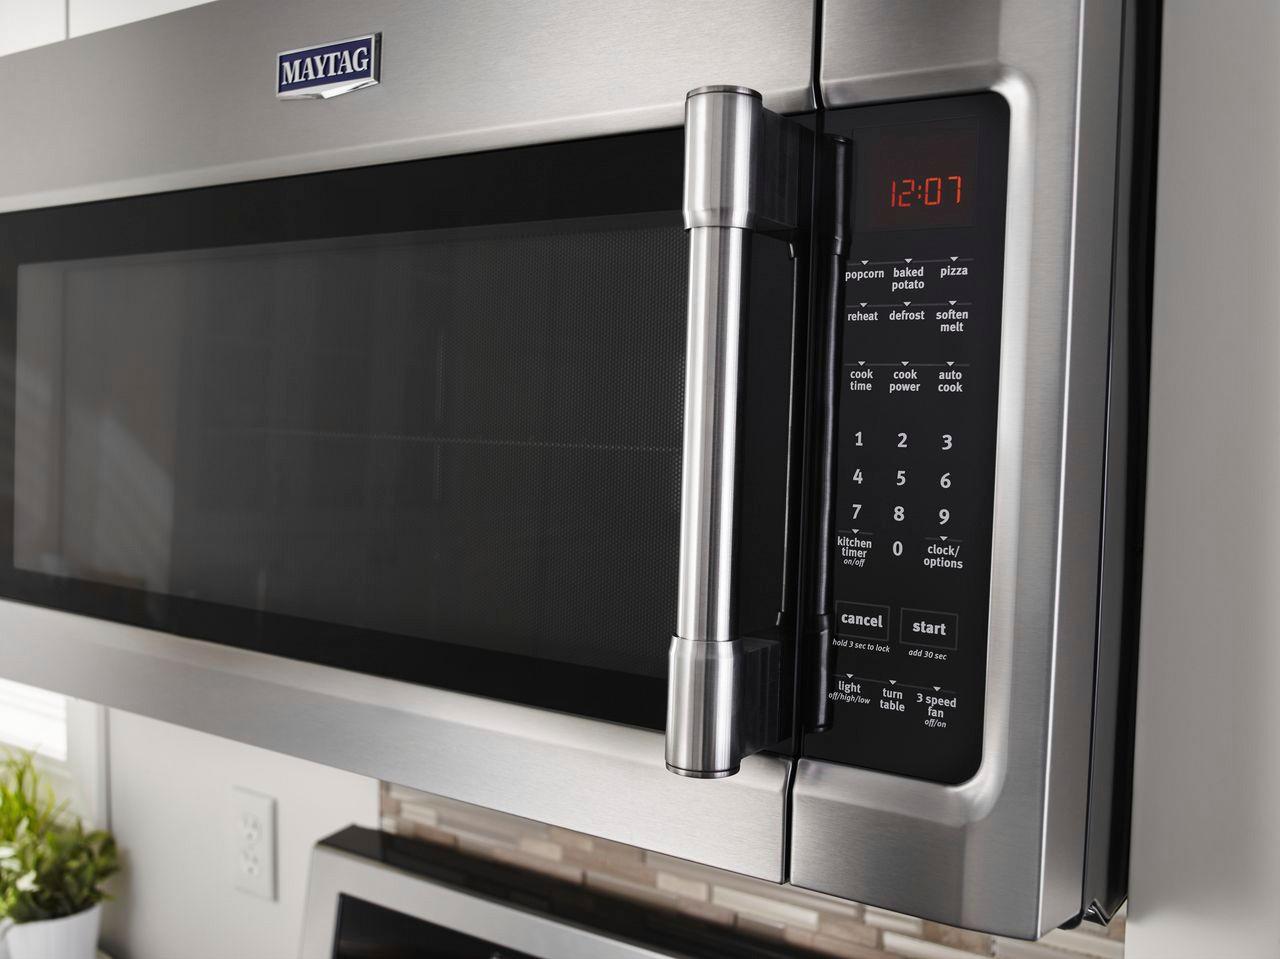
- For over-the-range microwaves with a vent grille: The vent grille is a long metal strip that runs along the top front of your microwave. It has two screws on each end that hold it in place. To remove it, you need to:
- Use a Phillips screwdriver to loosen and remove the screws on both ends of the vent grille.
- Slide the vent grille to the left and lift it up to detach it from the microwave.
- Place the vent grille and the screws in a safe place where they will not get lost or damaged.
- For over-the-range microwaves with a base plate: The base plate is a rectangular metal panel that covers the bottom of your microwave. It has one screw on each corner that holds it in place. To remove it, you need to:
- Use a Phillips screwdriver to loosen and remove the screws on all four corners of the base plate.
- Carefully lower the base plate and pull it out from under the microwave.
- Place the base plate and the screws in a safe place where they will not get lost or damaged.
- For countertop microwaves with a base plate: The base plate is a circular metal disc that covers the bottom of your microwave. It has three screws around its edge that hold it in place. To remove it, you need to:
- Turn your microwave upside down and place it on a soft surface such as a towel or a mat.
- Use a Phillips screwdriver to loosen and remove the screws around the edge of the base plate.
- Lift off the base plate and place it and the screws in a safe place where they will not get lost or damaged.
How to Unscrew the Old Bulb
The third step of replacing your Maytag microwave’s light bulb is to unscrew the old bulb and replace it with a new one. The light bulb is located inside the light bulb compartment, which is a small metal socket that holds the bulb in place. To unscrew the old bulb, you need to follow these steps:
- Wear gloves and use a cloth or a paper towel to protect your hands from the heat and the glass of the bulb.
- Carefully grasp the bulb and turn it counterclockwise until it comes loose from the socket. Do not force or twist the bulb too hard as it may break or shatter.
- Dispose of the old bulb properly. Do not throw it in the trash or recycle bin as it may contain mercury or other hazardous materials. You can contact your local waste management service or visit [this website] to find out how to dispose of your old bulb safely and responsibly.
How to Screw in the New Bulb
The fourth step of replacing your Maytag microwave’s light bulb is to screw in the new bulb and test it. The new bulb should be compatible with your microwave model and wattage. You can find this information on the label inside your microwave door or on the back of your microwave. You can also search online for the part number or contact the manufacturer for assistance. To screw in the new bulb, you need to follow these steps:
- Wear gloves and use a cloth or a paper towel to handle the new bulb. Do not touch the bulb with your bare hands as this may damage it or reduce its lifespan.
- Carefully insert the new bulb into the socket and turn it clockwise until it is snug. Do not over-tighten or cross-thread the bulb as this may damage it or the socket.
- Plug in your microwave and turn on the light switch to see if the new bulb works. If it does not work, you may need to check the wiring, the fuse, or the switch for any problems. If you are not sure how to do this, you should contact a qualified technician for help.
How to Reattach the Vent Grille or the Base Plate
The final step of replacing your Maytag microwave’s light bulb is to reattach the vent grille or the base plate that you removed earlier. To reattach them, you need to follow these steps:
- For over-the-range microwaves with a vent grille: To reattach the vent grille, you need to:
- Align the tabs on the vent grille with the slots on the top of your microwave.
- Slide the vent grille to the right and push it down to lock it into place.
- Use a Phillips screwdriver to tighten and secure the screws on both ends of the vent grille.
- For over-the-range microwaves with a base plate: To reattach the base plate, you need to:
- Carefully lift up the base plate and slide it under your microwave.
- Align the holes on the base plate with the screws on your microwave.
- Use a Phillips screwdriver to tighten and secure the screws on all four corners of the base plate.
Conclusion:
Replacing a burnt out light bulb in your Maytag microwave is a straightforward fix you can do yourself with the right steps. By unplugging the microwave, removing the vent grille or base plate, switching the old bulb for a new compatible one, and reattaching the cover, you can have your interior lighting working again. With improved visibility and a bright, warm light, cooking in your Maytag will be easier and more enjoyable. Don’t live with a dark microwave when a simple DIY light bulb swap can make all the difference.

