
Almost everyone owns a rice cooker now. Most families have a rice cooker stashed away at the back of a cupboard, ready to bring out for any occasion which calls for a big bowl of rice. However – What do you do if your trusted rice cooker decides to give up the ghost? Or, if you still haven’t joined the kitchen revolution and haven’t bought a rice cooker. Fear not. There are plenty of ways to cook rice.
If you don’t have a rice cooker to hand, rice can be cooked using an Instant Pot, an air fryer, in a microwave or on the stove. The quality of rice will depend on the method you use and the type of rice you are trying to cook. An instant pot will yield the best results, similar to cooking rice in a rice cooker.
Yes, that’s right – Even an air fryer. As stated, all of the methods will produce different quality rice. However, the good news is, they are all delicious (in their ways) So if you have no rice cooker. Read on, and we can find the best (and fastest) way for you to whip up a bowl of rice, ready for dinner!
This whole article will be based on cooking regular white jasmine rice. For brown rice, sushi rice (sticky), or basmati rice, prep variations will need to be applied.
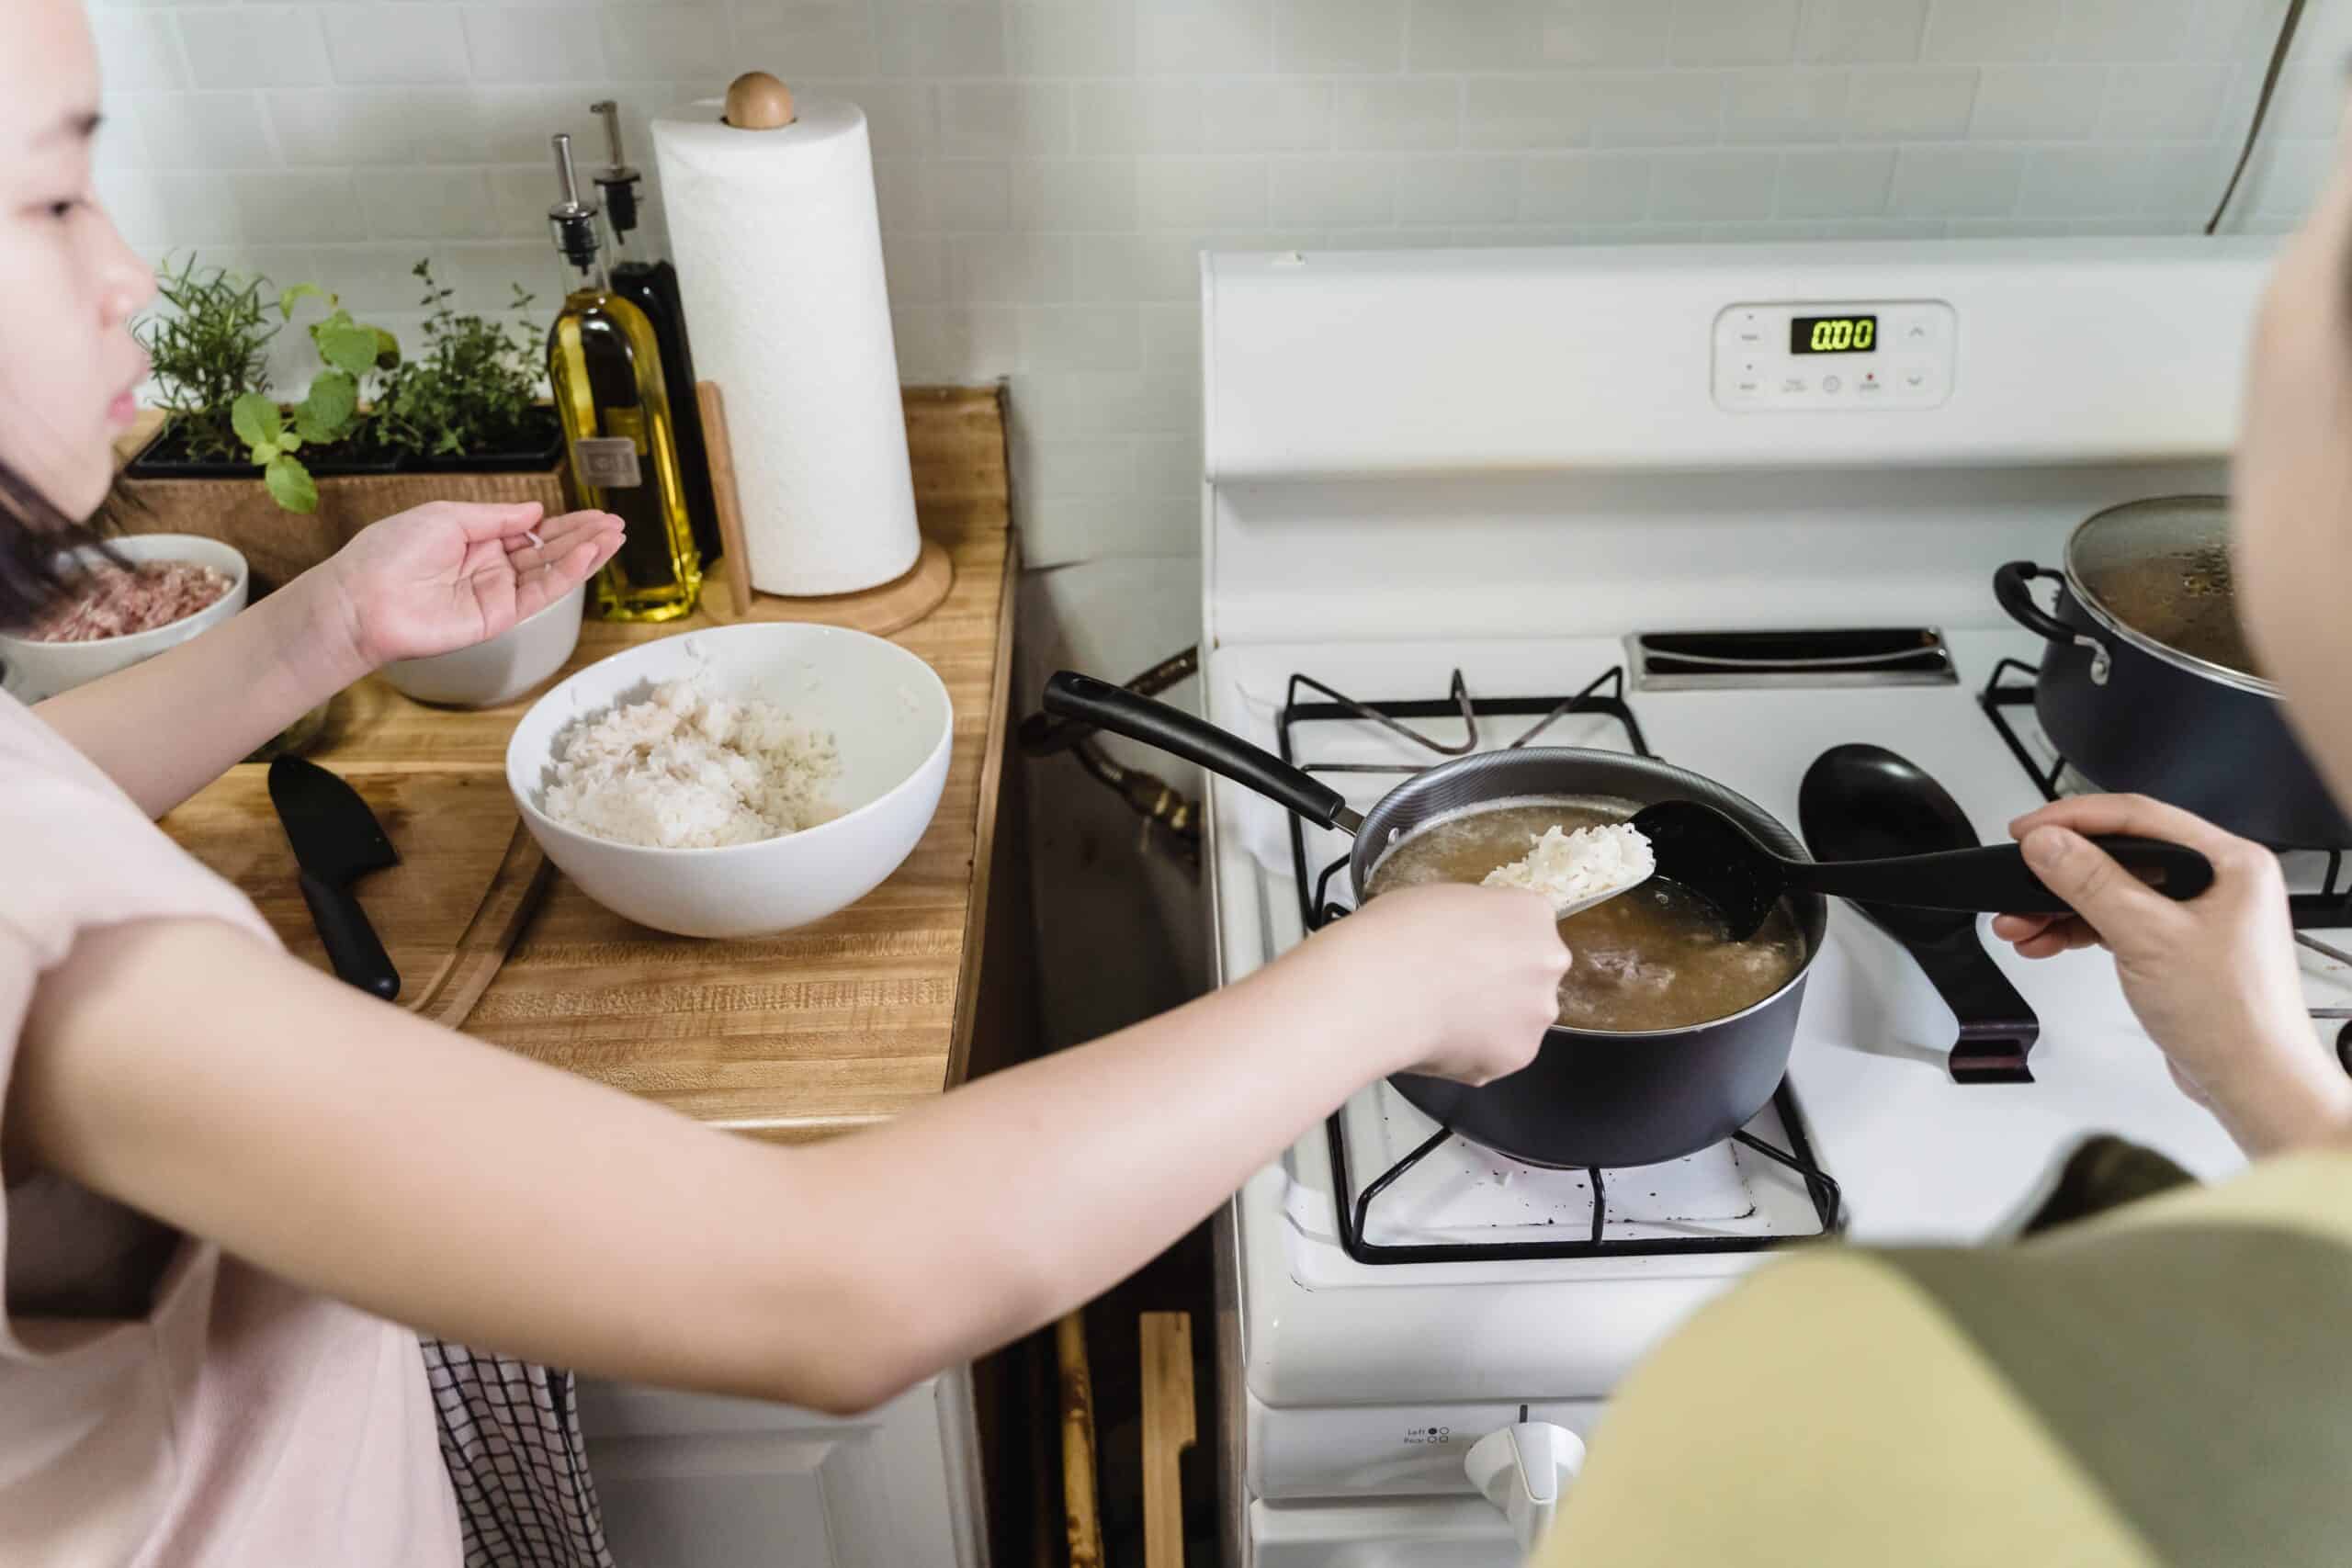
Rice should be well prepped before cooking. Taking the extra time to prepare rice will mean the difference between clumpy wet or raw rice and some delicious fluffy rice. Regardless of the appliance you will be cooking rice in. The prepping rules are the same across the board.
There are three crucial steps – You should: rinse, soak, and rinse when prepping rice.
Rinse
Decide how much rice you want to cook, and give it a good rinse. Rice will naturally have debris in and around it, such as pieces of plant, small stones, and extra “dust”.
Put your rice in a colander, run under a COLD stream, and get your fingers in the rice and gently rub. You are trying to clean gently while ensuring that as many grains as possible remain intact. When you cook snapped rice, more starch will come out, meaning more sticky goo (no one wants)
Soak
Once you have rinsed, fill a bowl with COLD Water and soak your grains. We use cold water, as we don’t want to warm the rice quite yet – warming at this point will cause the rice to expand, and if you soak in water then too warm, you will end up with a gooey mess – very quickly.
You should soak for as long as possible. A minimum of 30 minutes I find is excellent, although I do aim to soak for about an hour if I make time (i.e., If I remember to start the soaking process in time)
Rinse
In the same way as the first rinse, run cold water through the rice to remove all the starch. This time it may take a little more time than the first. Run Water through the rice until the water runs clear.
This step is essential (take your time) – Rinsing thoroughly is the difference between sticky gloopy rice and some beautiful grains.
Now your rice is prepped, soaked, washed and ready to cook. We can pick a method (or whatever you have on hand)
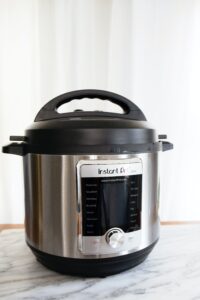
A fantastic alternative and the closest you will get to use an actual rice cooker.
Instant pots (electric pressure cookers) can also pair up as rice cookers because they work almost identical ways. You can sometimes use a rice cooker as a mini pressure cooker – but that’s a story for a different day.
Most instant pots have a rice setting. If your instant pot doesn’t have a setting or button for rice – Never fear. Set your instant pot on for 12 minutes in a low-pressure setting.
Voilah! Rice.
You will see instant pots cook faster than a rice cooker for the eagle-eyed of you. Because instant pots work under higher pressure, the grains cook faster! Magic!

Air fryer rice is a little trickier than the simple instant pot. Because the method calls for boiling water, you should be careful as possible when putting it in an air fryer.
First, you will need a leakproof, heatproof tin to fit inside your air fryer barrel. Pyrex dishes work perfectly (or quiche dishes). Just make sure you can close your air fryer draw perfectly. Next, you should pop your rice in rather than using cold water as you would in a rice cooker. You should use boiling water. Cover the top with aluminium foil, making sure that the foil is flattened down.
Carefully close your draw, and set the fryer for 25 minutes. Remove carefully and be aware that the pot and foil will be extra hot, so be sure to use oven gloves.
That’s it! Beautiful rice in an air fryer – In 25 minutes! Just remember, hot rice needs to be used within 90 minutes. So get eating!
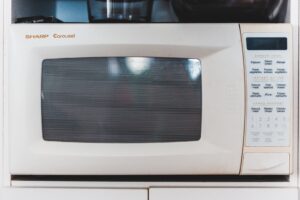
Not Sun Rice (although they are delicious). You can cook fresh rice in the microwave, and it’s pretty easy!
You should pick a container big enough to hold your rice and liquid – while leaving space to expand. I would suggest using a mixing bowl with a high lip. To save any accidental spillage (and for extra holding space).
Add a little more water than usual, and add an extra 1/2 a cup of water to every cup of rice. Cover the bowl with cling film or a plate.
1.5:1 water to rice.
Heat for 10 minutes on full, then remove the cover
Heat for another 5 minutes.
Fluff with a fork and leave to rest for 5 minutes before serving.
A rice cooker is (not surprisingly) the most straightforward way to cook rice. However, we have all been in a pinch.
If you can’t use a rice cooker, the preferred method is an instant pot or electric pressure cooker. They usually have dedicated rice cooking settings and will cook your rice to as high of quality as a rice cooker. If you don’t have a rice cooker, you are probably good to use the microwave. Although not as reliable, you can get some great rice from your trusty microwave – make sure to add a little extra water and be aware. Rice from a microwave will be very hot, so you should wait a little while.
As always, remember – Rice is good for 90 minutes once cooked. If you aren’t eating rice straight away. You should spread rice thin to cool for 30 minutes – then cover and refrigerate.

