
To remove the shelves from a Whirlpool freezer, you need to unplug the freezer, locate the shelf clips or hooks, tilt the shelf up and lift it out, and pull out the drawer below if needed. To replace the shelves, you need to reverse the steps.
Before you start removing the shelves from your Whirlpool freezer, you need to unplug the freezer from the power source. This is a safety precaution that will prevent any electric shocks or damage to the appliance. Locate the power cord and pull it out of the wall outlet. Make sure you have enough space and light to work on your freezer.
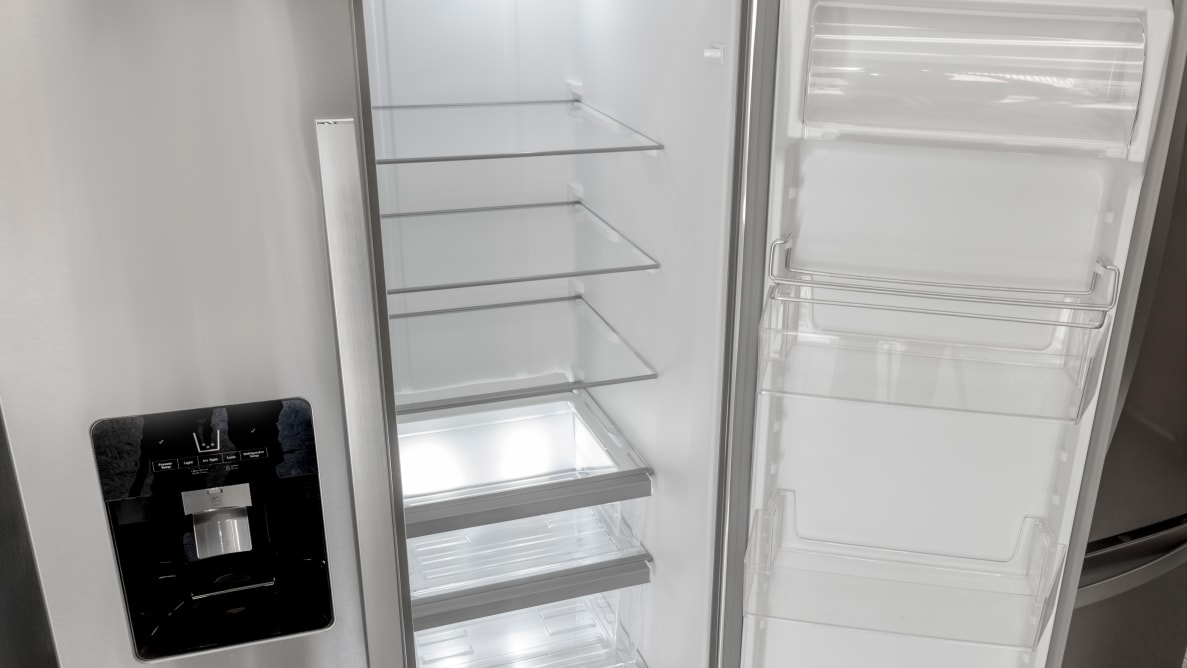
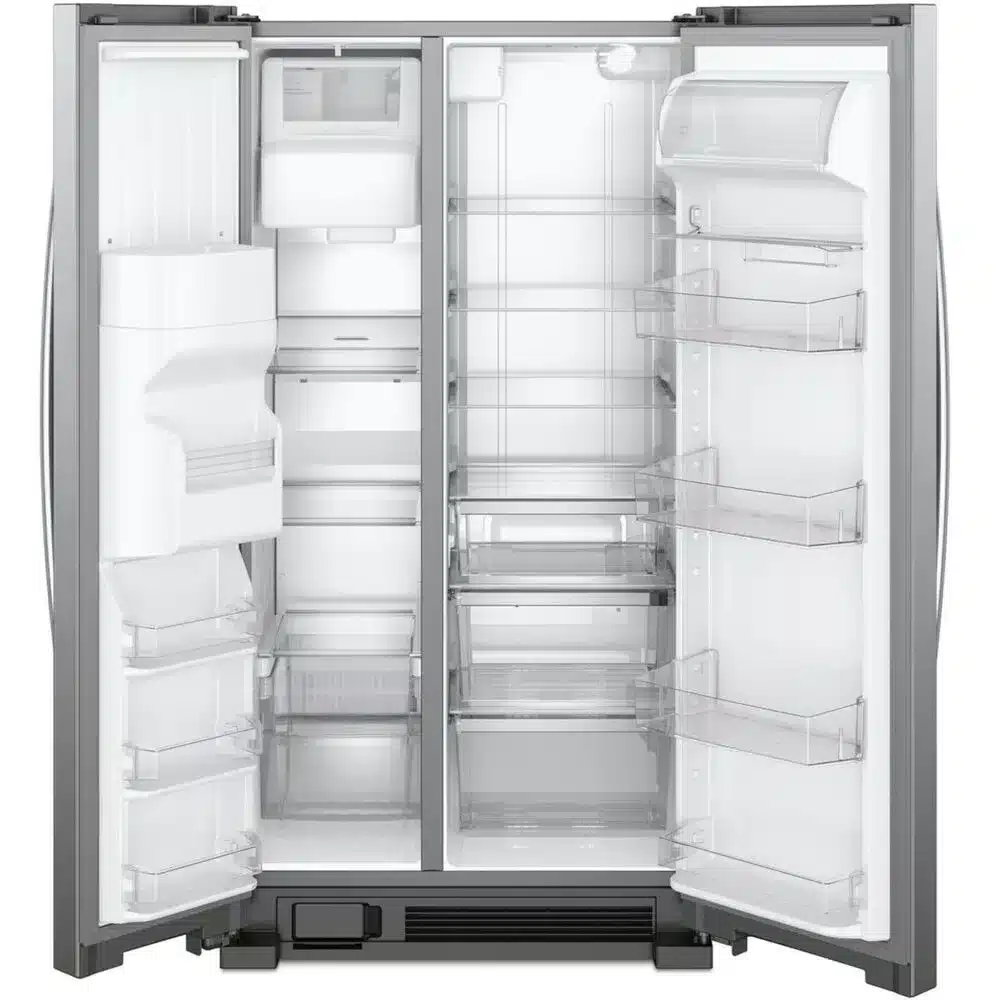
The next step is to locate the shelf clips or hooks that hold the shelf in place. Depending on your model of Whirlpool freezer, these may be located on the side walls or on the back wall of the freezer compartment. You can refer to your user guide or owner’s manual for more details on your specific model.
The shelf clips or hooks are usually metal or plastic pieces that fit into slots or holes on the shelf supports. They help to secure the shelf and prevent it from sliding or falling.
Once you have located the shelf clips or hooks, you can start removing the shelf from your Whirlpool freezer. To do this, you need to tilt the shelf up at the front and lift it out of the shelf supports. Be careful not to drop or damage the shelf or any items on it.
To tilt the shelf up, gently push down on the front edge of the shelf while lifting up on the back edge. This will release the shelf from the clips or hooks. Then, slide the shelf forward until it clears the supports and lift it out of the freezer.
If you want to remove the drawer below the shelf, you can do so by pulling it straight out of the unit. The drawer should slide smoothly on its rails and come out easily. You may need to empty the drawer before removing it if it is too heavy or full.
To pull out the drawer, grasp both sides of the drawer and pull it toward you until it stops. Then, lift up slightly on the front of the drawer and pull it out completely.
To replace the shelves in your Whirlpool freezer, you need to reverse the steps above. Start by sliding in the drawer below if you removed it. Then, align the shelf with the supports and slide it back into place. Make sure that the clips or hooks are securely attached to the supports. Finally, plug in your freezer and enjoy your organized and clean freezer.
Q: How do I remove glass shelves from my Whirlpool freezer?
A: Glass shelves are usually held in place by plastic frames that snap onto metal brackets on the side walls of your Whirlpool freezer. To remove glass shelves, you need to unsnap one side of each frame from its bracket and then lift up on that side of the frame. Then, slide out that side of each frame from its slot and lift out each glass shelf.
Q: How do I adjust my Whirlpool freezer shelves?
A: Some models of Whirlpool freezers have adjustable shelves that can be moved up or down to accommodate different sizes of items. To adjust your Whirlpool freezer shelves, you need to remove them first by following the steps above. Then, reposition them at your desired height by inserting them into different slots or holes on the supports.
Q: How do I clean my Whirlpool freezer shelves?
A: To clean your Whirlpool freezer shelves, you need to remove them first by following the steps above. Then, wash them with warm water and mild soap or detergent. Rinse them well and dry them with a soft cloth or towel. You can also use a non-abrasive cleaner or baking soda solution for stubborn stains or odors.
Removing and replacing shelves from your Whirlpool freezer is a simple task that can help you keep your freezer clean and organized. By following our easy guide, you can remove your shelves in minutes and enjoy more space and convenience in your freezer.
We hope this blog post has helped you learn how to remove shelves from a Whirlpool freezer. If you have any questions or need professional help, feel free to contact us at PressToCook.com. We are experts in kitchen appliances and food safety, and we are always ready to assist you with your needs.

