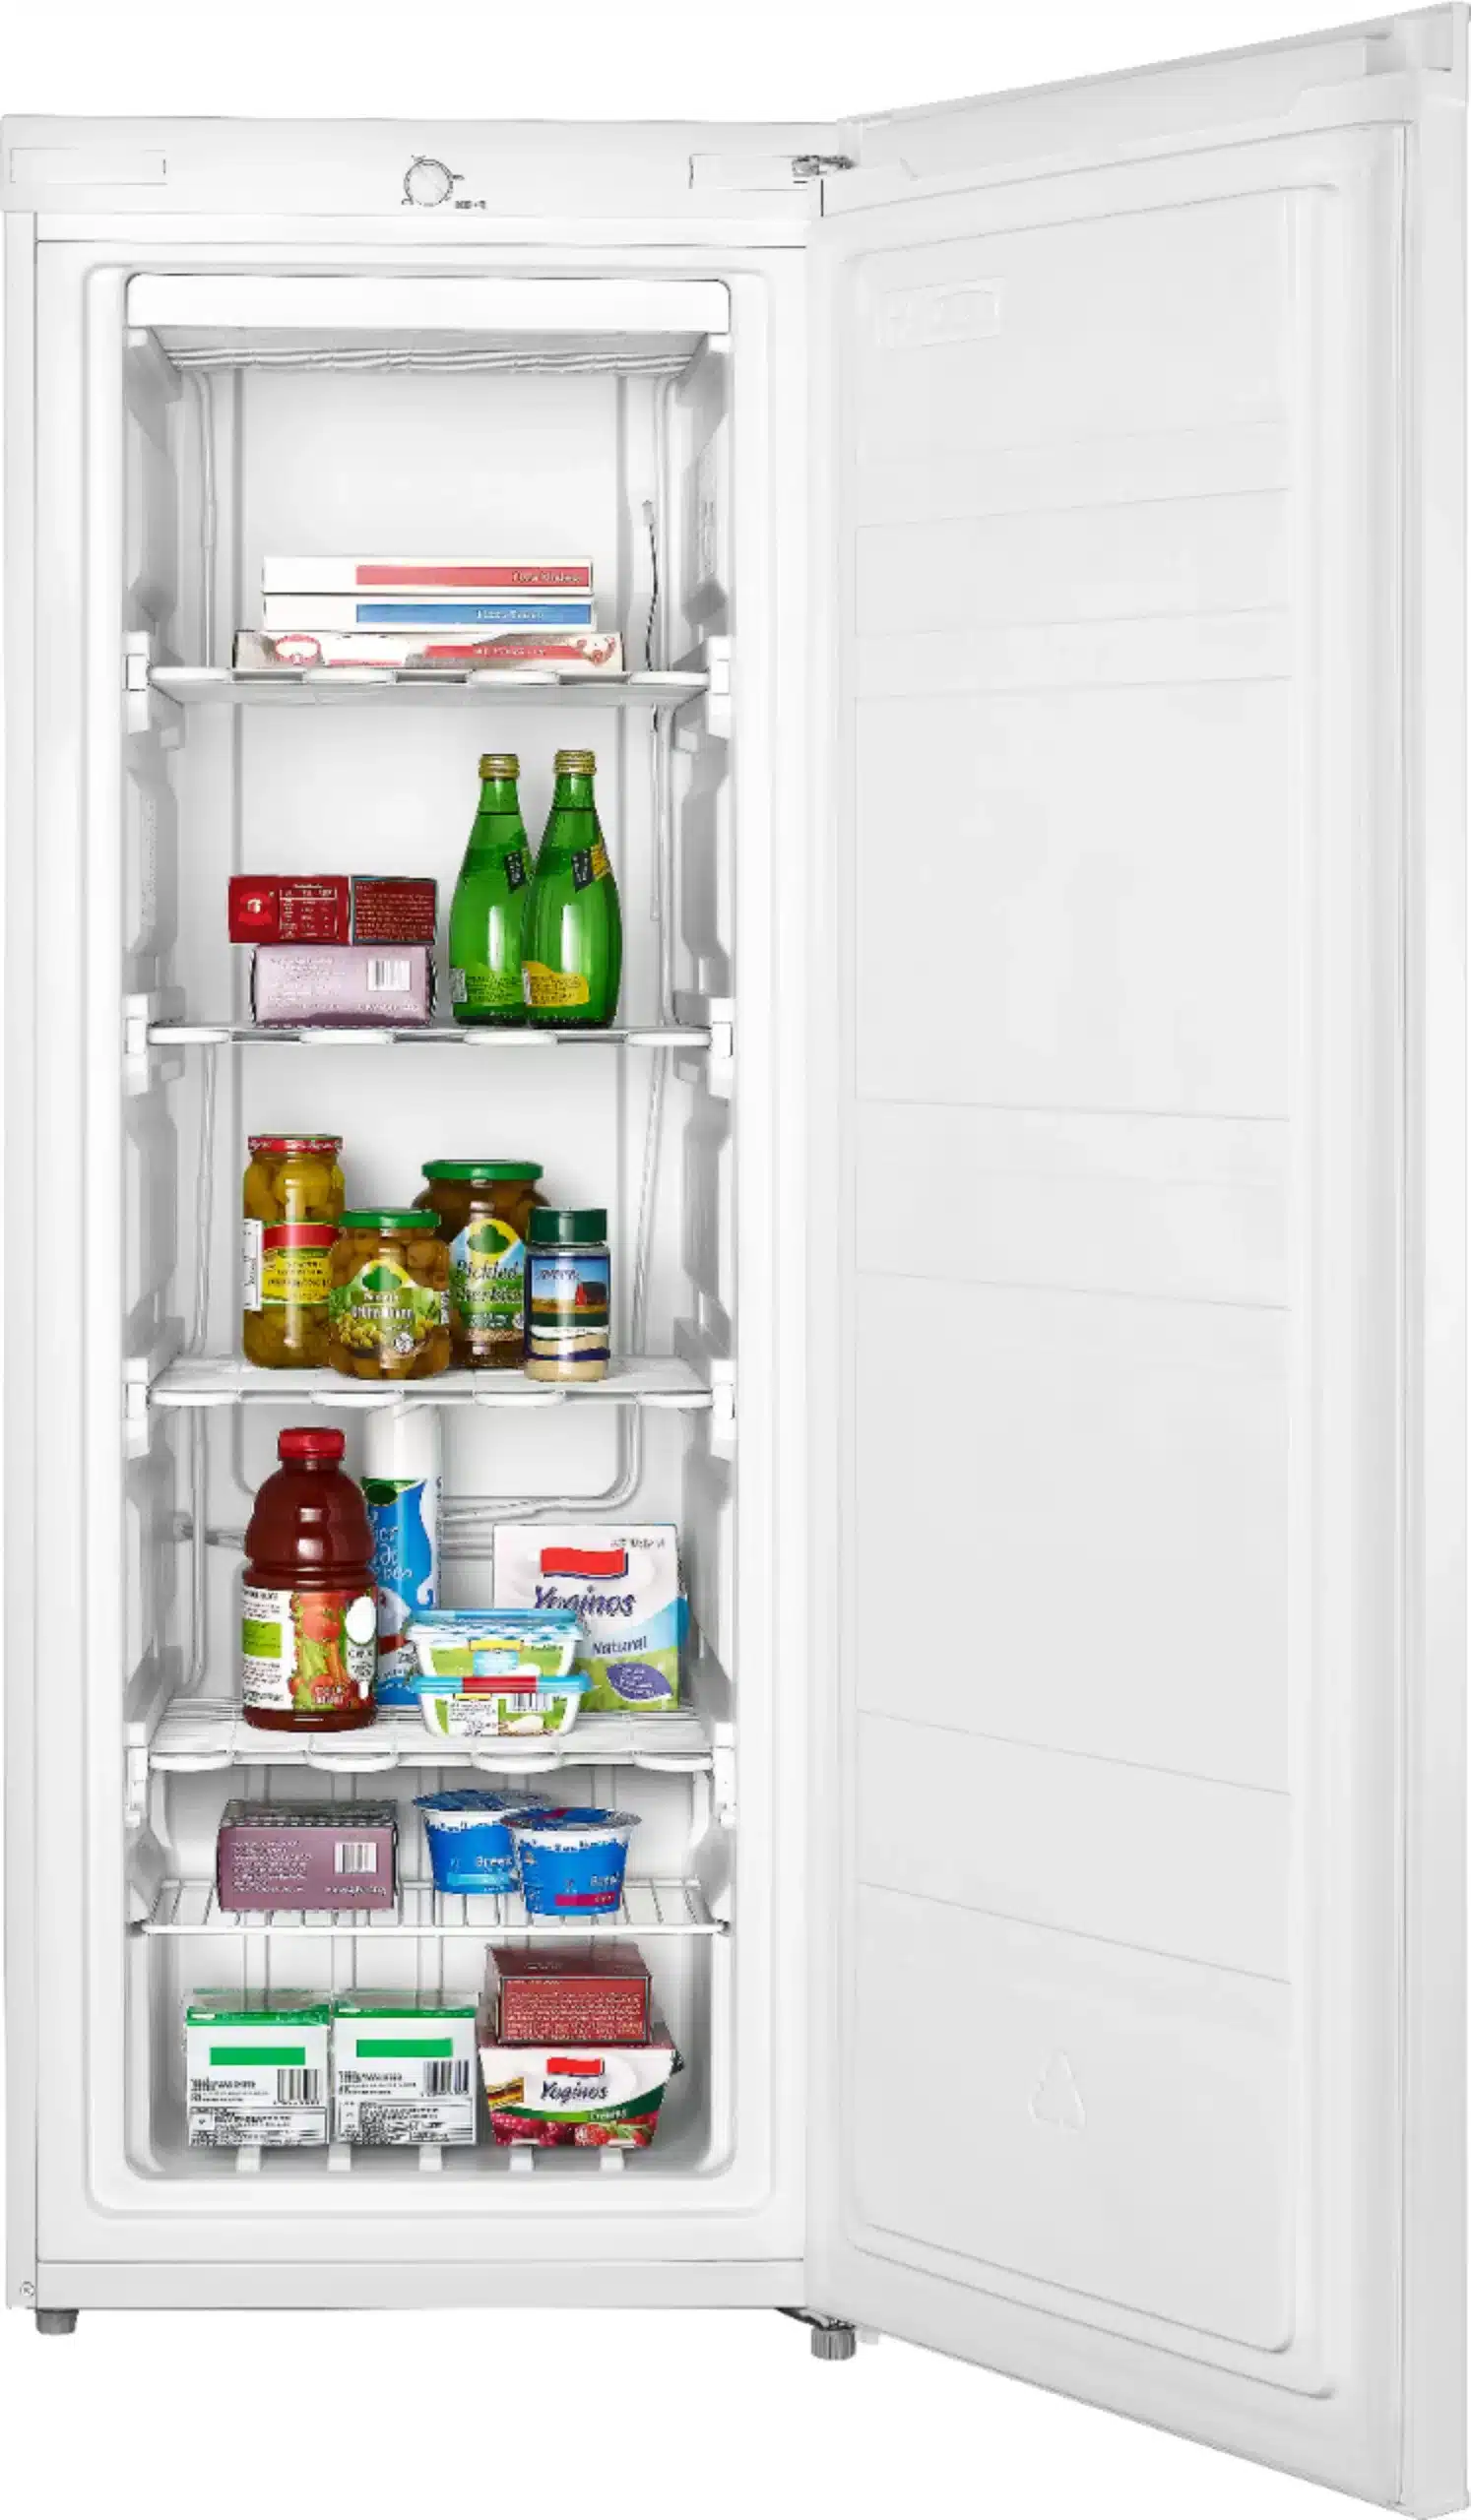
An Insignia freezer is a chest freezer that can provide you with extra storage space for your frozen food items. It has a compressor that is responsible for cooling the freezer and maintaining the desired temperature. The compressor is one of the most important and expensive components of your freezer, so you need to know where it is located and how to access it for various reasons, such as:
- Troubleshooting: You may need to locate the compressor on your Insignia freezer if you encounter any problems with the cooling function of your freezer, such as not cooling enough, making loud noises, or leaking refrigerant. You may need to check the compressor for any signs of damage, wear, or malfunction, and perform some tests or repairs as needed.
- Cleaning: You may need to locate the compressor on your Insignia freezer if you want to clean it and remove any dust or dirt that may have accumulated on it over time. You may need to wipe or vacuum the compressor and its surrounding area to prevent any overheating or performance issues.
- Replacing: You may need to locate the compressor on your Insignia freezer if you want to replace it with a new one, either because it is broken or worn out, or because you want to upgrade it to a more efficient or compatible model. You may need to disconnect and remove the old compressor and install the new one in its place.
In this post, we’ll show you how to locate the compressor on your Insignia freezer in a few easy steps, so you can access and adjust it as needed.
To locate the compressor on your Insignia freezer, you need to unplug it, move it, remove the back panel, and identify it. You also need some tools and materials, such as a screwdriver, a wrench, a flashlight, and a towel.
How to Locate the Compressor on Your Insignia Freezer?
To locate the compressor on your Insignia freezer, you need to follow these steps:
- Unplug the freezer: The first step is to unplug the freezer from the power outlet and make sure that there is no electricity running through it. This will prevent any electric shock or fire hazards while locating the compressor.
- Move the freezer: The next step is to move the freezer away from the wall or any other obstacles that may block your access to the back of the freezer. You may need to ask someone for help or use a dolly or a cart to move the freezer safely and carefully. You should also place a towel under the freezer to protect your floor from any scratches or spills.
- Remove the back panel: The third step is to remove the back panel of the freezer that covers the compressor and its related parts. You may need to use a screwdriver or a wrench to loosen and remove the screws or bolts that hold the panel in place. You should also keep track of the screws or bolts and store them safely until you need them again.
- Identify the compressor: The final step is to identify the compressor on your Insignia freezer. The compressor is a black metal cylinder that has copper tubes and wires attached to it. It is usually located at the bottom right corner of the back of the freezer. You may need to use a flashlight to see it clearly.
FAQs
Q: How do I test the compressor on my Insignia freezer?
A: To test the compressor on your Insignia freezer, you need to follow these steps:
- Locate the compressor as described above.
- Disconnect the wires from the compressor terminals by pulling them gently.
- Use a multimeter to measure the resistance between each pair of terminals (start, run, and common). The resistance should be between 0 and 10 ohms for each pair.
- If any pair of terminals has no resistance or infinite resistance, then the compressor is faulty and needs to be replaced.
Q: How do I clean the compressor on my Insignia freezer?
A: To clean the compressor on your Insignia freezer, you need to follow these steps:
- Locate the compressor as described above.
- Wipe off any dust or dirt from the compressor surface with a soft cloth or paper towel.
- Vacuum any dust or dirt from around the compressor area with a hose attachment or a brush attachment.
- Avoid spraying any water or liquid on or near the compressor, as this could cause corrosion or damage.
Q: How do I replace the compressor on my Insignia freezer?
A: To replace the compressor on your Insignia freezer, you need to follow these steps:
- Locate and test the compressor as described above.
- Disconnect and remove any tubes or wires that are connected to the old compressor by unscrewing or cutting them carefully.
- Unscrew and remove any mounting bolts or brackets that hold the old compressor in place.
- Lift and remove the old compressor from the freezer and dispose of it properly.
- Place and secure the new compressor in the same position and orientation as the old one.
- Reconnect and attach any tubes or wires that are required for the new compressor by screwing or soldering them carefully.
- Replace the back panel of the freezer as described above.
Conclusion
Locating the compressor on your Insignia freezer is a simple and easy process that can help you access and adjust it as needed. You just need to unplug it, move it, remove the back panel, and identify it. You also need some tools and materials, such as a screwdriver, a wrench, a flashlight, and a towel.
We hope this post has helped you learn how to locate the compressor on your Insignia freezer in a few easy steps. If you have any questions or comments, feel free to leave them below. And if you found this post useful, please share it with your friends and family who have an Insignia freezer!