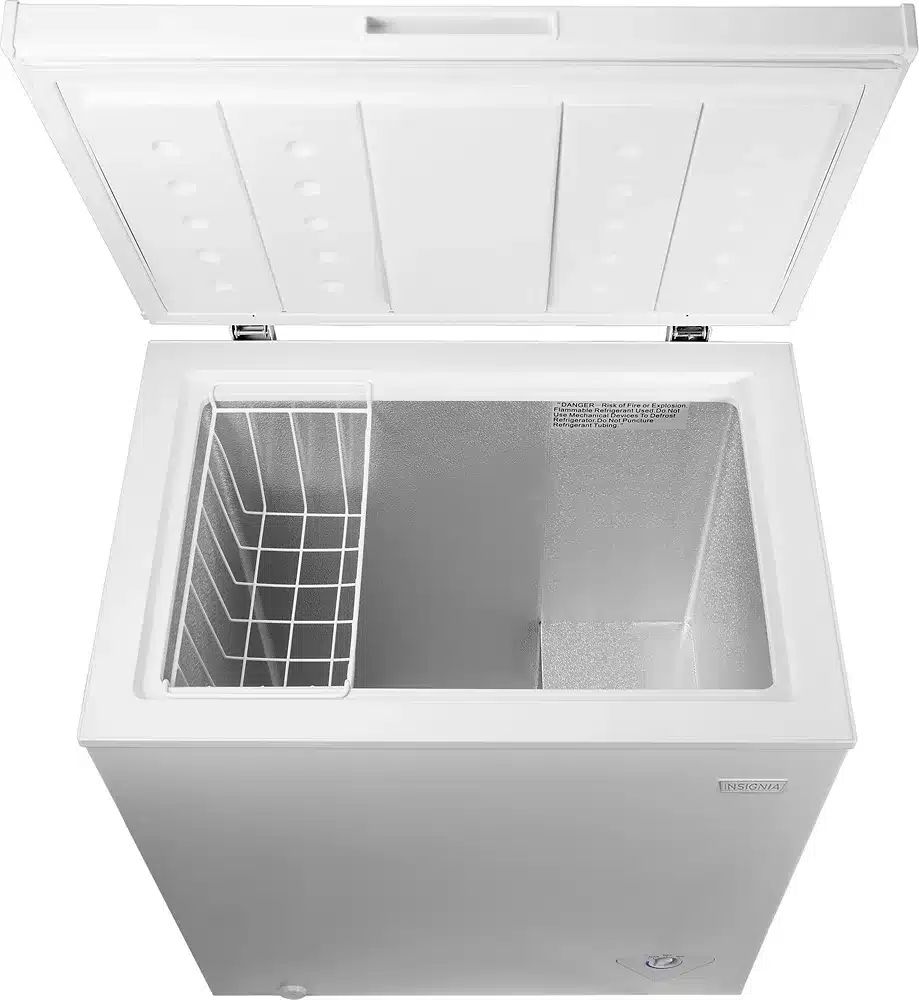
An Insignia freezer is a chest freezer that can provide you with extra storage space for your frozen food items. It has a hinged lid that opens and closes easily and securely. However, sometimes you may need to remove the hinge covers on your Insignia freezer for various reasons, such as:
- Reversing the lid: You may want to change the direction of the lid opening, depending on your preference or space availability. To do that, you need to remove the hinge covers and swap the hinges from one side to another.
- Replacing the hinges: You may need to replace the hinges if they are damaged or worn out, which can affect the functionality and safety of the lid. To do that, you need to remove the hinge covers and install new hinges in their place.
- Cleaning the hinges: You may need to clean the hinges if they are dirty or rusty, which can affect the appearance and performance of the lid. To do that, you need to remove the hinge covers and wipe or spray the hinges with some mild soap and water.
In this post, we’ll show you how to remove the hinge covers on your Insignia freezer in a few easy steps, so you can access and adjust the hinges as needed.
To remove the hinge covers on your Insignia freezer, you need to unplug it, open it, unscrew them, lift them off, and store them safely. You also need some tools and materials, such as a screwdriver, a towel, and a container.
How to Remove the Hinge Covers on Your Insignia Freezer?
To remove the hinge covers on your Insignia freezer, you need to follow these steps:
- Unplug the freezer: The first step is to unplug the freezer from the power outlet and make sure that there is no electricity running through it. This will prevent any electric shock or fire hazards while removing the hinge covers.
- Open the freezer: The next step is to open the freezer lid and keep it open while removing the hinge covers. You may need to prop it up with something sturdy, such as a chair or a box, to prevent it from falling or slamming shut.
- Unscrew the hinge covers: The third step is to unscrew the hinge covers from the back of the freezer. There are two hinge covers on each side of the freezer, one upper and one lower. You need to use a screwdriver to loosen and remove the screws that hold them in place. You may need to apply some force or wiggle them slightly to loosen them.
- Lift off the hinge covers: The fourth step is to lift off the hinge covers from the back of the freezer. You need to be careful not to damage or scratch them or the freezer surface. You also need to be careful not to lose or drop any screws or washers that may come off with them.
- Store the hinge covers safely: The final step is to store the hinge covers safely in a container or a bag until you need them again. You should also place a towel over the exposed hinges to protect them from dust or moisture.

FAQs
Q: How do I reverse the lid on my Insignia freezer?
A: To reverse the lid on your Insignia freezer, you need to follow these steps:
- Remove the hinge covers as described above.
- Swap the hinges from one side of the freezer to another by unscrewing and screwing them in place.
- Swap the door stoppers from one side of the lid to another by unscrewing and screwing them in place.
- Replace the hinge covers as described above.
Q: How do I replace the hinges on my Insignia freezer?
A: To replace the hinges on your Insignia freezer, you need to follow these steps:
- Remove the hinge covers as described above.
- Remove the old hinges from one side of the freezer by unscrewing and lifting them off.
- Install new hinges on one side of the freezer by aligning and screwing them in place.
- Repeat steps 2 and 3 for another side of the freezer.
- Replace the hinge covers as described above.
Q: How do I clean the hinges on my Insignia freezer?
A: To clean the hinges on your Insignia freezer, you need to follow these steps:
- Remove the hinge covers as described above.
- Wipe or spray some mild soap and water on both sides of each hinge.
- Wipe off any excess soap or water with a dry cloth or paper towel.
- Replace the hinge covers as described above.
Conclusion
Removing the hinge covers on your Insignia freezer is a simple and easy process that can help you access and adjust the hinges as needed. You just need to unplug it, open it, unscrew them, lift them off, and store them safely. You also need some tools and materials, such as a screwdriver, a towel, and a container.
We hope this post has helped you learn how to remove the hinge covers on your Insignia freezer in a few easy steps. If you have any questions or comments, feel free to leave them below. And if you found this post useful, please share it with your friends and family who have an Insignia freezer!