
Your GE freezer door gasket is an important part of your freezer that helps to seal the cold air inside and prevent warm air from entering. It also prevents moisture and frost from forming on the freezer walls and door. However, over time, your freezer door gasket may wear out, crack, or tear, causing your freezer to lose efficiency and performance.
If you notice that your freezer door gasket is damaged or leaking, you may need to replace it with a new one. Replacing your GE freezer door gasket is not a difficult task, and you can do it yourself with some basic tools and steps. In this post, we’ll show you how to replace your GE freezer door gasket and what type of gasket you need to buy.
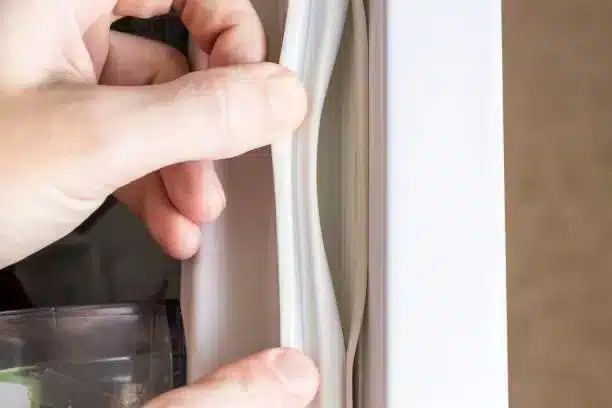
To replace your GE freezer door gasket, you need to unplug your freezer, remove the old gasket, install the new gasket, and plug your freezer back in. The type of gasket you need depends on the model of your freezer, but it is usually a rubber or silicone seal that fits around the edge of the door.
The type of gasket you need for your GE freezer depends on the model of your freezer. You can find the model number on a label inside or behind your freezer, or check the user manual or the GE website for more information.
Generally, most GE freezers use either a rubber or silicone gasket that fits around the edge of the door. These gaskets are specially designed for freezers and can withstand cold temperatures and vibrations. You can buy these gaskets online or at a local hardware store.
Some GE freezers may use a different type of gasket, such as a foam or magnetic seal. These gaskets may require a different installation method or a professional technician to replace them.

Replacing your GE freezer door gasket is easy and safe if you follow these steps:
Q: How often do I need to replace my GE freezer door gasket?
A: The frequency of replacing your GE freezer door gasket depends on how often you use your freezer and how well you maintain it. Generally, most freezer door gaskets last for about 10 years with proper care and cleaning. However, if you notice that your gasket is cracked, torn, or leaking, you should replace it as soon as possible.
Q: How can I prevent my GE freezer door gasket from wearing out or breaking?
A: You can prevent your GE freezer door gasket from wearing out or breaking by following these tips:
Q: What should I do if I can’t remove or install my GE freezer door gasket?
A: If you have trouble removing or installing your GE freezer door gasket, you should:
Replacing your GE freezer door gasket is a simple task that you can do yourself with some basic tools and steps. You just need to unplug your freezer, remove the old gasket, install the new gasket, and plug your freezer back in. The type of gasket you need depends on your freezer model, but it is usually a rubber or silicone seal that fits around the edge of the door.
We hope this post has helped you learn how to replace your GE freezer door gasket and what type of gasket you need to buy. If you have any questions or need help with your GE freezer door gasket, feel free to contact us today. We are happy to assist you with any of your GE freezer needs.

