
Ice cream is a universal treat loved by many, and homemade ice cream adds a special touch to this sweet indulgence. Making your ice cream lets you control the ingredients, experiment with flavors, and enjoy the satisfaction of crafting a dessert from scratch. A KitchenAid mixer, a staple in many kitchens, can be transformed into an ice cream maker with the right attachment and some know-how. Let’s delve into the process of making homemade ice cream using a KitchenAid mixer.
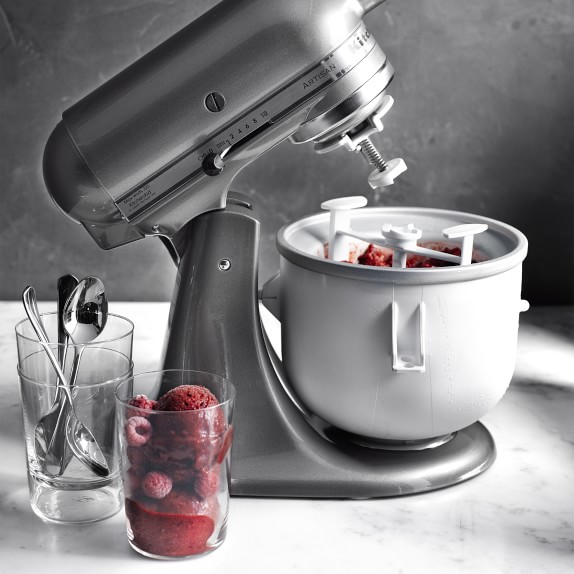
Before you start, ensure you have the right equipment. The KitchenAid Ice Cream Maker Attachment is key. This attachment consists of a freeze bowl that can hold up to 2 quarts of ice cream and is designed to fit most KitchenAid Stand Mixers.
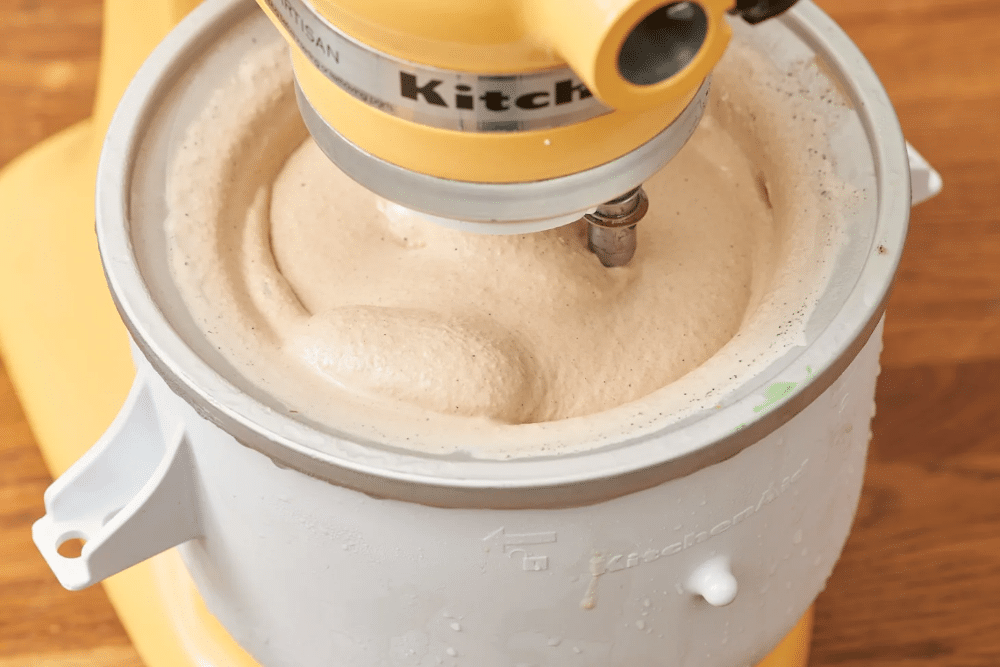
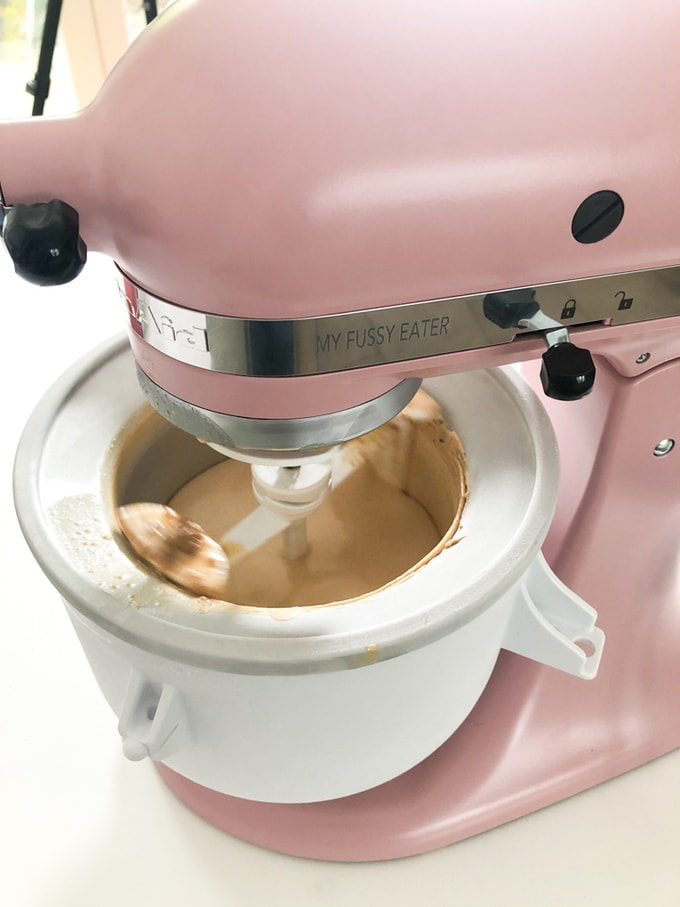
The other vital tool is the dasher, a specially designed mixing paddle for the attachment. It churns the ice cream base (the mixture before freezing) to incorporate air and prevent large ice crystals from forming, resulting in a smooth, creamy texture.
Here are the steps to get started:

Making ice cream at home can be a fun and rewarding process, but it also requires some precision. Here are some tips to ensure your homemade ice cream turns out perfectly every time:
| Homemade Ice Cream | Store-Bought Ice Cream | |
|---|---|---|
| Taste | Customizable flavors, fresh and rich taste | Standard flavors, taste can vary |
| Ingredients | Control over ingredients, can be organic or allergen-free | May contain preservatives, artificial flavors |
| Nutrition | Can be made healthier with less sugar and fat | Often high in sugar and fat |
| Cost | Higher initial investment (equipment), but cheaper in the long run | Less upfront cost, but can be expensive over time |
1. Can I make other frozen desserts with the KitchenAid Ice Cream Maker Attachment?
Yes, you can make a variety of frozen delights, including sorbet, gelato, and frozen yogurt.
2. How long does homemade ice cream last in the freezer?
Homemade ice cream can be stored in an airtight container in the freezer for up to two weeks.
3. Can I use any KitchenAid mixer to make ice cream?
Most KitchenAid stand mixers will work with the ice cream maker attachment. However, it’s best to check the product details before purchasing.
Making homemade ice cream with a KitchenAid mixer is a simple and rewarding process. With the right tools and some practice, you can create a variety of delicious flavors that surpass store-bought options. Not only will you enjoy the fresh, high-quality taste, but you’ll also have the satisfaction of knowing exactly what’s in your dessert. So why not give it a try? Your sweet tooth will thank you.

