
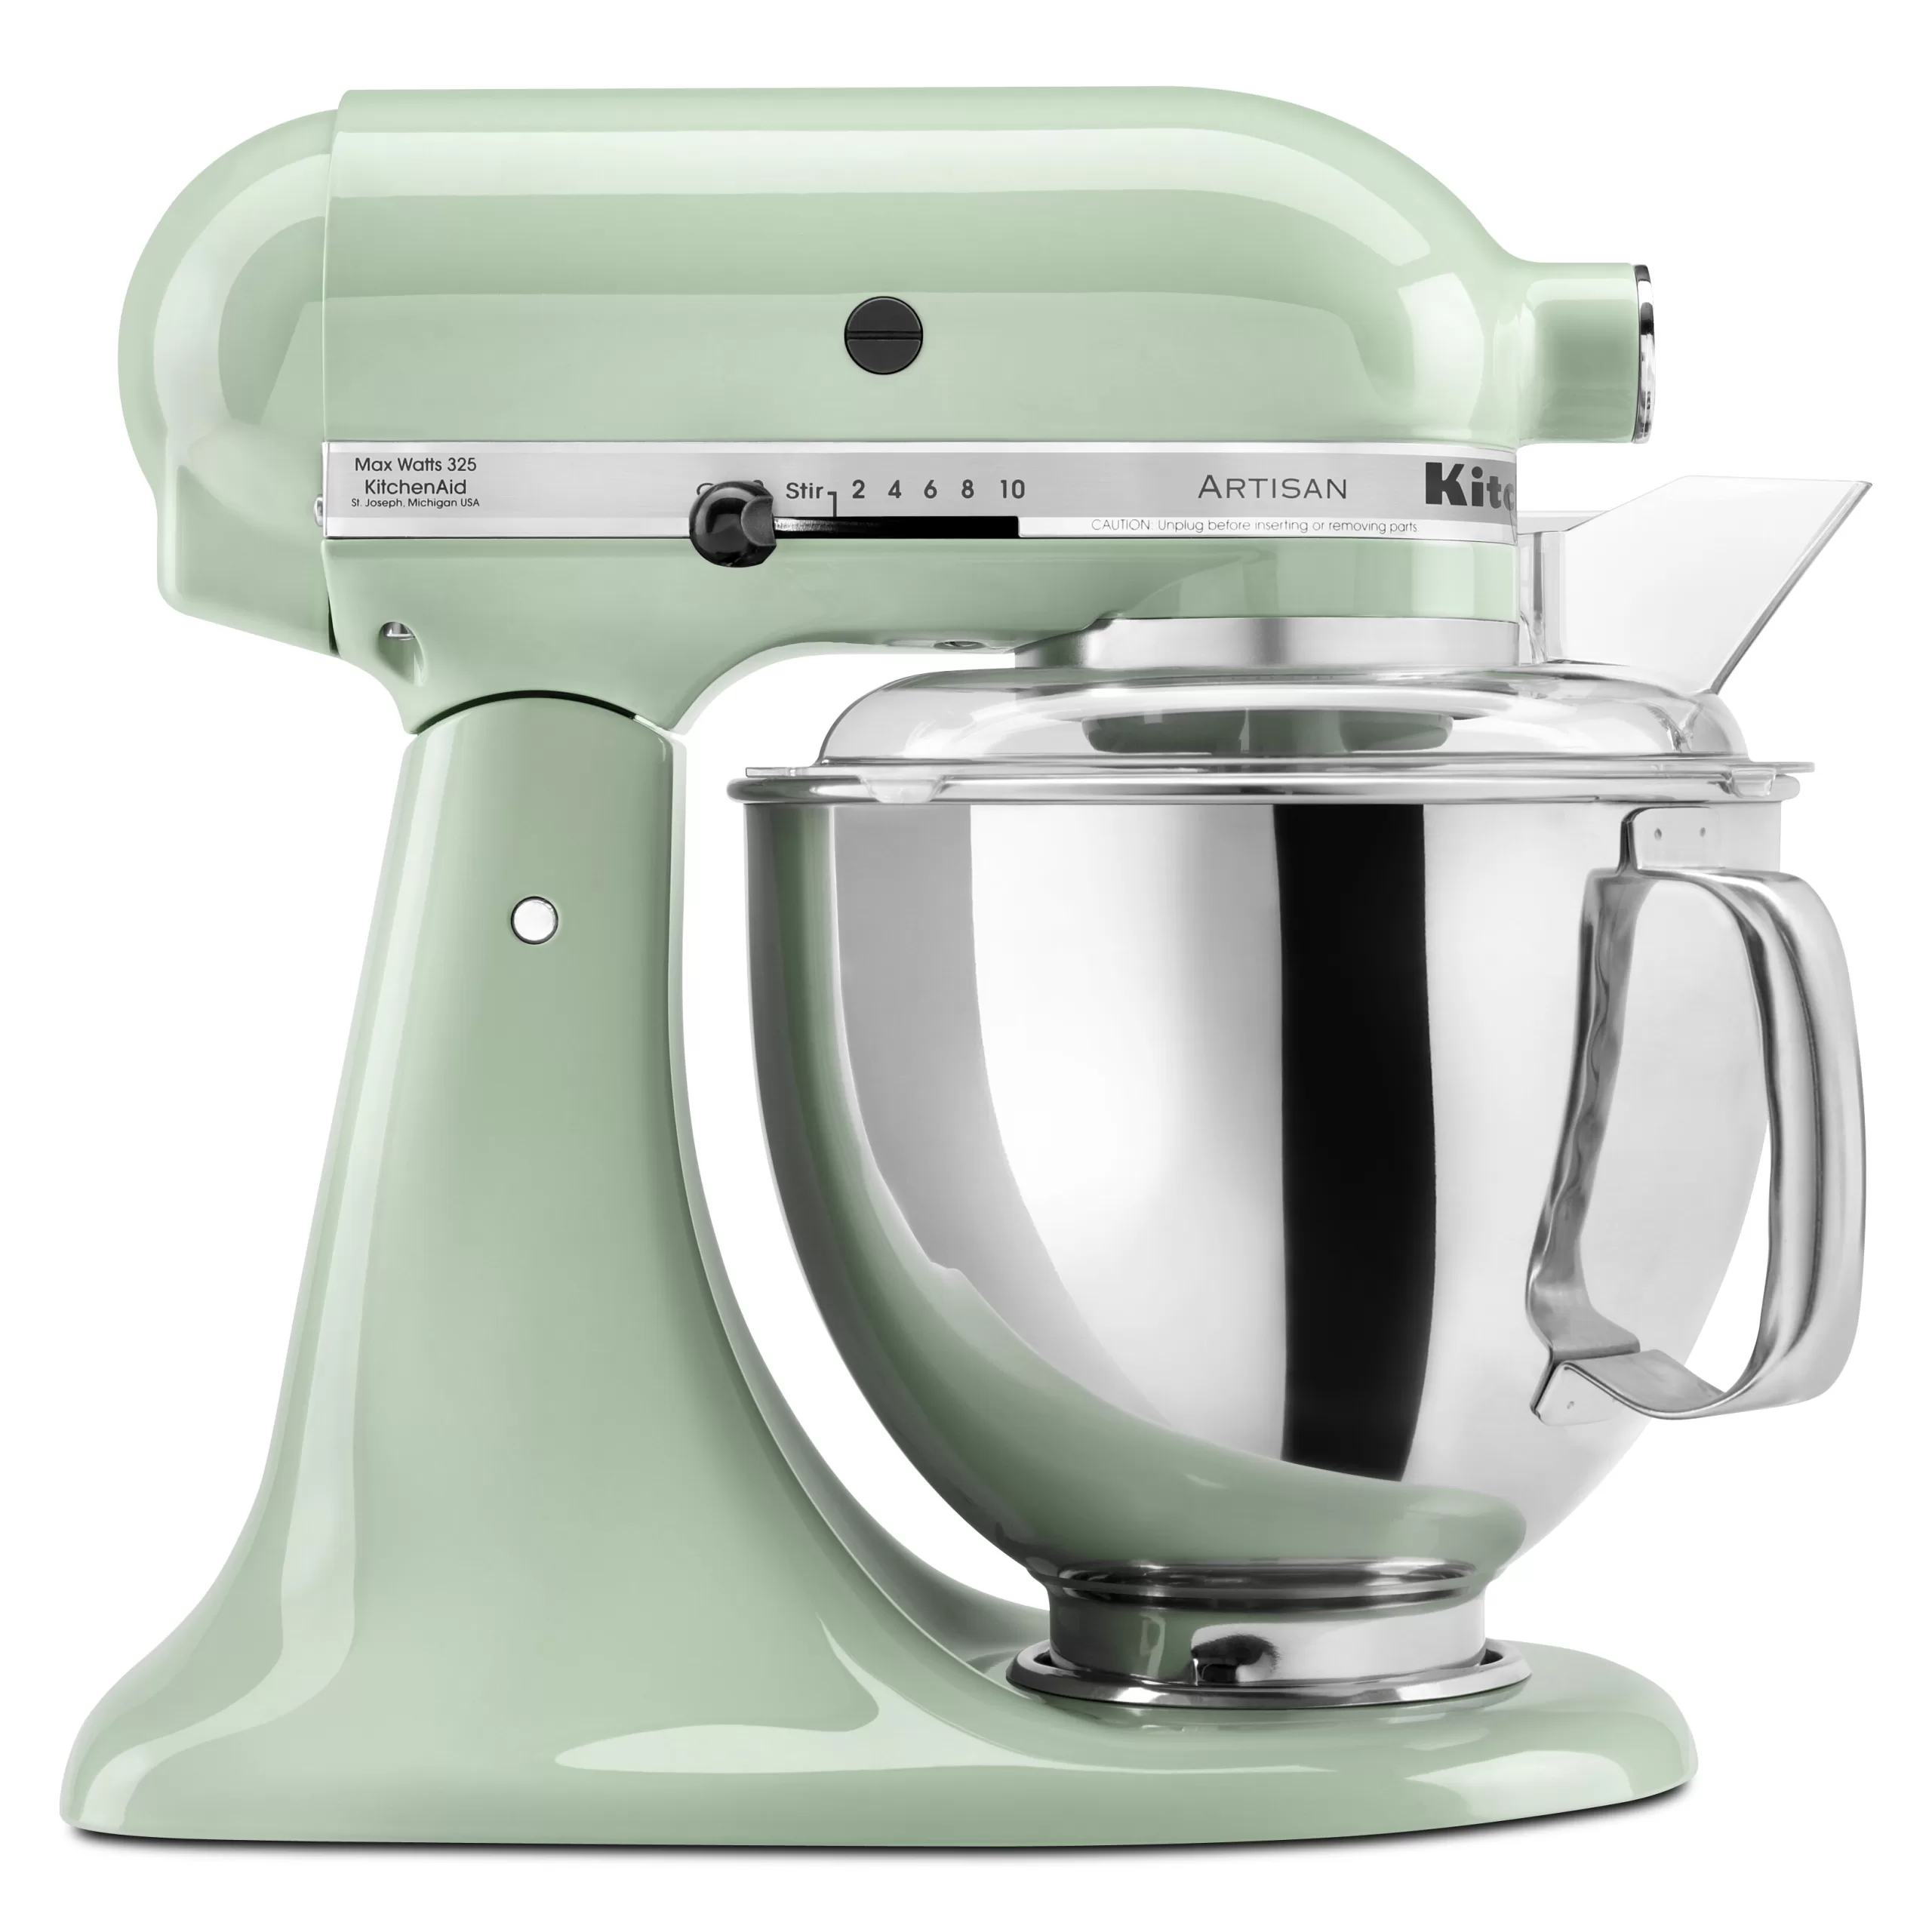
KitchenAid stand mixers are workhorse appliances that can last for decades if properly maintained. While they are built to handle frequent use, regular cleaning and occasional repairs are needed to keep them running smoothly. Taking apart a KitchenAid mixer may seem daunting, but it’s actually a straightforward process that most owners can do themselves. Here is a step-by-step guide on how to completely disassemble a KitchenAid stand mixer for cleaning and repairs.
The most common reasons to take apart a KitchenAid mixer are to clean it thoroughly, replace broken parts, and lubricate the inner mechanisms. Food debris and grease can build up in hard-to-reach crevices over time. Taking the mixer apart allows you to clean all the components and get rid of any stuck-on messes.
Replacing worn parts like the beater shaft, planetary gears, or motor brushes will restore functionality and keep the mixer running efficiently. Lubricating the metal parts prevents squeaking and grinding noises. Doing minor repairs and maintenance yourself saves the cost and hassle of taking the mixer to a service center.
Before beginning, unplug the mixer from the electrical outlet. Make sure to have plenty of space to lay out all the parts. Organize the components in the order they were removed so reassembly is easy. Work slowly and take pictures during disassembly to use as a guide later.
The accessory hub is the piece the beaters attach to. Grasp it firmly and pull straight up to slide it off the beater shaft.
The power hub connects the motor to the transmission. Remove the screw in the top of the power hub using a Phillips screwdriver. Lift the power hub off the mixer.
Turn the mixer base upside down. Remove the two motor screws using a Phillips screwdriver. These screws have washers so don’t lose them. Gently pry the motor free from the base.
The access plate covers the planetary gears. Remove the four screws securing it with a Phillips screwdriver. Carefully pry off the access plate.
The planetary gears turn the beater shaft. To remove them, take off the large retainer screw in the center. Lift out the planetary gears, spacers, and bushings.
The worm gear is driven by the motor. To remove it, unscrew the retainer screw. Slide the worm gear off the shaft with pliers.
The beater shaft runs vertically through the mixer. Remove the screw at the base of the shaft with a Phillips screwdriver. Lift the shaft out through the top. Unscrew the bowl lift pivot rod to fully detach the bowl lift.
Once fully disassembled, clean each part thoroughly with soap and water. Use a toothbrush to scrub stuck-on gunk. Dry everything completely. Lubricate metal parts like gears and shafts with a thin layer of grease.
Reattach components by reversing the steps above. Take care to align parts correctly. Hand tighten screws first before using the screwdriver. Make sure the mixer runs properly before reattaching the outer housing.
Taking the time to take apart your KitchenAid mixer will help keep it running for years. Letting debris build up or untreated wear will shorten its lifespan. Properly maintaining the inner mechanisms isn’t difficult. With some patience and the right tools, you can do it yourself.
How long does it take to disassemble a KitchenAid mixer?
It can take 30-45 minutes to fully take apart a KitchenAid mixer. The exact time will vary depending on the mixer model and your experience level. Set aside ample time your first time taking it apart.
Do I need to grease the parts when reassembling?
Yes, it’s recommended to lubricate the metal components like the gears, bushings, and beater shaft. Use a small amount of food-safe grease before reassembling. This prevents wear and squeaking noises. Avoid getting grease on the electrical contacts.
What if I lost some small parts or screws?
KitchenAid sells replacement parts like screws, o-rings, and bushings on their website. You can also find many generic replacement parts online. Make sure you get the right size for your particular mixer model.
With some basic mechanical skills and the proper tools, most people can disassemble a KitchenAid stand mixer for cleaning and repairs. Taking it apart allows you to thoroughly clean all the interior parts which prolongs its lifespan. Replacing worn parts and lubricating components keeps the mixer working efficiently for many years. Just be sure to work slowly and take pictures if needed. Methodically taking apart and reassembling a KitchenAid mixer can save you from costly repairs down the road.

