
The KitchenAid stand mixer, an iconic appliance gracing millions of kitchens worldwide, is renowned for its versatility. It owes this reputation in part to its wide range of attachments that transform it from a simple mixer into a pasta maker, ice cream churner, or even a sausage stuffer. But, using these attachments effectively means understanding how to attach and detach them properly. This blog post provides a comprehensive guide on how to take off KitchenAid attachments, with practical tips and insights to ensure your culinary adventures are as smooth as possible.
Before you attempt to remove any attachments, it’s crucial to familiarize yourself with your KitchenAid mixer. These appliances come in various models, each with its unique features. However, most KitchenAid mixers share a universal hub where you can attach and detach various accessories.
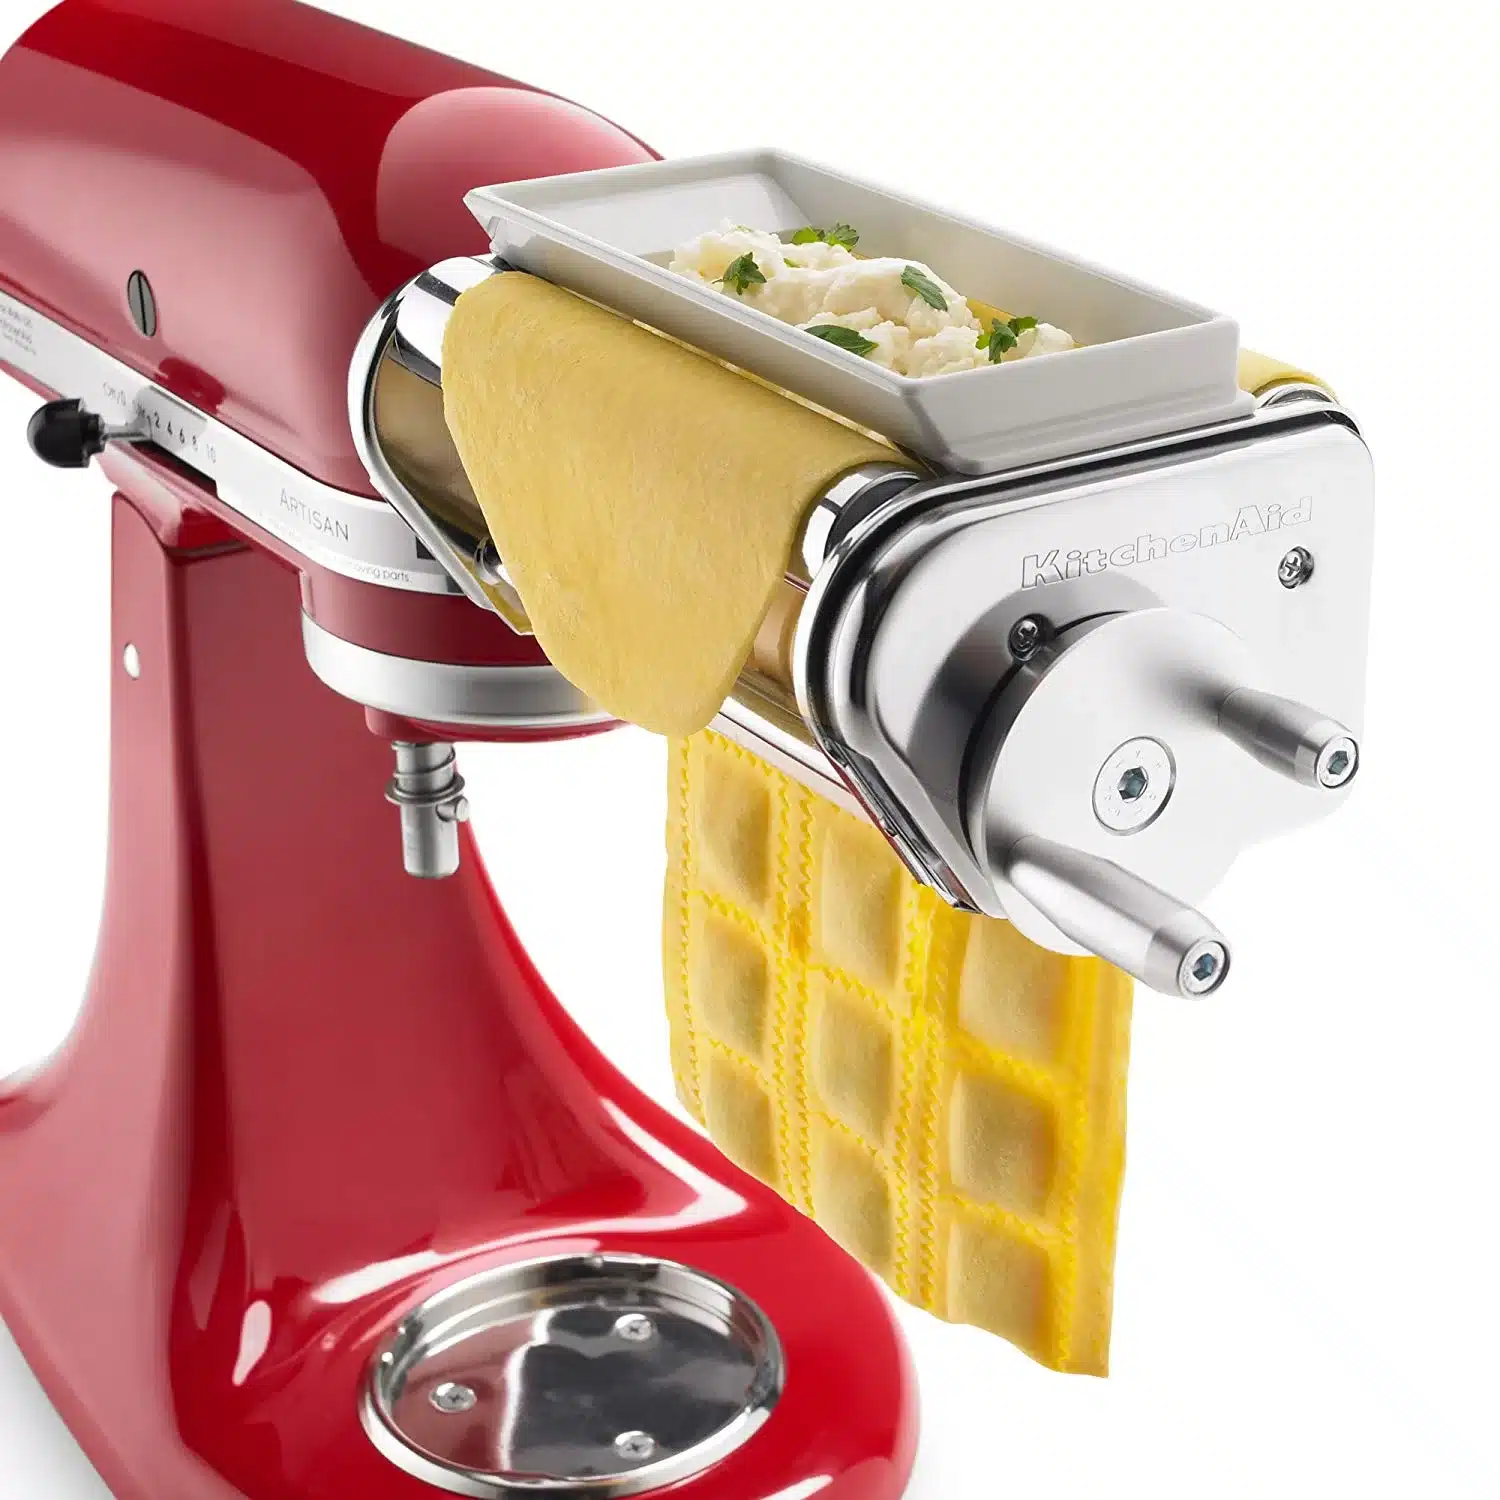
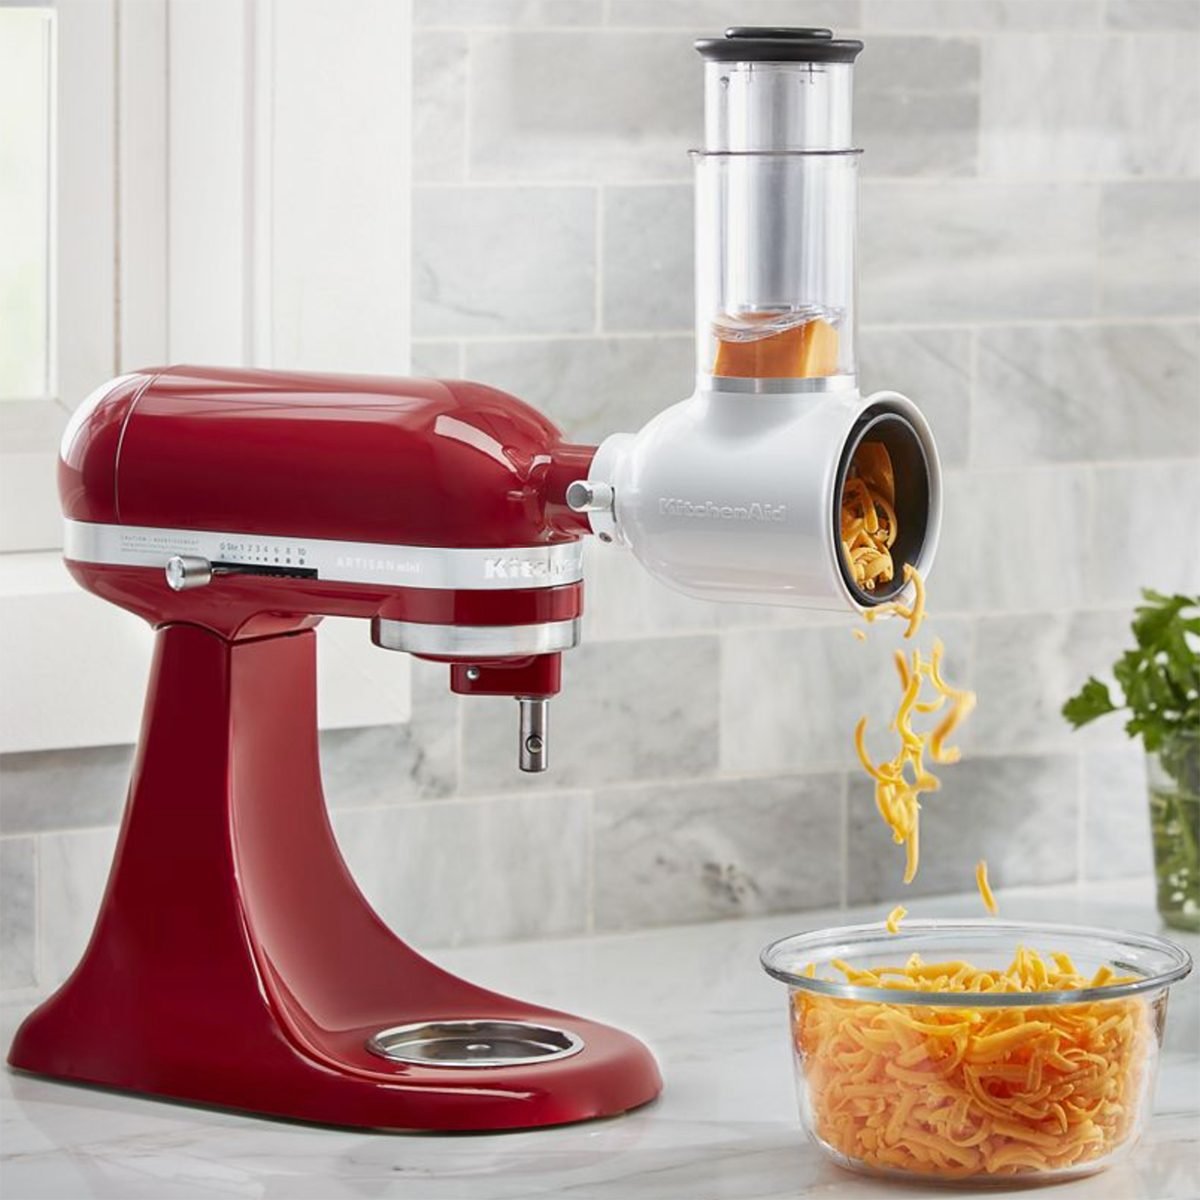
At the front of your mixer, you will find a metal hub covered by a knob or a screw cap, depending on your model. This hub is where you attach or remove your KitchenAid attachments.
Here is a step-by-step guide to help you detach your KitchenAid attachments safely and effectively:

1. Can I use non-KitchenAid attachments on my KitchenAid mixer?
While some third-party attachments are marketed as compatible with KitchenAid mixers, it’s generally not recommended to use them. Non-KitchenAid attachments may not fit properly, potentially damaging the mixer’s hub or the attachment itself. Always use KitchenAid-branded attachments to ensure the best performance and longevity for your mixer.
2. Why is my KitchenAid attachment stuck?
If your attachment is stuck, it could be due to several reasons. It might not have been attached correctly, or food residue may have built up inside the hub. Always ensure the attachment and hub are clean before use, attach the accessory correctly, and don’t try to force a stuck attachment off.
3. How should I clean my KitchenAid attachments?
Each KitchenAid attachment has specific cleaning instructions, so it’s important to consult your owner’s manual. However, most non-electrical attachments can be washed in warm, soapy water. Some are dishwasher-safe, but it’s best to confirm this in your manual.
Taking off KitchenAid attachments is a simple process that requires understanding your appliance and following the correct removal steps. Always prioritize safety by ensuring the mixer is unplugged before you begin. Treat your attachments with care, clean them after use, and store them properly to ensure the longevity of your KitchenAid mixer. With these tips, you can enjoy the versatility of your KitchenAid mixer and its attachments for many years to come.


