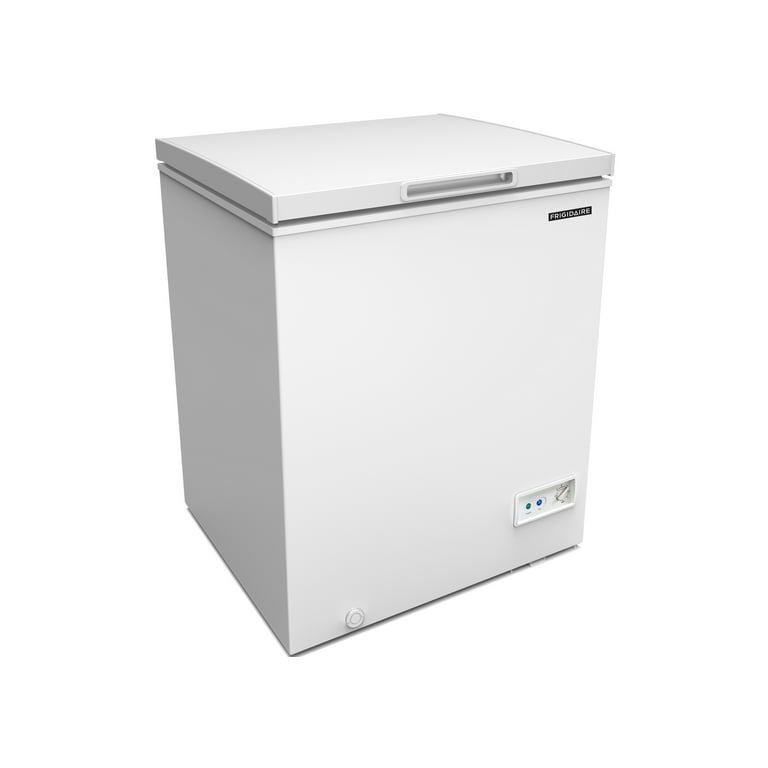
If your Frigidaire chest freezer is not cooling properly, running constantly, or making loud noises, you may need to test the compressor. The compressor is the heart of the freezer that pumps refrigerant through the system and creates the cold air. A faulty compressor can cause your freezer to malfunction and spoil your food.
Testing a Frigidaire chest freezer compressor is a simple and inexpensive procedure that you can do yourself with some basic tools and a multimeter.
In this post, we’ll show you how to test a Frigidaire chest freezer compressor, as well as some tips and tricks to troubleshoot and replace it. Let’s get started!
What You’ll Need
To test a Frigidaire chest freezer compressor, you’ll need the following tools and parts:
- A Phillips or Quadrex screwdriver
- A pair of needle-nose pliers
- A multimeter
- A new compressor (Part #5304475102 for most models)
You can find the compressor part number for your specific freezer model on the Frigidaire website or in your owner’s manual. You can also order the part online from PartSelect.com or other reputable suppliers.

How to Test a Frigidaire Chest Freezer Compressor
To test a Frigidaire chest freezer compressor, follow these steps:
- Unplug your freezer. Before you start any repair, make sure you unplug your freezer from the power source to avoid any electric shock or injury.
- Remove the back panel. Locate the back panel at the bottom of the freezer and remove the screws that hold it in place with a screwdriver. Carefully pull out the panel and set it aside.
- Locate the compressor. The compressor is a large, black cylinder with three prongs on one side and two copper tubes on the other side. It’s usually located at the bottom right corner of the freezer.
- Remove the relay and overload. The relay and overload are two small devices that plug into the three prongs of the compressor. They help start and protect the compressor from overheating or overloading. To remove them, use a pair of needle-nose pliers to gently pull them off the prongs.
- Test the relay. The relay is a small, black box with two wires attached to it. To test it, set your multimeter to resistance (ohms) mode and touch one probe to each wire. You should get a reading of zero or close to zero ohms. If you get no reading or a very high reading, it means that your relay is faulty and needs to be replaced.
- Test the overload. The overload is a small, white disc with two terminals on it. To test it, set your multimeter to resistance (ohms) mode and touch one probe to each terminal. You should get a reading of zero or close to zero ohms. If you get no reading or a very high reading, it means that your overload is faulty and needs to be replaced.
- Test the compressor. To test the compressor, set your multimeter to resistance (ohms) mode and touch one probe to each prong on the compressor. You should get three readings: one between the left and right prongs, one between the left and center prongs, and one between the right and center prongs. Add up these three readings and compare them to this table:
| Total Resistance |
Compressor Condition |
| Less than 10 ohms |
Shorted |
| More than 30 ohms |
Open |
| Between 10 and 30 ohms |
Good |
If your total resistance is less than 10 ohms or more than 30 ohms, it means that your compressor is shorted or open and needs to be replaced.
If your total resistance is between 10 and 30 ohms, it means that your compressor is good and there is another problem with your freezer that is not related to your compressor.

How to Replace a Frigidaire Chest Freezer Compressor
If you need to replace a Frigidaire chest freezer compressor, follow these steps:
- Unplug your freezer. Before you start any repair, make sure you unplug your freezer from the power source to avoid any electric shock or injury.
- Remove the back panel. Locate the back panel at the bottom of the freezer and remove the screws that hold it in place with a screwdriver. Carefully pull out the panel and set it aside.
- Locate the compressor. The compressor is a large, black cylinder with three prongs on one side and two copper tubes on the other side. It’s usually located at the bottom right corner of the freezer.
- Disconnect the wires and tubes. Use a pair of needle-nose pliers to disconnect the wires from the relay and overload. Use a wrench to loosen the nuts that secure the copper tubes to the compressor. Carefully pull out the tubes and cap them with rubber plugs to prevent any refrigerant leakage.
- Remove the mounting bolts. Use a wrench to remove the four bolts that secure the compressor to the freezer base. Carefully lift out the compressor and discard it.
- Install the new compressor. Take your new compressor and place it on the freezer base. Align the prongs and tubes with the holes and secure it with the four bolts. Reconnect the wires to the relay and overload. Reconnect the tubes to the compressor and tighten the nuts.
- Replace the back panel. Put back the back panel and secure it with the screws you removed earlier.
- Plug in your freezer. Plug in your freezer and turn it on. Wait for 24 hours before using it to allow it to reach its optimal temperature.
Congratulations! You’ve successfully replaced the compressor in your Frigidaire chest freezer. Now you can enjoy your frozen foods without any worries.


