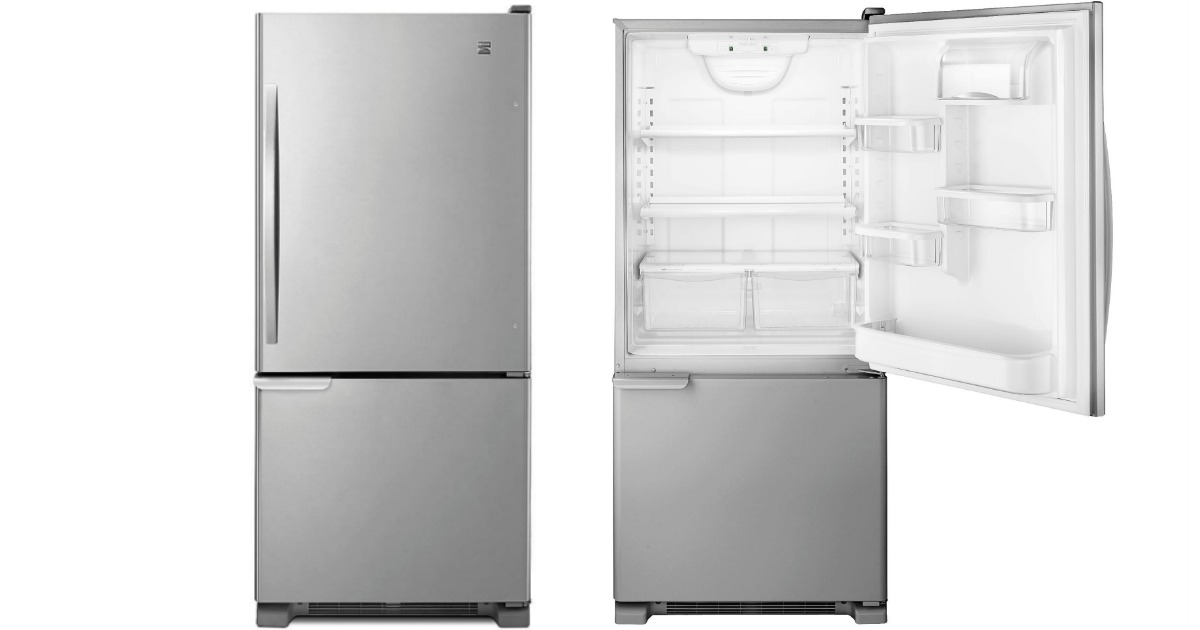
If you need to clean, repair, or replace the ice maker in your Kenmore bottom freezer refrigerator, you may need to remove it first. But how do you do that without damaging the ice maker or the refrigerator? In this blog post, we’ll show you how to remove the ice maker from your Kenmore bottom freezer refrigerator safely and easily.
To remove the ice maker from your Kenmore bottom freezer refrigerator, you need to unplug the refrigerator, empty the ice bucket, disconnect the wire harness, unscrew the mounting screws, and slide out the ice maker.
What you’ll need
Before you start, make sure you have the following tools and materials:
- A Phillips screwdriver
- A flat-blade screwdriver
- A portable cooler or an insulated bag with ice packs
- A towel or a rag

How to remove the ice maker
To remove the ice maker from your Kenmore bottom freezer refrigerator, follow these steps:
- Unplug your refrigerator from the power outlet or turn off the circuit breaker that controls it. This will prevent any electrical accidents while you work on your refrigerator.
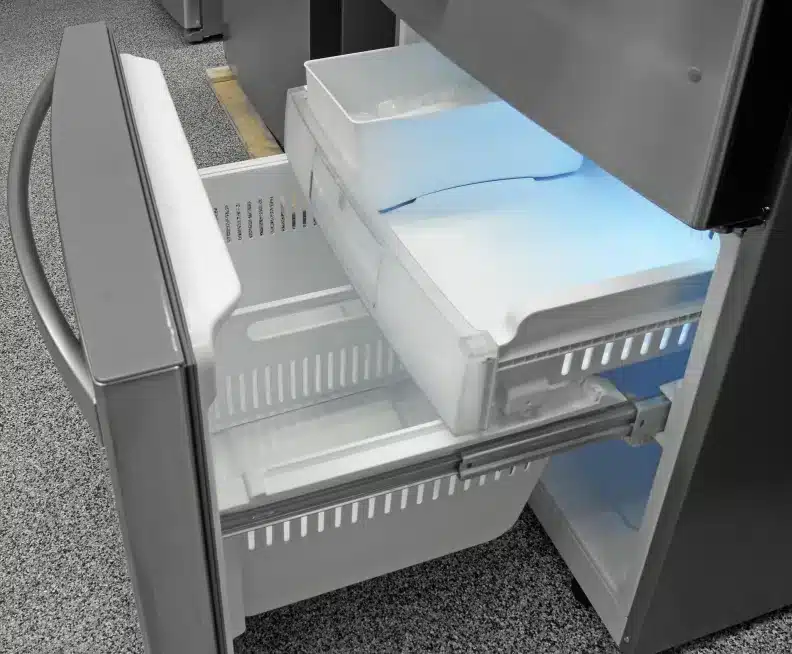
- Open the freezer door and remove the ice bucket from the ice maker. Store it in a portable cooler or an insulated bag with ice packs to keep the ice frozen while you work on your refrigerator.
- Disconnect the wire harness from the ice maker. To do this, locate the connector on the back of the ice maker and press the tabs on both sides of it. Then, pull it out of the socket.
- Unscrew the mounting screws that hold the ice maker in place. To do this, use a Phillips screwdriver to unscrew the bottom screw that secures the ice maker to the mounting bracket. Then, use a flat-blade screwdriver to loosen the two top screws that secure the ice maker to the rails.
- Slide out the ice maker from the freezer. To do this, hold it by both sides and lift it up slightly to free it from the tabs or rails. Then, pull it out of the freezer compartment. Be careful not to damage or disconnect any wires or tubes that run through or behind the ice maker. Set it aside on a towel or a rag to protect it from scratches or dents.
How to reattach the ice maker
To reattach the ice maker to your Kenmore bottom freezer refrigerator, follow these steps:
- Align the ice maker with the tabs or rails on the back wall of the freezer. Slide it in until it rests securely on them.
- Reattach the mounting screws that hold the ice maker in place. To do this, use a Phillips screwdriver to screw in the bottom screw that secures the ice maker to the mounting bracket. Then, use a flat-blade screwdriver to tighten the two top screws that secure the ice maker to the rails.
- Reconnect the wire harness to the ice maker. To do this, locate the connector on the back of the ice maker and push it into the socket until it clicks into place.
- Return the ice bucket to the ice maker and close the freezer door.
- Plug in your refrigerator and adjust the temperature setting according to your preference.
FAQs about removing and reattaching
the ice maker
Here are some common questions and answers about removing and reattaching the ice maker in your Kenmore bottom freezer refrigerator that you may find helpful:
- Why do I need to remove and reattach the ice maker? You may need to remove and reattach the ice maker for various reasons, such as:
- Cleaning your refrigerator thoroughly or removing any spills or stains from
- Repairing or replacing any parts or components of your refrigerator or
- Moving your refrigerator to a new location or fitting it through a narrow doorway
- What are the benefits of removing and reattaching the ice maker? Removing and reattaching the ice maker can have several benefits, such as:
- Saving time and money by doing it yourself instead of hiring a professional
- Improving the appearance and hygiene of your refrigerator by removing any dirt or debris from
- Enhancing the performance and efficiency of your refrigerator by fixing any issues or problems with
- What are some tips for removing and reattaching the ice maker? Here are some tips for removing and reattaching the ice maker safely and effectively:
- Read and follow
- Wear gloves and protective eyewear to avoid any injuries from sharp edges or metal parts
- Have a helper to assist you with lifting and holding
- Use a towel or a rag to protect
Conclusion
Removing and reattaching the ice maker in your Kenmore bottom freezer refrigerator is an easy way to maintain and improve your appliance. By following these simple steps, you can remove and reattach the ice maker in no time and enjoy the benefits of having a clean and efficient refrigerator.