
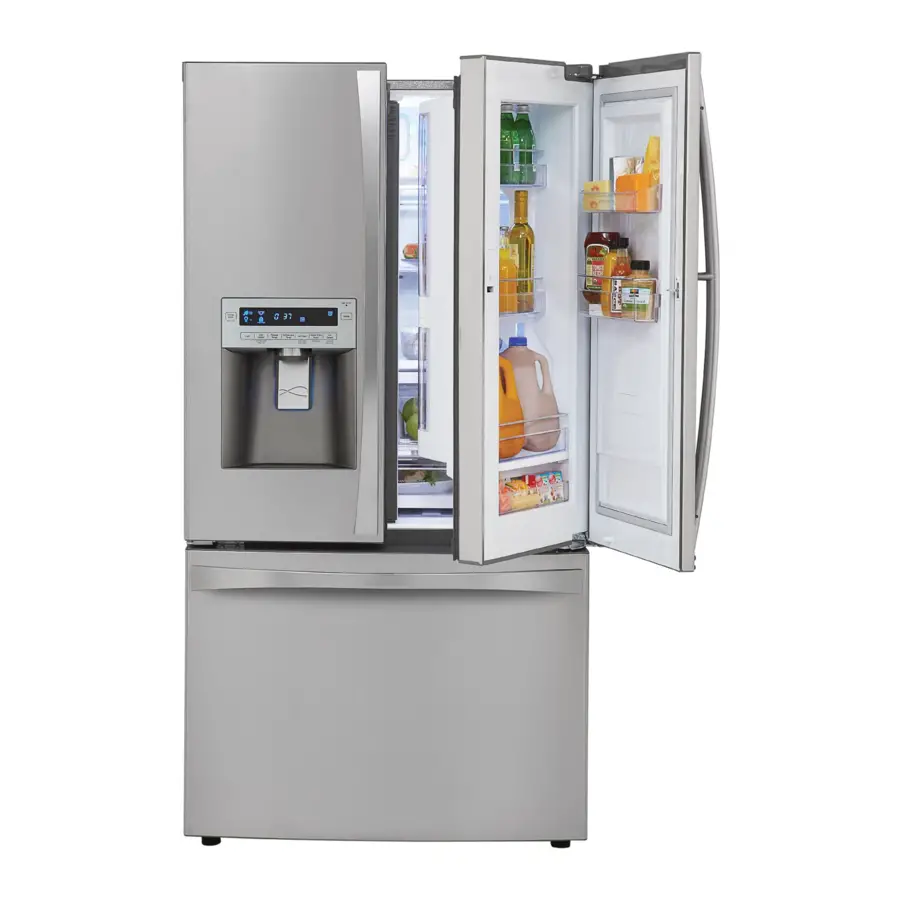
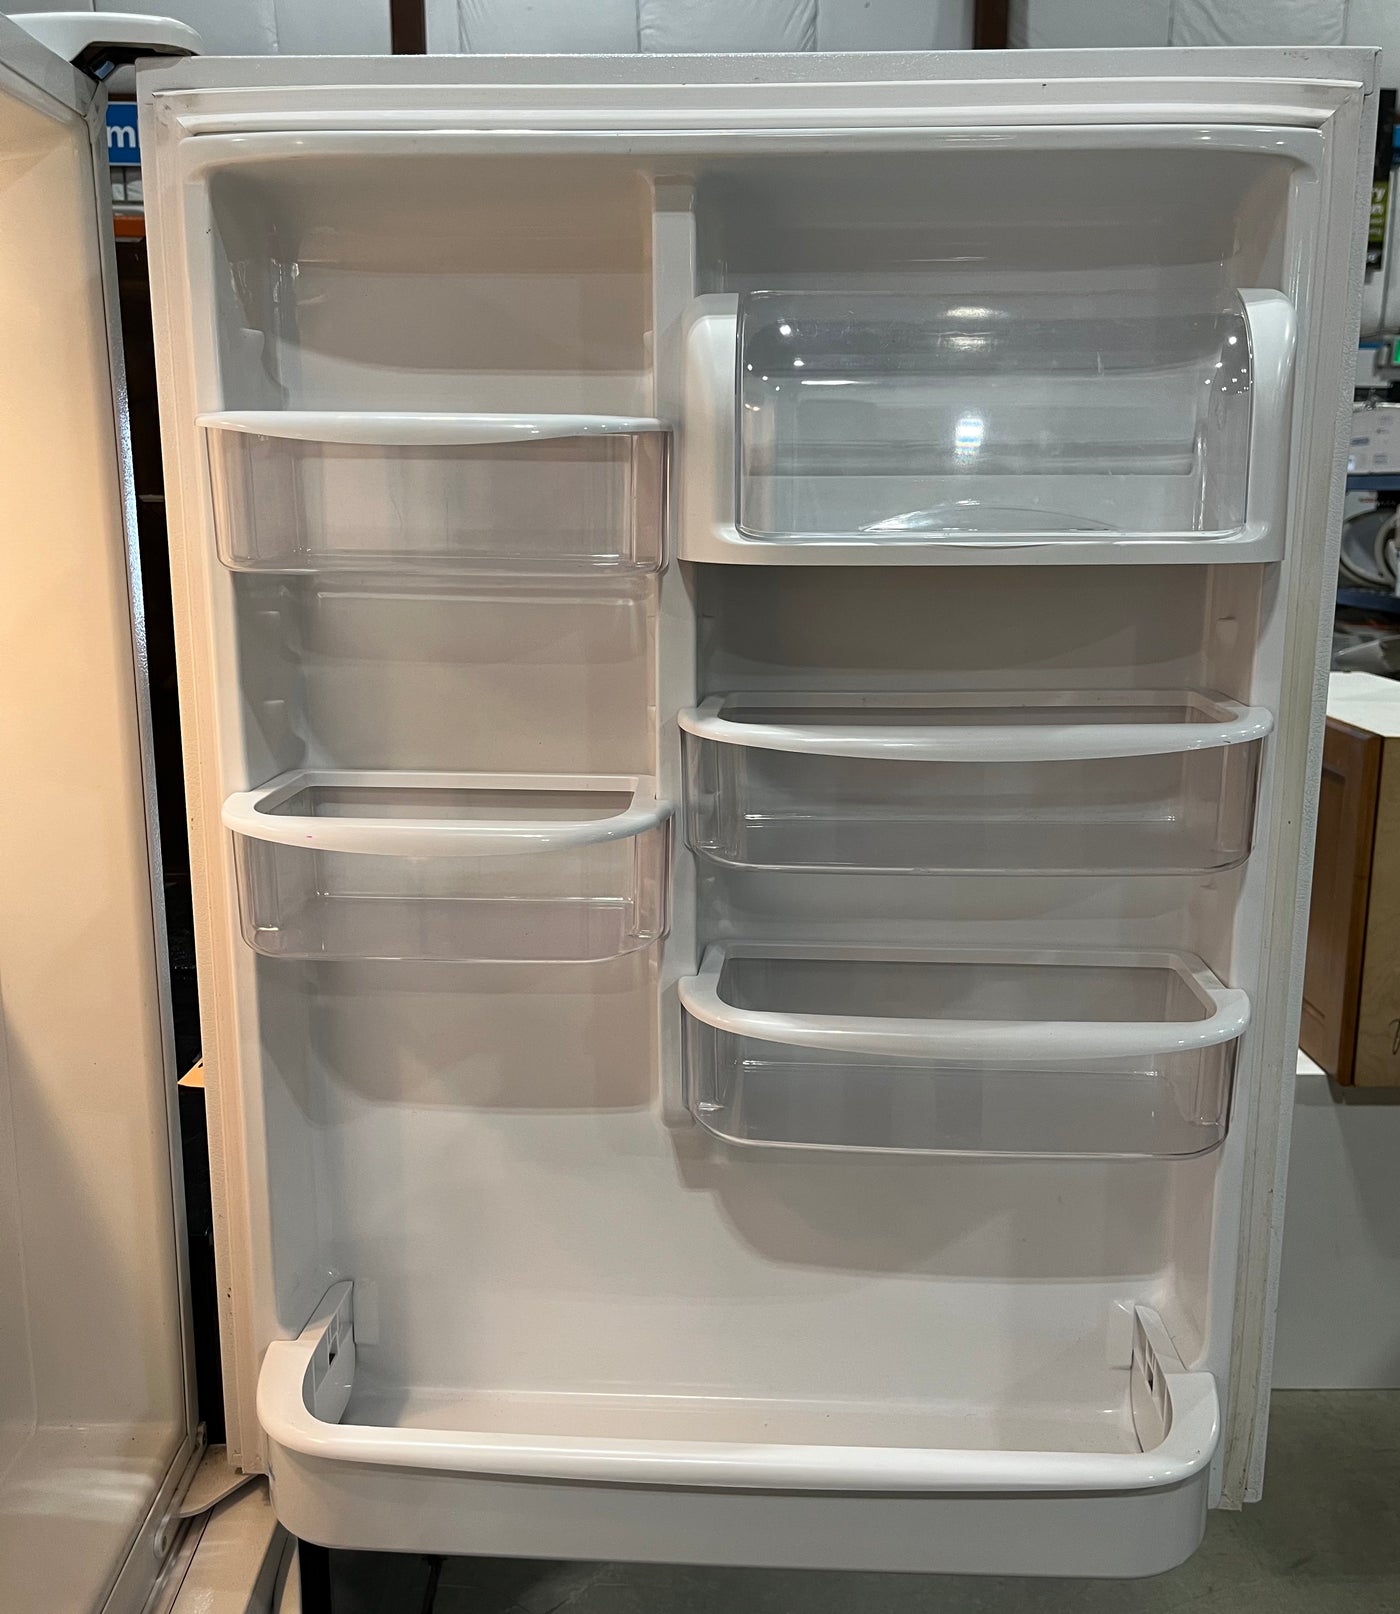
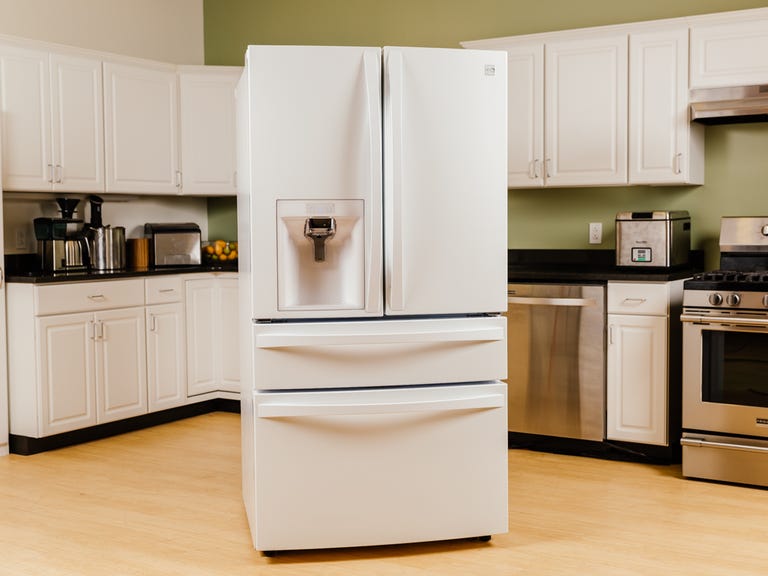
The door gasket on your Kenmore freezer is a rubber seal that prevents cold air from escaping and warm air from entering the freezer compartment. It helps to maintain the optimal temperature and humidity level for your frozen food and ice. However, over time, the door gasket can wear out, crack, or tear due to frequent opening and closing, exposure to moisture, or accidental damage. When this happens, you might notice some signs that indicate you need to replace the door gasket, such as:
Replacing the door gasket on your Kenmore freezer is not a hard task, but it does require some basic tools and skills. In this blog post, we will show you how to replace the door gasket on your Kenmore freezer in a few easy steps.
The replacement process involves unplugging the freezer, removing the old gasket, installing the new gasket, and adjusting the door alignment.
Replacing the door gasket on your Kenmore freezer is important for several reasons. First of all, it can help you save money and energy by reducing the amount of electricity your freezer uses to keep your food frozen. A faulty door gasket can cause cold air to leak out and warm air to seep in, forcing your freezer to work harder and longer to maintain the desired temperature. This can result in higher energy bills and more wear and tear on your freezer components.
Secondly, replacing the door gasket can help you preserve the quality and safety of your food. A faulty door gasket can create temperature fluctuations and moisture problems in your freezer, which can affect the texture, flavor, color, and nutritional value of your food. It can also increase the risk of bacterial growth and spoilage, which can lead to food poisoning or waste.
Thirdly, replacing the door gasket can help you prevent potential damage to your freezer or your home. A faulty door gasket can cause frost or ice buildup on the freezer walls or door, which can interfere with the proper functioning of your freezer. It can also cause water leakage or flooding on the floor, which can damage your flooring or cause mold or mildew growth.
Before you start replacing the door gasket on your Kenmore freezer, make sure you have the following tools and parts ready:
You can find the new door gasket online or at your local appliance store. You can also check the part number on your old door gasket to make sure you get the right one.
Once you have everything ready, follow these steps to replace the door gasket on your Kenmore freezer:
Here are some frequently asked questions about replacing the door gasket on your Kenmore freezer:
Q: How do I know if my door gasket needs replacing?
A: You can check if your door gasket needs replacing by performing a simple test. Close a dollar bill in between the lid and the gasket and try to pull it out. If it slides out easily, it means the gasket is not sealing properly and needs replacing. Repeat this test on different spots along the gasket to check for any weak areas.
Q: How do I measure and order the right door gasket for my freezer?
A: You can measure and order the right door gasket for your freezer by following these steps:
Q: How do I prevent my door gasket from wearing out or tearing?
A: You can prevent your door gasket from wearing out or tearing by following these tips:
Replacing the door gasket on your Kenmore freezer is a simple and inexpensive way to improve the efficiency and performance of your freezer. It can also help you save money and energy, preserve the quality and safety of your food, and prevent potential damage to your freezer or your home. By following the steps in this blog post, you can replace your door gasket in less than an hour and enjoy a cold and frost-free freezer again. If you have any questions or concerns about replacing your door gasket, feel free to contact us at PressToCook.com. We are here to help you with all your kitchen appliance and food safety needs.

