replacing-the-gasket-on-your-nutri-ninja-duo-powerblade-2

Replacing the Gasket on Your Nutri Ninja Duo Powerblade

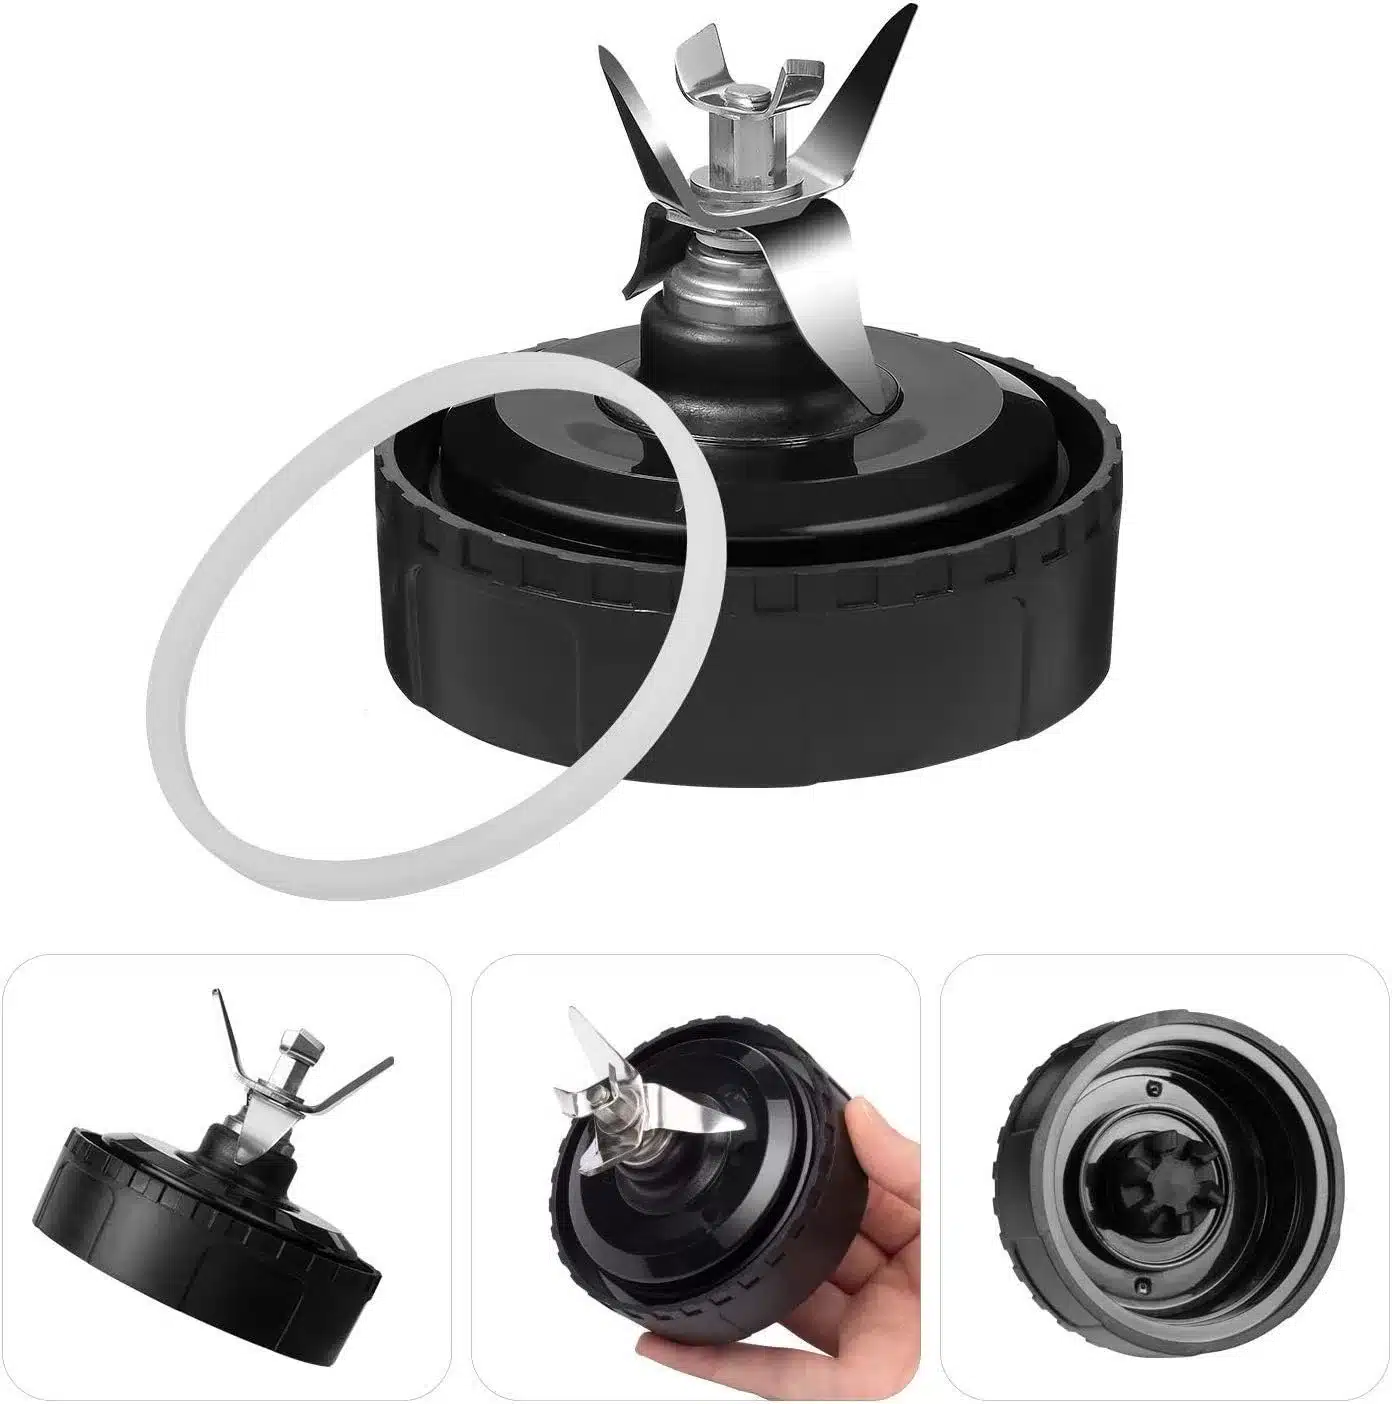
The Nutri Ninja Duo is a popular blender model that many people use to make smoothies, purees, and other blended drinks. One of the most important parts of the Nutri Ninja is the gasket, which creates a tight seal between the blender cup and blade assembly. Over time and heavy use, this gasket can become worn out or damaged and may need replacing.

Replacing the gasket on your Nutri Ninja Duo is a relatively straightforward process that you can easily do yourself at home. With a few simple steps and a replacement gasket, you can have your Nutri Ninja working like new again.

Why Replace the Gasket?

There are a few signs that indicate it’s time to replace the gasket on your Nutri Ninja:

  • Leaking around the cup when blending: If you notice leaking coming from the bottom seal when using your Nutri Ninja, the gasket is likely worn out. This prevents a tight seal and allows liquid to escape.
  • Loose blade assembly: If the blender blade wobbles or feels loose when attached to the cup, the gasket may be warped or damaged. The gasket keeps the blade securely in place.
  • Decreased blending performance: An old, worn gasket can impact the blending effectiveness of the Nutri Ninja. You may notice chunkier results or the ingredients not fully incorporating.

Replacing the gasket restores that tight seal, keeps the blade assembly secure, and allows your Nutri Ninja to blend smoothly and efficiently once again.

Best Bl770 Nutri Ninja Blade Gaskets - Home Tech

What You’ll Need

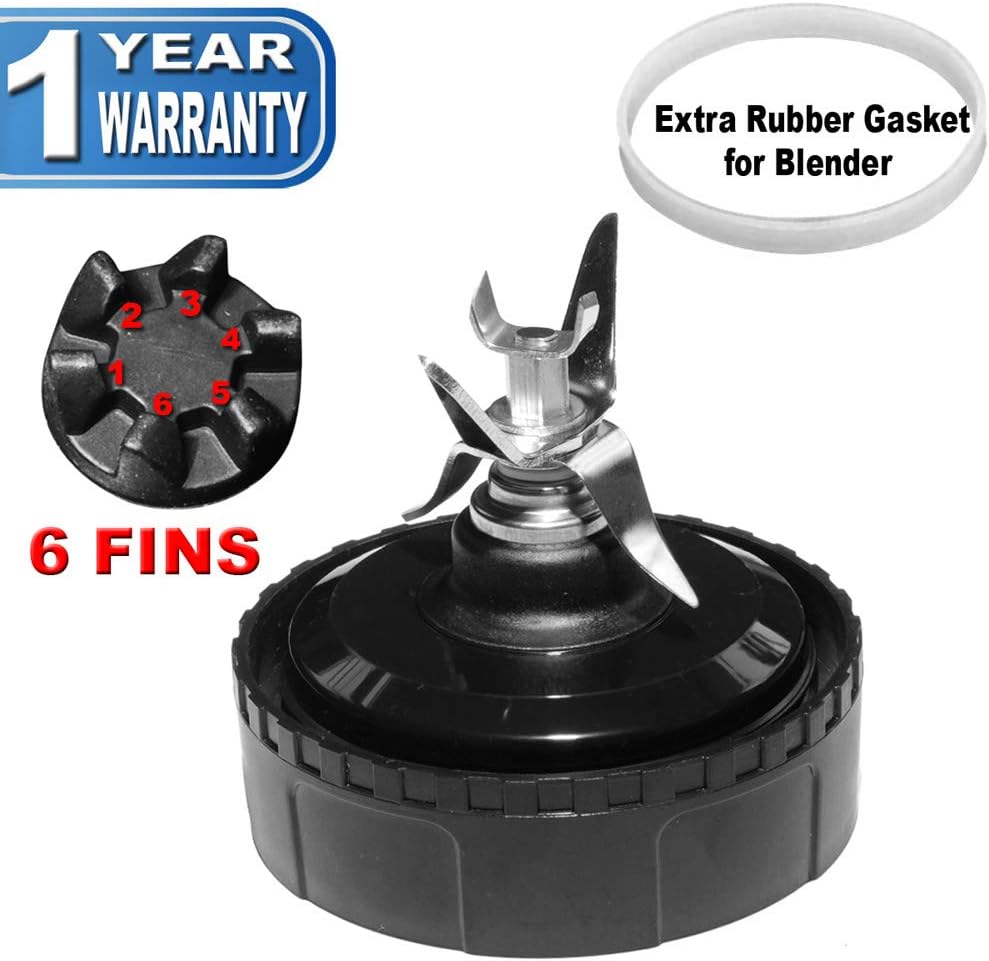
Replacing the Nutri Ninja gasket is an easy fix if you have the right replacement part:

  • Nutri Ninja Duo gasket: This is the exact size and shape gasket that fits the Nutri Ninja Duo cups and blade assembly. You can find official Nutri Ninja replacement gaskets online or in many appliance parts stores.
  • Cloth: Have a soft cloth or towel on hand to catches any leaks.
  • Water: Some warm water can help clean the blending cup and loosen the old gasket for removal.

That’s all you need – no special tools required!

Steps to Replace the Nutri Ninja Duo Gasket

Follow these simple steps to remove your old gasket and replace it with a fresh new one:

Remove the Old Gasket

  1. Unscrew the blade assembly from the Nutri Ninja cup. The assembly should detach easily from the cup when unthreaded.
  2. Use your fingers to pry the old gasket out from the groove in the top of the cup. The gasket should pop free with minimal effort if pulled directly upwards.
  3. Remove any residue or debris left behind from the old gasket. You can use a damp cloth to wipe the rim clean.

Install the New Gasket

  1. Place the new replacement gasket into the empty groove around the top opening of the cup. You want it to fully settle into the groove.
  2. Press the gasket down firmly using your fingers to ensure it is snugly in place all the way around the rim.
  3. Re-attach the blade assembly to the top of the cup and firmly hand tighten until securely threaded.
  4. Add water and briefly run the blender empty to test for leaks before regular use.

That’s all there is to it! In just a few minutes, you can have your Nutri Ninja gasket replaced and the blender as good as new. Be sure to confirm the replacement gasket is creating a tight seal before blending any drinks.

Which Is The Best Nutri Ninja 32 Rubber Gasket - Life Maker

Tips for Getting the Most out of Your Gasket

Here are some useful tips to safely use and care for your Nutri Ninja’s gasket:

  • Avoid over tightening the blade assembly when attaching it. Firmly hand tighten only.
  • Check the gasket periodically for wear and damage. Replace promptly if leaking occurs.
  • Hand wash the cup and gasket only. The gasket can deteriorate in the dishwasher.
  • Do not use the Nutri Ninja without the gasket in place. This can damage the blades.
  • Lubricate the gasket periodically with food-grade silicone grease to maintain suppleness.
  • Always make sure the gasket is snugly fitted before use for optimal performance.

Properly caring for the gasket will help it last longer between replacements. But over time, replacing the gasket is necessary for keeping your Nutri Ninja in top blending condition.

Which Is The Best Nutri Ninja Pro Bl450 Gasket - Get Your Home

Frequently Asked Questions

What type of gasket does the Nutri Ninja Duo use?

The Nutri Ninja Duo uses a custom gasket that fits the connection between the blending cup and blade assembly. You need to purchase a replacement gasket specifically made for the Nutri Ninja Duo.

Where can I buy a Nutri Ninja Duo replacement gasket?

You can purchase official Nutri Ninja brand replacement gaskets both online and in many appliance parts stores. Make sure it is specifically for the Duo model.

How can I tell if the gasket needs replacing?

Signs like leaking from the base when blending, a loose blade assembly, or decreased blending performance all indicate it’s time to replace the Nutri Ninja gasket.

Wrapping Up

Replacing the gasket is an essential and inexpensive maintenance task to keep your Nutri Ninja Duo performing at its best. With few simple steps, you can replace the gasket yourself in just minutes. Using the proper Nutri Ninja Duo gasket and correctly installing it will restore a tight seal and effective blending function. Be sure to periodically check the condition of the gasket for wear and damage. With proper care and routine gasket changes as needed, you’ll continue enjoying smooth Nutri Ninja results for years to come!

Meet

Dale

Dale is the founder and appliance expert behind PressToCook.com. He is a former restaurant manager who has spent years behind the scenes using just about every kitchen appliance imaginable.

He founded PressToCook.com to debunk the myths around appliances and show home cooks how to truly harness the power of their gadgets to whip up incredible dishes easily and efficiently.

Dale is on a mission to prove that kitchen appliances should be celebrated, not feared, and he can’t wait to share his real-world tips and tricks with you!
© 2024 PressToCook.com. All rights reserved.

Site built by LaowaiSites