
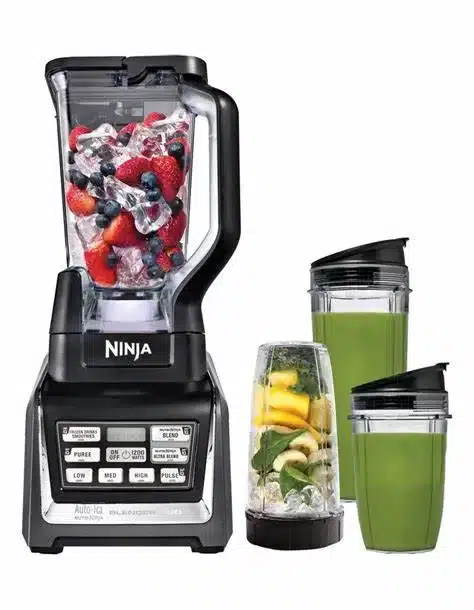
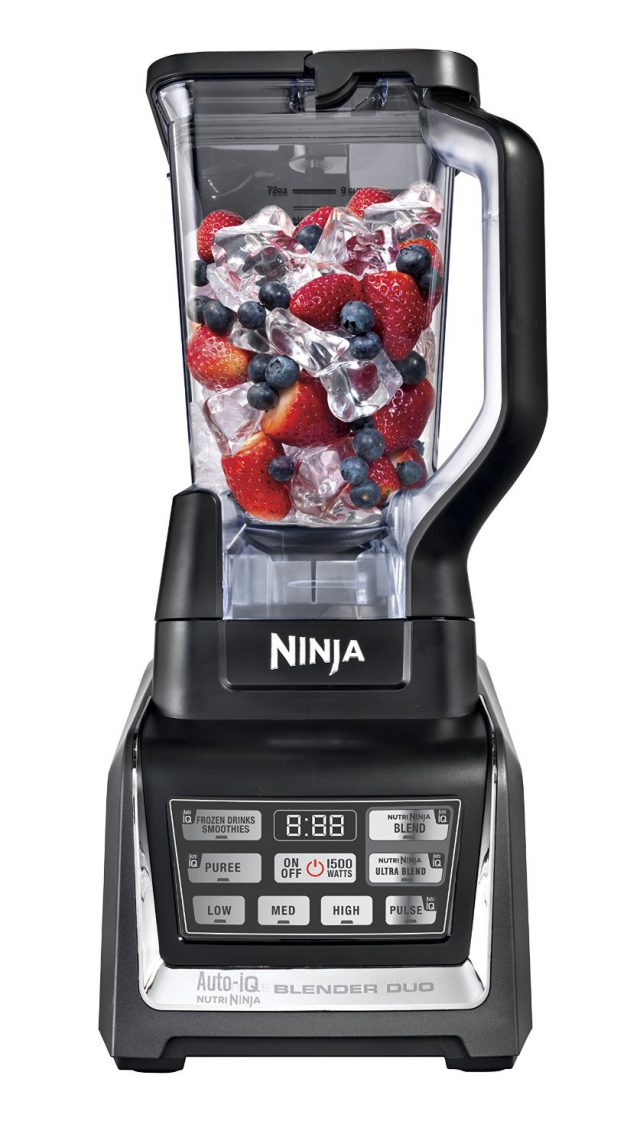
If you own a Nutri Ninja Duo blender, you know how useful this machine can be for making smoothies, purees, and other blended drinks. However, like any appliance, some parts can wear out over time. One commonly replaced part is the gasket (also called a seal) on the Powerblade assembly.
The gasket creates a tight seal between the Powerblade and the cup. This prevents liquids from leaking out during the blending process. However, normal wear and tear from regular use can cause the gasket to become loose, cracked, or misshapen. A damaged gasket will result in leaks and spills. Replacing this small but important part can restore your Nutri Ninja to smooth blending operations.

Some signs that it’s time to replace the gasket include:
If you notice any of these issues, replacing the gasket should stop the leaks. It’s recommended to proactively replace the gasket every 6-12 months as preventative maintenance.
Replacing the gasket is a quick and straightforward process. Here are the steps:
Once you’ve removed the old, worn gasket, follow these instructions to install a replacement:
And that’s it! With the new gasket installed, your Nutri Ninja will blend up drinks without any messy leaks or spills.

You can purchase official Nutri Ninja replacement gaskets directly from the manufacturer’s website. They cost around $10 for a 2-pack. Select the specific gasket for your blender model.
Alternatively, search for universal gasket sets on Amazon that will fit the Nutri Ninja Powerblade. Compare dimensions to get the right size. Buying a multi-pack is convenient and affordable.
Only use authentic OEM or high-quality universal gaskets to ensure a proper seal. Avoid cheap knockoffs that may not last or fit right. Investing in the right gasket will extend the life of your blender.
Taking proper care of the gaskets, blades, and other components will keep your Nutri Ninja running smoothly for years. Here are some tips:
With proper maintenance and occasional replacement of small parts like the gasket, your Nutri Ninja will continue being an invaluable kitchen tool.
Here are answers to some frequently asked questions about replacing the gasket on a Nutri Ninja blender:
How do I know if my gasket needs to be replaced?
Signs like leaking from the base of the blade, having to overtighten to prevent leaks, visible damage or deformation of the gasket, and a blade that feels loose indicate that it’s time for a new gasket.
Where can I buy a Nutri Ninja gasket?
Official OEM gaskets can be purchased through the Ninja website or Amazon. Universal gasket sets also work as long as the dimensions match up with your model.
Is it safe to use my Nutri Ninja without the gasket?
No, do not use your blender without the gasket properly installed. It will leak and also endanger the motor and blade since there is no protective seal. Always replace the worn gasket rather than running it without one.
While the gasket may be small, it’s an essential part that sometimes needs replacement for optimal blender performance. With these instructions, you can easily remove and install a new Nutri Ninja gasket in just a few minutes. Periodically changing this inexpensive but crucial component will add years of leak-free life to your machine. Just be sure to buy the right size gasket and firmly adhere it to the Powerblade base. Then get back to whipping up delicious and nutritious blended drinks for you and your family.

