
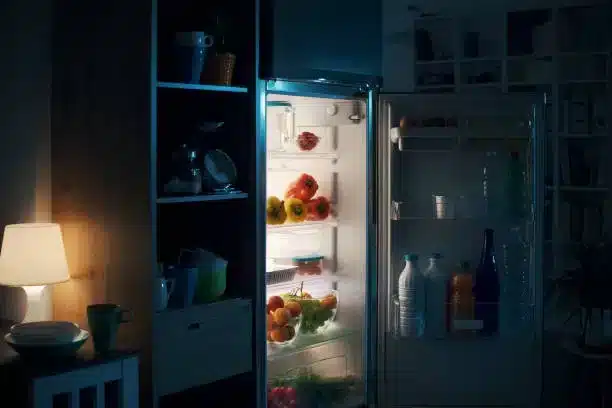
If you have a Whirlpool refrigerator freezer, you know how convenient it is to have a light inside the freezer compartment. It helps you find your frozen food and see what you have in stock. But what happens when the light bulb burns out or breaks? How do you replace it without damaging your freezer or hurting yourself?
In this blog post, we’ll show you how to replace the light bulb in a Whirlpool refrigerator freezer in a few easy steps. We’ll also tell you what kind of bulb you need and where to get it. Read on to find out how to replace the light bulb in a Whirlpool refrigerator freezer and keep your freezer well-lit.
To replace the light bulb in a Whirlpool refrigerator freezer, you need to unplug the refrigerator, remove the light shield, unscrew the old bulb, screw in a new bulb, and replace the light shield.
The first step to replace the light bulb in a Whirlpool refrigerator freezer is to unplug the refrigerator from the power source. This is a safety precaution that will prevent any electric shocks or short circuits. You should also wear gloves and eye protection to avoid any injuries from broken glass or sharp edges.

The next step to replace the light bulb in a Whirlpool refrigerator freezer is to remove the light shield that covers the bulb. The light shield is a plastic cover that protects the bulb from moisture and damage. It also diffuses the light and makes it softer.
To remove the light shield, you need to open the freezer door and locate the shield inside the freezer compartment. The shield is usually in the center or front-center of the top of the freezer. You need to look closely at the shield and see how it is attached to the freezer. Some shields have plastic locking tabs that you need to squeeze and push back to release them. Some shields have screws that you need to loosen with a screwdriver. Some shields have clips that you need to pry off with a flathead screwdriver.
Once you release the shield, you need to pull it down and out of the freezer. Be careful not to break or damage it.
The third step to replace the light bulb in a Whirlpool refrigerator freezer is to unscrew the old bulb from its socket. The bulb is usually a standard appliance bulb that has a screw base and a round shape. You need to grab the bulb gently and turn it counterclockwise until it comes out of the socket. Be careful not to touch or break the filament inside the bulb.
If the old bulb is broken or shattered, you need to use pliers or tweezers to remove any remaining pieces from the socket. You should also clean any glass shards or dust from around the socket with a damp cloth or paper towel.
The fourth step to replace the light bulb in a Whirlpool refrigerator freezer is to screw in a new bulb into the socket. You need to use an appliance bulb that has the same shape, size and wattage as the old one. You can find these bulbs at most hardware stores or online retailers. You should look for a bulb that is rated for wet/damp environments, as some LED bulbs are not suitable for refrigerators.
To screw in a new bulb, you need to align its base with the socket and turn it clockwise until it is snug. Do not overtighten or force it, as this may damage or break it.
The final step to replace the light bulb in a Whirlpool refrigerator freezer is to replace the light shield over the bulb. You need to follow these steps in reverse order:

Here are some common questions and answers about replacing light bulbs in Whirlpool refrigerator freezers:
Q: How do I know if my light bulb needs replacing?
A: If your light bulb is not working, you should first check if it is loose or burnt out. You can do this by unplugging your refrigerator, removing your light shield, and inspecting your bulb. If your bulb is loose, you can tighten it by turning it clockwise. If your bulb is burnt out, you can see a blackened or broken filament inside it.
Q: How often do I need to replace my light bulb?
A: The lifespan of your light bulb depends on several factors, such as how often you use your freezer, the type and quality of your bulb, and the power fluctuations in your area. Generally, an appliance bulb can last for several years, while an LED bulb can last for up to 10 years. However, you should replace your bulb as soon as it stops working or shows signs of wear.
Q: What if my light bulb is stuck or hard to remove?
A: If your light bulb is stuck or hard to remove, you should not force it or use excessive pressure, as this may break it or damage your socket. You should try these tips instead:
Replacing the light bulb in your Whirlpool refrigerator freezer is not a complicated task if you follow these simple steps. You should also check and replace your bulb regularly to keep your freezer well-lit and your food visible. If you have any questions or comments, feel free to leave them below. And don’t forget to check out our other blog posts on kitchen appliances and food safety at PressToCook.com!

